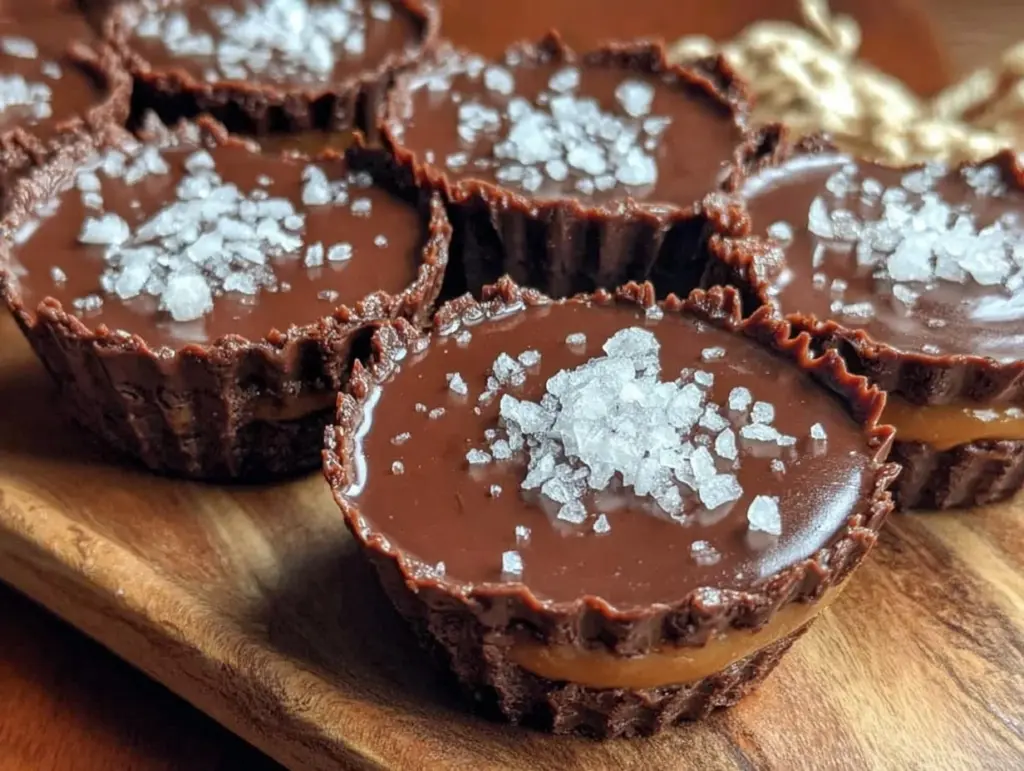
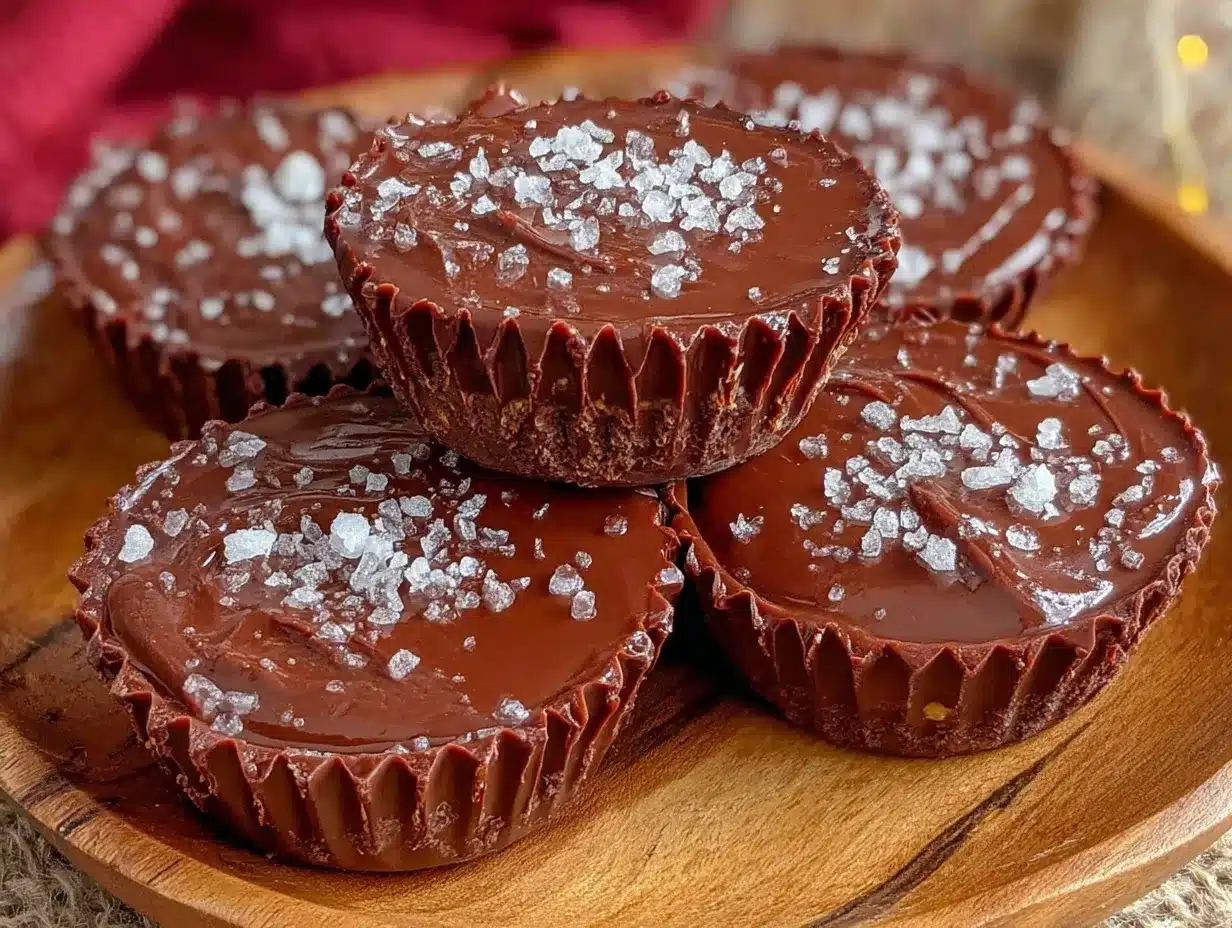
“You’re kidding, you made these? They look store-bought!” my roommate said, eyes wide as I pulled the tray from the fridge. Honestly, I wasn’t expecting much when I started melting that dark chocolate. I was just craving a quiet treat after a chaotic day juggling work calls and dinner plans. But as soon as I bit into that perfect balance of rich, slightly bitter dark chocolate and creamy peanut butter with that unexpected sprinkle of sea salt, I realized this simple homemade recipe was something special. It wasn’t just a snack; it was a little moment of calm, a mini celebration in the middle of madness.
What’s funny is that this recipe came from my skeptical phase—honestly, I wasn’t sure if I could match the smooth, dreamy texture of the peanut butter cups you buy at the store. But after a few tries, tweaking the chocolate and peanut butter ratios, and finding the right touch of flaky sea salt, I ended up with a batch that disappeared faster than I expected (and that’s saying something because I usually ration sweets carefully!).
The next morning, while sipping coffee in the quiet kitchen, I realized these dark chocolate peanut butter cups were more than just a treat—they were my little reward for getting through the day. And now, I’m sharing this recipe because sometimes, you need a homemade indulgence that feels like a hug, but also impresses anyone lucky enough to share it.
Why You’ll Love This Recipe
Having tested this dark chocolate peanut butter cups recipe over and over, I can say it ticks all the boxes for a fuss-free, delicious homemade treat. Here’s why it stands out:
- Quick & Easy: Ready in under 30 minutes, including chilling time — perfect when you want a sweet fix without the wait.
- Simple Ingredients: No need to hunt down fancy stuff; most of these are pantry staples like dark chocolate and peanut butter.
- Perfect for Gifting or Snacking: Great for casual get-togethers, a cozy night in, or adding a personal touch to holiday treats.
- Crowd-Pleaser: Whether it’s kids, friends, or coworkers, these cups disappear fast thanks to that classic combo everyone loves.
- Unbelievably Delicious: The rich dark chocolate balances the creamy peanut butter perfectly, with a light sprinkle of sea salt that amps up the flavor.
What makes this recipe different? Well, I blend the peanut butter with just a bit of powdered sugar and a touch of vanilla to get the smoothest, most balanced filling. Plus, I don’t shy away from using a high-quality dark chocolate (I personally like Ghirardelli 60% or higher) because it adds depth and a hint of bitterness that cuts through the sweetness. Those little flakes of sea salt on top? They’re not just decoration—they bring out the chocolate’s richness like you wouldn’t believe.
Honestly, after making these a few times a week during one particular chocolate obsession phase, I can say this recipe hits that sweet spot between indulgent and homemade comfort. It’s the kind of treat you’ll want to make again and again, whether it’s for yourself or to impress guests with very little effort.
What Ingredients You Will Need
This recipe uses straightforward, wholesome ingredients to deliver bold flavor and a satisfyingly smooth texture without any fuss. You probably have most of these hiding in your pantry already.
- Dark Chocolate: 8 ounces (225g) of good-quality dark chocolate chips or chopped bars (60-70% cocoa recommended). I prefer Ghirardelli or Lindt for their smooth melt and rich flavor.
- Natural Peanut Butter: 1 cup (250g), creamy style works best for that silky filling (avoid chunky for this one).
- Powdered Sugar: 1/3 cup (40g), to sweeten and thicken the peanut butter filling just right.
- Vanilla Extract: 1 teaspoon, adds a subtle warm note to the peanut butter filling.
- Sea Salt: Flaky sea salt, about 1/2 teaspoon for sprinkling on top — this is what really brings the flavors to life.
- Coconut Oil or Butter: 1 tablespoon, optional but helps smooth out the chocolate and gives it a glossy finish.
If you want a gluten-free or paleo twist, you can use almond butter instead of peanut butter, and swap powdered sugar for coconut sugar powder (grind coconut sugar in a blender until powdery). For a vegan option, pick dairy-free dark chocolate and make sure your peanut butter doesn’t have added honey.
Equipment Needed
- Silicone Muffin Pan or Paper Liners: For shaping the peanut butter cups. Silicone works great for easy release; if you only have metal pans, use liners to avoid sticking.
- Double Boiler or Heatproof Bowl: For gently melting the chocolate. I’ve used a microwave in short bursts too, but be careful to stir often to avoid burning.
- Mixing Bowls: One for the peanut butter filling, one for melting chocolate.
- Spoon or Small Cookie Scoop: To portion the peanut butter filling evenly.
- Spatula: For mixing and spreading chocolate smoothly.
You don’t need fancy gadgets here. I once made these cups with just a microwave-safe bowl and a spoon when I was traveling — they turned out just as good! If you use a double boiler, remember to keep the water simmering gently, not boiling vigorously, to make melting chocolate a breeze.
Preparation Method
- Prepare Your Pan: Line a 12-cup muffin pan with silicone liners or paper liners. This makes removing the peanut butter cups way easier. Chill the pan in the fridge while prepping the filling — it helps the chocolate set faster.
- Melt the Chocolate: In a double boiler, melt 2/3 of the dark chocolate (about 5.3 oz or 150g) with the tablespoon of coconut oil or butter. Stir gently until smooth and glossy, about 5 minutes. If using a microwave, melt in 30-second bursts, stirring each time to avoid scorching.
- Form the Chocolate Base: Spoon about 1 tablespoon (15ml) of melted chocolate into each liner, spreading it evenly over the bottom. Place the pan in the fridge for 10 minutes to let the chocolate harden.
- Make the Peanut Butter Filling: While the chocolate sets, mix the peanut butter, powdered sugar, and vanilla extract in a bowl until smooth and creamy. The filling should be thick but spreadable. If it feels too stiff, add a tiny bit of milk or cream (1 teaspoon max) to loosen it up without making it runny.
- Add the Peanut Butter Layer: Remove the pan from the fridge. Spoon about 1 tablespoon of peanut butter filling onto the hardened chocolate base, gently pressing it down but leaving some space around edges for sealing.
- Top with More Chocolate: Melt the remaining chocolate (about 2.7 oz or 75g) and spoon it over each peanut butter mound to cover completely. Tap the pan lightly on the counter to level the chocolate and release air bubbles.
- Sprinkle Sea Salt: While the top layer is still wet, sprinkle a pinch of flaky sea salt on each cup. This little detail adds a surprising pop of flavor.
- Chill Until Set: Place the pan back in the fridge for at least 30 minutes to fully harden. Once set, the peanut butter cups should pop right out.
Pro Tip: If your chocolate starts to seize or thicken too much while melting, add a teaspoon of coconut oil and stir until smooth again. Also, don’t rush chilling — the texture improves with proper setting time.
Cooking Tips & Techniques
Making homemade peanut butter cups is pretty forgiving, but a few tricks can help you nail that professional finish every time.
- Melt Chocolate Gently: Chocolate is sensitive to heat. Stir often and keep the temperature low. Double boilers work best; microwaves can scorch if you’re not careful.
- Use Room Temperature Peanut Butter: Cold peanut butter can be tough to mix smoothly. Let it sit out for a bit before combining with powdered sugar.
- Don’t Overfill: Leave a small gap between the peanut butter filling and the chocolate top layer. This helps the chocolate seal the filling neatly and prevents leakage.
- Chill, Don’t Freeze: Freezing can cause chocolate to bloom (white streaks) or become crumbly. The fridge chill is enough to harden and keep the perfect texture.
- Keep Your Hands Clean: When handling the cups, avoid fingerprints on the chocolate by using gloves or holding them gently at the base.
My first few attempts were a mess — chocolate melting too fast, peanut butter oozing out, you name it. But once I learned to temper the chocolate gently and measure my spoonfuls consistently, the whole process felt way less intimidating. Also, multi-tasking works well here — while the chocolate chills, prep another quick meal like the quick cheesy mug pizza I love for busy nights.
Variations & Adaptations
These dark chocolate peanut butter cups are super versatile. Here’s how you can mix things up:
- Nut-Free Version: Swap peanut butter for sunflower seed butter or soy nut butter. These keep the creamy texture but are safe for allergy-conscious friends.
- Spiced Twist: Add a pinch of cinnamon or cayenne pepper to the peanut butter filling for a warm or spicy kick. I once added a dash of smoked paprika inspired by the savory bacon jam recipe flavor notes—unexpected but delicious!
- White Chocolate Layer: Use white chocolate for the top or bottom layer instead of dark chocolate for a sweeter, creamier contrast.
- Mini Cups: Use mini muffin liners to make bite-sized versions perfect for parties or lunchboxes.
- Sea Salt Alternatives: Try smoked sea salt or Himalayan pink salt flakes for a different flavor profile.
One personal favorite variation is swirling in a few spoonfuls of fudgy peanut butter brownies batter into the chocolate before chilling for a double-chocolate peanut butter experience.
Serving & Storage Suggestions
Serve these dark chocolate peanut butter cups chilled or at room temperature. If you like a melty bite, let them sit out for about 10 minutes before indulging. They pair beautifully with a strong cup of coffee or a glass of cold milk.
For storage, keep the cups in an airtight container in the refrigerator. They’ll stay fresh for up to two weeks, though honestly, they rarely last that long. You can freeze them for up to 3 months; just thaw in the fridge overnight before serving to preserve texture.
Flavors tend to deepen after a day in the fridge—the sea salt flakes soften slightly, blending even more with the chocolate and peanut butter. These make a wonderful treat to prepare ahead of time for gatherings or a sweet surprise for yourself on a busy week.
Nutritional Information & Benefits
One homemade peanut butter cup (about 1.5 inches, 40g) roughly contains:
| Nutrient | Amount |
|---|---|
| Calories | 190 |
| Fat | 14g (mostly healthy fats from peanut butter and dark chocolate) |
| Protein | 5g |
| Sugar | 10g (less than many store-bought versions) |
| Fiber | 3g (thanks to dark chocolate) |
Dark chocolate provides antioxidants and can support heart health in moderation. Peanut butter offers protein and healthy fats that keep you fuller longer. Just watch the portion size if you’re mindful of calories or sugar intake. If you need a lower-sugar version, try using a natural powdered sugar substitute or reduce the amount slightly.
Conclusion
This homemade dark chocolate peanut butter cups recipe is one of those simple pleasures that feels fancy without the fuss. Whether you’re rewarding yourself after a hectic day or looking for an easy dessert to impress friends, these cups deliver creamy, crunchy, salty, and sweet all at once.
Feel free to tweak the filling, chocolate type, or salt topping to suit your taste buds. I love how customizable this recipe is—it’s my go-to when I want a quick, reliable treat that feels like a little celebration every time.
If you try making these, I’d love to hear how you like them or what variations you’ve tested. Sharing a homemade treat you’re proud of always makes the kitchen feel that much warmer.
FAQs About Homemade Dark Chocolate Peanut Butter Cups
Can I make these peanut butter cups ahead of time?
Absolutely! They keep well in the fridge for up to two weeks and freeze nicely for up to three months. Just thaw in the fridge before serving.
What type of peanut butter works best?
Creamy natural peanut butter without added sugar or oils gives the smoothest filling. Avoid chunky varieties for this recipe.
Can I use milk chocolate instead of dark chocolate?
Yes, milk chocolate will work but the cups will be sweeter and less intense. Adjust powdered sugar in the filling if you want to balance sweetness.
Is it necessary to add sea salt?
While optional, sea salt adds a lovely contrast and enhances the chocolate and peanut butter flavors. You can skip it if you prefer a sweeter cup.
How do I prevent the chocolate from seizing during melting?
Keep heat low and stir frequently. Adding a bit of coconut oil or butter helps smooth the chocolate if it starts to thicken too much.
Pin This Recipe!
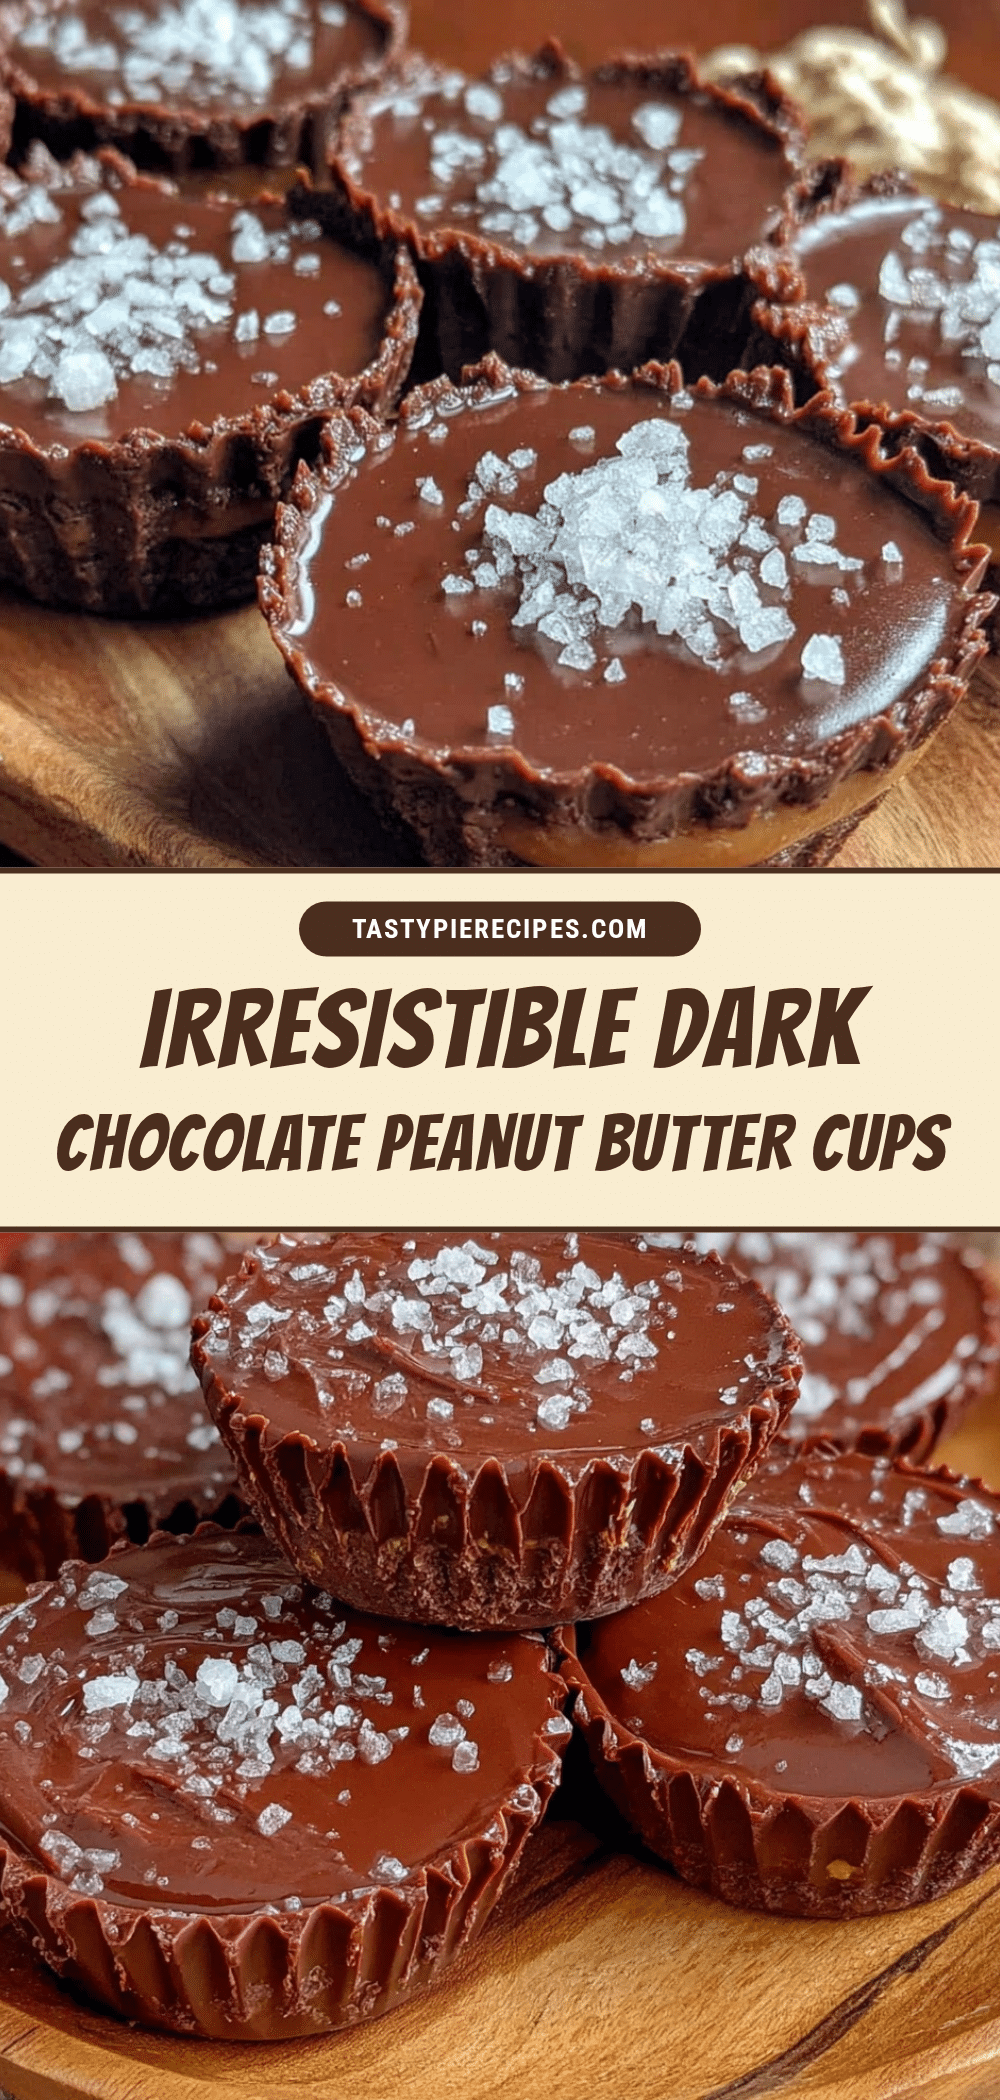
Irresistible Homemade Dark Chocolate Peanut Butter Cups Recipe with Sea Salt

A quick and easy homemade treat combining rich dark chocolate and creamy peanut butter with a sprinkle of sea salt for a perfect balance of flavors.
- Prep Time: 10 minutes
- Cook Time: 10 minutes
- Total Time: 50 minutes
- Yield: 12 servings 1x
- Category: Dessert
- Cuisine: American
Ingredients
- 8 ounces (225g) good-quality dark chocolate chips or chopped bars (60-70% cocoa recommended)
- 1 cup (250g) natural creamy peanut butter
- 1/3 cup (40g) powdered sugar
- 1 teaspoon vanilla extract
- 1/2 teaspoon flaky sea salt
- 1 tablespoon coconut oil or butter (optional)
Instructions
- Line a 12-cup muffin pan with silicone or paper liners and chill in the fridge.
- Melt 2/3 of the dark chocolate (about 5.3 oz or 150g) with coconut oil or butter in a double boiler or microwave, stirring until smooth.
- Spoon about 1 tablespoon of melted chocolate into each liner, spreading evenly. Chill for 10 minutes to harden.
- Mix peanut butter, powdered sugar, and vanilla extract until smooth and creamy. Add up to 1 teaspoon milk or cream if too stiff.
- Spoon about 1 tablespoon of peanut butter filling onto the hardened chocolate base, pressing gently but leaving space around edges.
- Melt remaining chocolate (about 2.7 oz or 75g) and spoon over peanut butter layer to cover completely. Tap pan to level and release air bubbles.
- Sprinkle flaky sea salt on top while chocolate is still wet.
- Chill in fridge for at least 30 minutes until fully set. Remove cups from liners and serve.
Notes
Use room temperature peanut butter for easier mixing. Melt chocolate gently to avoid scorching. Chill in fridge, not freezer, to prevent chocolate bloom. Adding coconut oil helps smooth chocolate if it thickens. Leave a small gap between peanut butter and chocolate top layer to seal properly.
Nutrition
- Serving Size: One peanut butter cu
- Calories: 190
- Sugar: 10
- Fat: 14
- Fiber: 3
- Protein: 5
Keywords: dark chocolate peanut butter cups, homemade peanut butter cups, easy chocolate treats, sea salt peanut butter cups, quick dessert, no bake dessert


