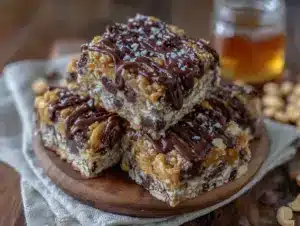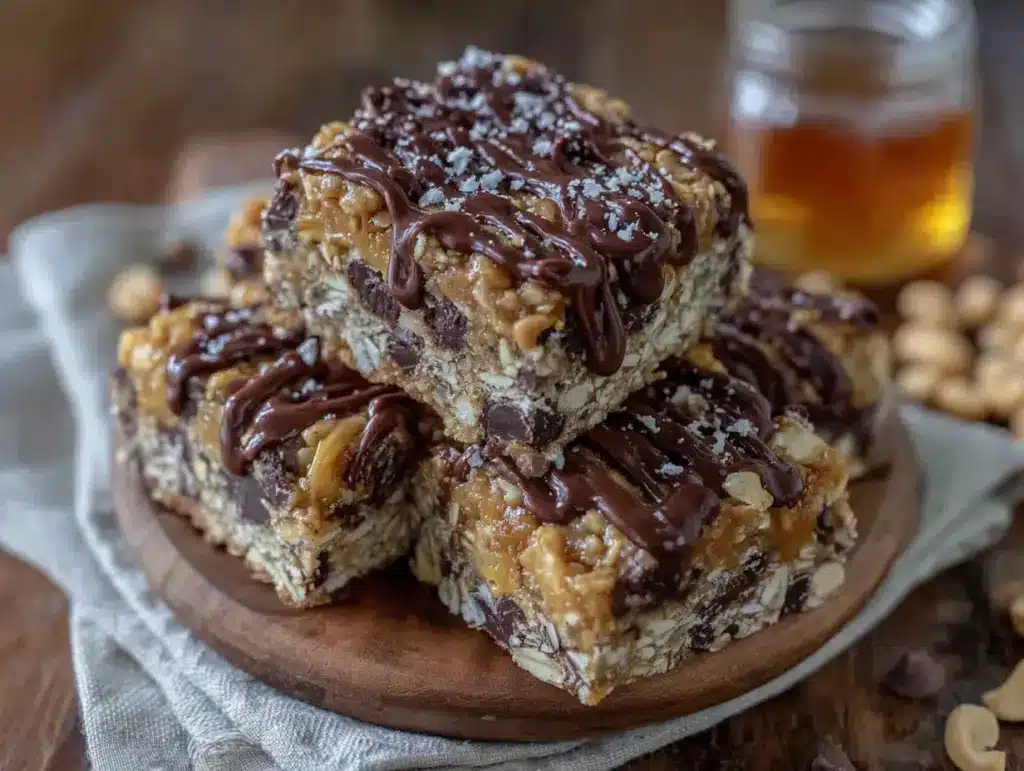
“Mom, can you make those bars again? The ones that don’t fall apart in my backpack?” My son asked this while digging through the pantry for a snack after school. And that was it. I’d been on a mission for months—testing, failing, and starting over. Store-bought granola bars were either too crumbly, too sticky, or tasted like cardboard wrapped in plastic. Plus, the ingredient list read like a chemistry experiment. I wanted something I could feel good about tossing into a lunchbox without a second thought. Something that would actually stay intact between first period and recess.
These no-bake peanut butter oat lunchbox bars were born from a week of trial and error (and one very sticky countertop). The first batch? Total disaster. They crumbled into a mess of oats and honey. The second batch was too hard—like edible hockey pucks. But the third time? That was the sweet spot. Chewy, sturdy, and just sweet enough without being over the top. My kids devoured them, and my husband started sneaking them into his work bag too.
I honestly didn’t plan on sharing this recipe at first. It felt too simple, you know? But every time I brought these to a playdate or school event, someone asked for the recipe. So here we are. These bars have become our lunchbox staple, and I think they’re about to become yours too.
Why You’ll Love This Recipe
Let me tell you why these bars have earned a permanent spot in my kitchen rotation. I’ve tested this recipe more times than I can count, and I’ve learned a few things along the way.
- Quick & Easy : Comes together in under 15 minutes. No oven required, no complicated techniques. Just mix, press, and chill.
- Simple Ingredients : You probably already have everything in your pantry. Oats, peanut butter, honey—that’s the base. No weird additives or specialty stores needed.
- Perfect for Lunchboxes : These bars hold their shape beautifully. No crumbs at the bottom of the backpack, no sticky mess on the car seat. They’re practically indestructible.
- Crowd-Pleaser : Kids love them, adults love them, and they disappear fast at parties. I’ve brought these to soccer games, school picnics, and even work potlucks.
- Unbelievably Delicious : The texture is chewy but not tough, sweet but not cloying. The peanut butter flavor shines through, and the oats give it that hearty, satisfying feel.
What makes these different from every other no-bake bar recipe out there? It’s the ratio, honestly. I spent weeks tweaking the wet-to-dry ingredient balance until I got that perfect chew. Not too sticky, not too dry—just right. I also add a pinch of salt to balance the sweetness and a splash of vanilla for depth. Small changes, big difference.
This is the kind of recipe that makes you feel like you’ve got it together, even on chaotic mornings. It’s comfort food you can feel good about—wholesome, filling, and made with real ingredients. And honestly? The first time you pull a batch out of the fridge and see those perfectly set bars, you’ll feel like a kitchen rockstar.
What Ingredients You Will Need
This recipe uses simple, wholesome ingredients that work together to create bars that are sturdy, chewy, and absolutely delicious. No fancy stuff here—just real food that you probably already have in your kitchen.
- Rolled oats (old-fashioned oats) – 2 cups (180g). These give the bars structure and that satisfying chewy texture. I recommend using rolled oats instead of quick oats because they hold up better and don’t turn mushy. If you only have quick oats, they’ll work but the texture will be softer.
- Creamy peanut butter – 1 cup (240g). Natural peanut butter works great, but make sure it’s well-stirred. I prefer using a brand like Jif or Skippy for consistent results—they have just the right amount of oil and sugar to help the bars set properly. If your natural peanut butter is too runny, the bars might not hold together.
- Honey – ½ cup (170g). This is our main sweetener and binder. Local honey adds a lovely floral note, but any honey works. For a vegan option, use maple syrup—just know the bars will be slightly softer.
- Unsalted butter – ¼ cup (57g), melted. Butter adds richness and helps the bars set firmly. You can substitute coconut oil for a dairy-free version, but the flavor will change slightly.
- Vanilla extract – 1 teaspoon. Pure vanilla extract adds warmth and depth. Skip the imitation stuff if you can—it makes a difference.
- Salt – ¼ teaspoon. Just a pinch to balance the sweetness and enhance the peanut butter flavor. If you’re using salted peanut butter, you can skip this or reduce it.
- Optional mix-ins – ½ cup (60g) of mini chocolate chips, dried cranberries, or chopped nuts. I love adding mini chocolate chips because they melt slightly into the bars and create little pockets of chocolatey goodness.
When choosing your peanut butter, look for one that’s creamy and not too oily. If the oil has separated and you can’t stir it back in, it might be too runny for this recipe. Trust me—I learned this the hard way after a batch that refused to set.
For the oats, I buy mine in bulk from the grocery store. They keep forever in a sealed container, and I always have them on hand for recipes like this or my monster cookie giant skillet. It’s one of those pantry staples that never goes to waste.
Equipment Needed
You don’t need fancy kitchen gadgets for this recipe. Here’s what you’ll need:
- 8×8-inch baking pan – This is the perfect size for thick, satisfying bars. If you only have a 9×9-inch pan, the bars will be thinner and may need slightly less chilling time.
- Parchment paper – Line your pan with parchment paper, leaving some overhang on the sides. This makes it so much easier to lift the bars out after they’ve set. Trust me, trying to pry them out without parchment is a recipe for frustration.
- Large mixing bowl – Any large bowl will do. I use a glass mixing bowl because it’s easy to see when everything is fully combined.
- Spatula or wooden spoon – For mixing the ingredients together. A silicone spatula works best for scraping every last bit of the mixture into the pan.
- Measuring cups and spoons – Accurate measurements matter here, especially for the peanut butter and honey. I use dry measuring cups for the oats and liquid measuring cups for the honey and peanut butter.
- Small saucepan or microwave-safe bowl – For melting the butter and warming the peanut butter and honey mixture. I prefer the stovetop method because it gives me more control, but the microwave works in a pinch.
- Refrigerator – The bars need at least 2 hours to set properly. Overnight is even better.
If you don’t have an 8×8-inch pan, you can use a 9×9-inch pan—just reduce the chilling time slightly and expect thinner bars. I’ve also made these in a loaf pan for thicker, almost fudge-like bars. It works, but you’ll need to adjust the pressing technique.
Preparation Method
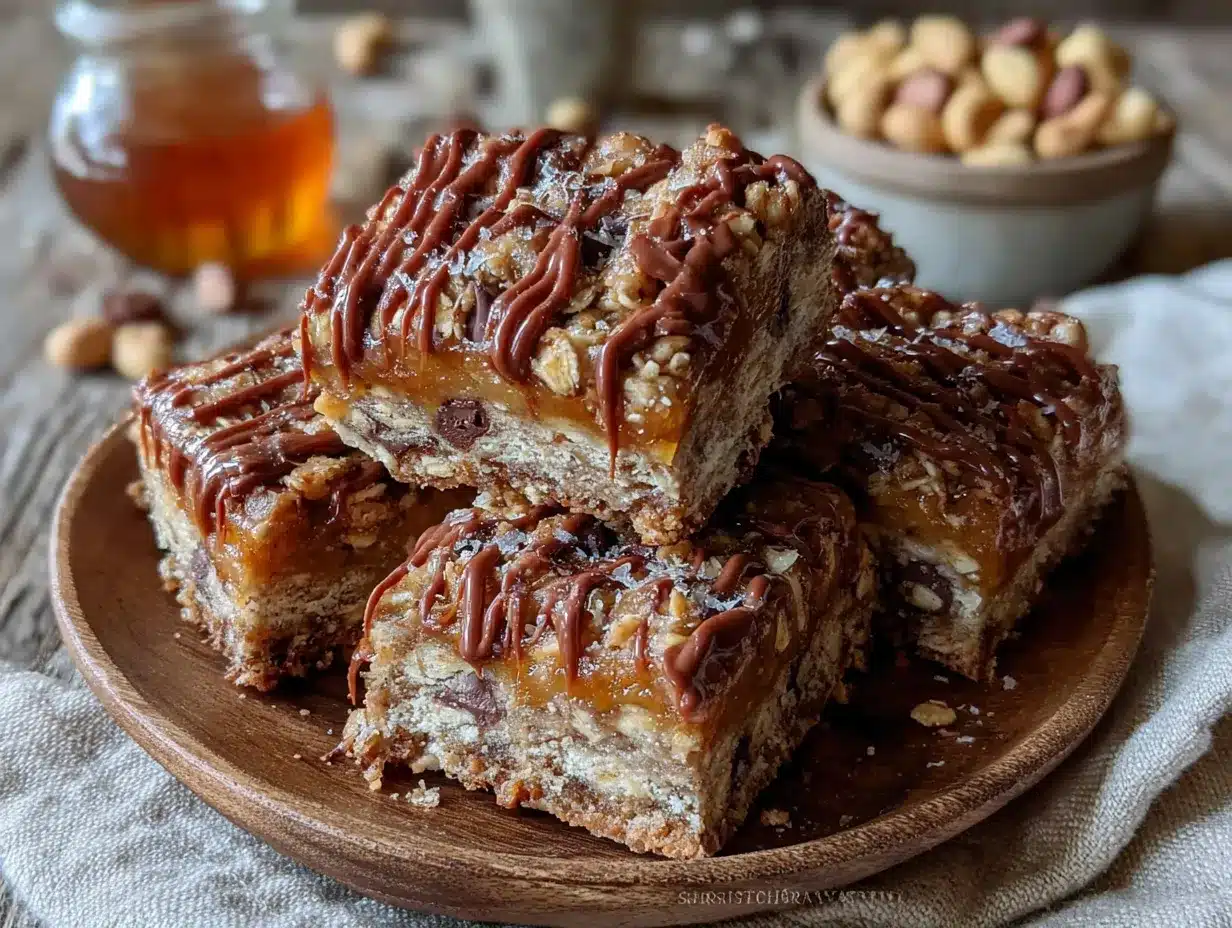
Let’s get to the fun part. This recipe comes together in just a few simple steps. I’ll walk you through each one so you get perfect bars every time.
- Prepare your pan. Line an 8×8-inch baking pan with parchment paper, leaving about 2 inches of overhang on two opposite sides. This creates handles that make it easy to lift the bars out later. Set the pan aside while you prepare the mixture.
- Combine the wet ingredients. In a small saucepan over low heat, combine 1 cup (240g) creamy peanut butter, ½ cup (170g) honey, and ¼ cup (57g) unsalted butter. Stir constantly until everything is melted and smooth. This usually takes about 3-4 minutes. Don’t walk away—peanut butter can burn quickly if left unattended. The mixture should be glossy and slightly runny when it’s ready.
- Add vanilla and salt. Remove the saucepan from heat and stir in 1 teaspoon vanilla extract and ¼ teaspoon salt. The vanilla will sizzle a bit when it hits the warm mixture—that’s normal and smells amazing.
- Mix in the oats. In a large mixing bowl, place 2 cups (180g) rolled oats. Pour the warm peanut butter mixture over the oats and stir until everything is fully combined. Every oat should be coated. If you’re adding mix-ins like mini chocolate chips, fold them in now. The mixture will look thick and slightly sticky.
- Press into the pan. Transfer the mixture to your prepared pan. Using a spatula or your hands (lightly greased with a little butter or oil), press the mixture firmly and evenly into the pan. This is important—if you don’t press hard enough, the bars will be crumbly. I use the bottom of a measuring cup to really pack it down. Take your time here; it makes a difference.
- Chill until firm. Place the pan in the refrigerator for at least 2 hours, or until the bars are completely firm. For best results, let them chill overnight. The longer they set, the cleaner they’ll cut.
- Cut into bars. Once the mixture is firm, lift the entire block out of the pan using the parchment paper handles. Place it on a cutting board and use a sharp knife to cut into 12 even bars. A clean, sharp knife gives you the neatest edges. If the knife starts to stick, wipe it clean between cuts.
A few things I’ve learned from making these dozens of times: First, don’t skip the pressing step. Really pack that mixture down. Second, if your bars are too sticky to cut, pop them back in the fridge for 15 minutes. And third, if you’re in a hurry, you can speed things up by placing the pan in the freezer for about 45 minutes instead of the fridge. Just keep an eye on them so they don’t freeze solid.
One time, I forgot to line the pan with parchment paper. Big mistake. I spent 20 minutes trying to pry the bars out with a butter knife. Never again. Learn from my mistakes—parchment paper is non-negotiable here.
Cooking Tips & Techniques
After countless batches, I’ve picked up some tricks that make these bars turn out perfectly every time. Let me share what I’ve learned.
Don’t overheat the peanut butter mixture. This is probably the most common mistake I see. If you overheat the peanut butter and honey, the bars can become dry and crumbly once they set. You want the mixture warm enough to melt the butter and thin out the honey, but not so hot that it starts to bubble. Low and slow is the way to go.
Use the right oats. Rolled oats are your best friend here. Quick oats absorb liquid differently and can make the bars mushy. Steel-cut oats are too hard and won’t soften enough. Stick with old-fashioned rolled oats for that perfect chewy texture.
Press firmly and evenly. I cannot stress this enough. Uneven pressing leads to bars that fall apart. Use the bottom of a measuring cup or a flat glass to really compact the mixture. You want it to feel dense and uniform.
Let them set completely. Patience is key. I know it’s tempting to cut into them after an hour, but they won’t hold their shape. Give them the full 2 hours minimum. Overnight is ideal. The difference is night and day.
Cut with a clean knife. A dirty or dull knife will drag through the bars and create messy edges. Run your knife under hot water, dry it off, and make clean cuts. Wipe the blade between each cut for the neatest bars.
I once made a batch where I used old oats that had been sitting in my pantry for over a year. They tasted stale, and the bars didn’t hold together well. Now I always check the date on my oats before using them. Fresh ingredients make a difference, even in simple recipes like this.
Variations & Adaptations
One of the best things about this recipe is how versatile it is. I’ve tried dozens of variations, and here are my favorites.
Chocolate Peanut Butter Bars: Add ½ cup (60g) mini chocolate chips to the mixture before pressing. The chocolate melts slightly and creates these amazing little pockets of richness throughout the bars. My kids go crazy for this version.
Crunchy Peanut Butter Bars: Swap creamy peanut butter for crunchy. The extra texture from the peanut pieces adds a nice crunch. Just make sure the crunchy peanut butter isn’t too dry—some brands can be less spreadable.
Gluten-Free Option: Use certified gluten-free rolled oats. Everything else in the recipe is naturally gluten-free, so this is an easy swap. I’ve made this for friends with celiac disease, and they couldn’t tell the difference.
Vegan Version: Replace the honey with maple syrup and the butter with coconut oil. The bars will be slightly softer, but they still hold together well. I recommend chilling them for at least 3 hours if you go this route.
Nut-Free Alternative: Use sunflower seed butter instead of peanut butter. The flavor is different—more earthy—but it works beautifully. Just note that sunflower seed butter can react with baking soda if you ever bake with it, but since this is no-bake, you’re fine.
Add Dried Fruit: Fold in ½ cup (60g) of dried cranberries, raisins, or chopped dried apricots. The chewy fruit adds sweetness and texture. I love using dried cherries when I can find them.
My personal favorite variation? I add a tablespoon of chia seeds and a handful of unsweetened coconut flakes. It gives the bars a little extra nutrition and a tropical vibe. My husband calls them “hippie bars,” but he eats them just as fast as the regular ones.
Serving & Storage Suggestions
These bars are incredibly versatile when it comes to serving. Here’s how I like to enjoy them.
Serve cold or at room temperature. I prefer them straight from the fridge—they’re firmer and hold together better. But if you like a softer texture, let them sit at room temperature for 5-10 minutes before eating. They’re delicious either way.
Perfect for lunchboxes. Wrap individual bars in parchment paper or place them in a reusable snack bag. They stay fresh and intact for hours, even in a backpack. My kids grab one every morning without fail.
Great for on-the-go snacking. These bars are sturdy enough to throw in a gym bag, hiking pack, or purse. They don’t crumble or melt, which makes them perfect for road trips and outdoor adventures.
Pair with a drink. They go beautifully with a glass of cold milk, a cup of coffee, or even a smoothie. For a fun treat, crumble one over a bowl of vanilla ice cream.
Storage instructions: Keep the bars in an airtight container in the refrigerator for up to 2 weeks. You can also freeze them for up to 3 months. To freeze, layer the bars between sheets of parchment paper in a freezer-safe container. Thaw in the fridge overnight or at room temperature for about 15 minutes.
I’ve noticed that the flavors actually deepen after a day or two in the fridge. The peanut butter and honey meld together, and the oats soften just enough to create that perfect chewy texture. Honestly, they might be even better on day two.
If you’re planning a party or gathering, these bars are a lifesaver. I made a batch for a summer barbecue last year, and they were gone within 20 minutes. Everyone asked for the recipe. They also travel well, so I bring them to potlucks and picnics all the time. If you’re looking for another easy no-bake treat for summer parties, you should try my easy no-bake patriotic eclair cake—it’s another crowd-pleaser that requires zero oven time.
Nutritional Information & Benefits
These bars aren’t just delicious—they’re packed with good-for-you ingredients that fuel your body and keep you satisfied.
Per bar (based on 12 servings):
- Calories: 245
- Total Fat: 14g
- Saturated Fat: 4g
- Carbohydrates: 26g
- Fiber: 3g
- Sugar: 14g
- Protein: 7g
Peanut butter is a fantastic source of plant-based protein and healthy monounsaturated fats. It keeps you full and provides steady energy—perfect for active kids and adults alike.
Rolled oats are rich in fiber, which supports digestion and helps maintain stable blood sugar levels. They also contain vitamins and minerals like magnesium and zinc.
Honey provides natural sweetness along with antioxidants and antibacterial properties. It’s a better choice than refined sugar, though it should still be enjoyed in moderation.
Dietary considerations: This recipe is naturally vegetarian. To make it gluten-free, use certified gluten-free oats. For a vegan version, swap honey for maple syrup and butter for coconut oil. The nut-free version using sunflower seed butter is great for school lunchboxes with allergy restrictions.
Potential allergens: This recipe contains peanuts and gluten (from oats). If you have celiac disease, ensure your oats are certified gluten-free. The vegan version contains coconut.
I love that I can feel good about giving these to my kids. They’re getting protein, fiber, and healthy fats—not artificial ingredients and preservatives. It’s a win-win in my book.
Conclusion
These no-bake peanut butter oat lunchbox bars have become a staple in our home, and I have a feeling they’ll become one in yours too. They’re quick, easy, and made with ingredients you probably already have in your pantry. No oven required, no complicated steps, no fancy equipment. Just simple, wholesome food that tastes amazing.
What I love most about this recipe is how adaptable it is. You can customize it with different mix-ins, swap ingredients for dietary needs, and make it your own. It’s the kind of recipe that invites experimentation—and that’s the best kind of recipe to have in your back pocket.
Whether you’re packing school lunches, looking for a healthy after-school snack, or just want something sweet without turning on the oven, these bars deliver. They’re proof that simple ingredients can create something truly special.
I’d love to hear how yours turn out! Leave a comment below and let me know what mix-ins you tried, or tag me in your photos if you share them online. Happy snacking, friends!
Frequently Asked Questions
Can I use quick oats instead of rolled oats?
Yes, but the texture will be softer and less chewy. Quick oats absorb liquid differently, so the bars may not hold together as well. If you only have quick oats, try reducing the honey slightly to compensate.
How long do these bars last in the fridge?
They stay fresh in an airtight container in the refrigerator for up to 2 weeks. I usually make a double batch and we eat them over the course of a week and a half. They also freeze beautifully for up to 3 months.
Can I make these without honey?
Absolutely. Maple syrup is the best substitute, though the bars will be slightly softer. You can also use agave nectar or brown rice syrup. Each sweetener will change the flavor and texture slightly, so feel free to experiment.
Why are my bars falling apart?
This usually happens for one of three reasons: you didn’t press the mixture firmly enough into the pan, you didn’t let them chill long enough, or your peanut butter was too runny. Next time, press harder, chill longer, and make sure your peanut butter is well-stirred and not too oily.
Can I double this recipe?
Yes! Double all the ingredients and use a 9×13-inch pan instead of an 8×8-inch pan. The chilling time may need to increase by about 30 minutes. These bars are perfect for parties and large gatherings, so doubling is a great idea.
Pin This Recipe!
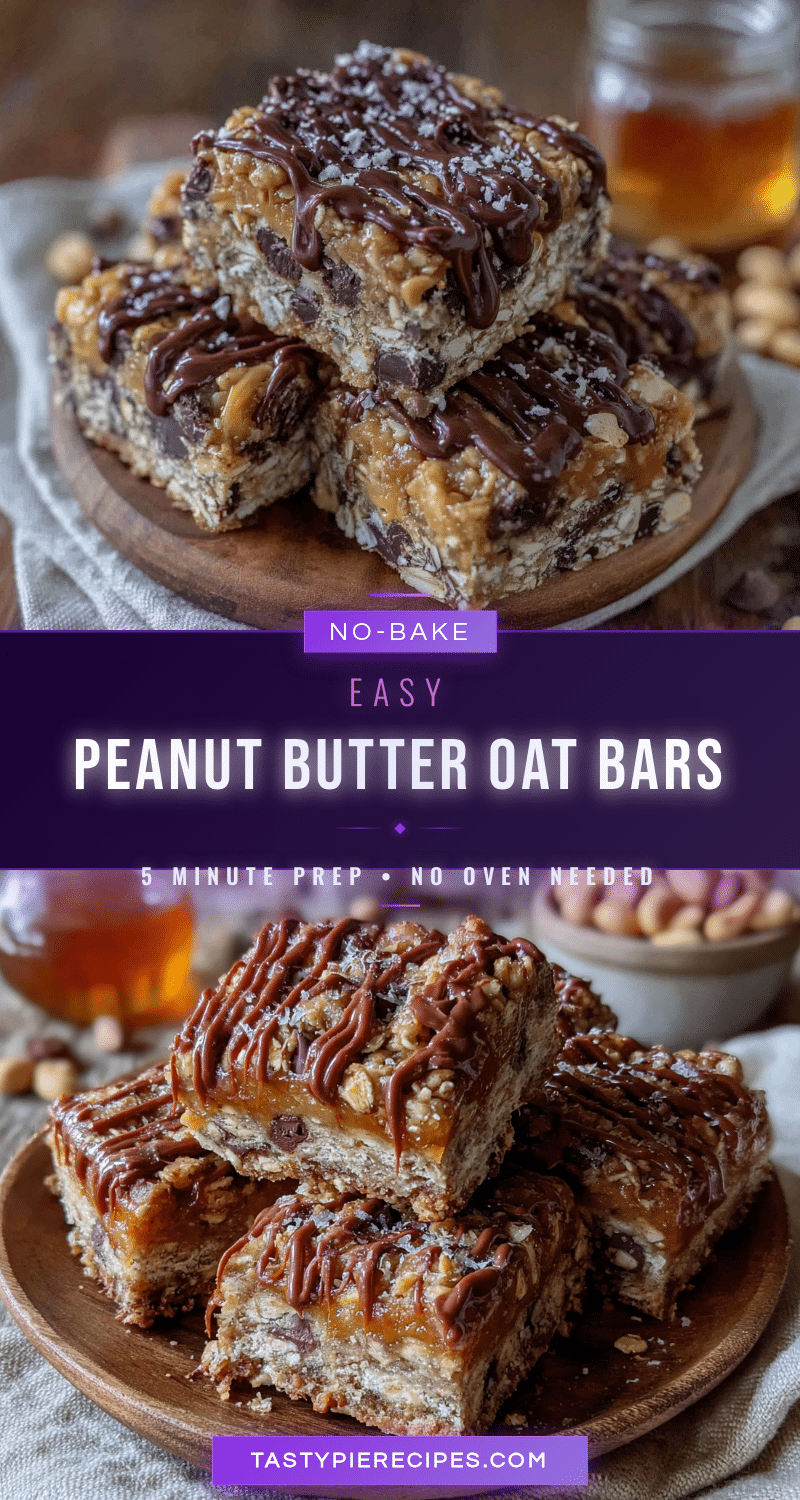
Best No-Bake Peanut Butter Oat Lunchbox Bars

These no-bake peanut butter oat lunchbox bars are chewy, sturdy, and just sweet enough. Made with simple pantry ingredients, they hold together perfectly in lunchboxes and are a crowd-pleasing snack for kids and adults alike.
- Prep Time: 15 minutes
- Cook Time: 0 minutes
- Total Time: 2 hours 15 minutes (includes chilling)
- Yield: 12 bars 1x
- Category: Snack
- Cuisine: American
Ingredients
- 2 cups (180g) rolled oats (old-fashioned oats)
- 1 cup (240g) creamy peanut butter (e.g., Jif or Skippy)
- ½ cup (170g) honey
- ¼ cup (57g) unsalted butter, melted
- 1 teaspoon vanilla extract
- ¼ teaspoon salt
- ½ cup (60g) mini chocolate chips (optional)
Instructions
- Line an 8×8-inch baking pan with parchment paper, leaving about 2 inches of overhang on two opposite sides. Set aside.
- In a small saucepan over low heat, combine 1 cup creamy peanut butter, ½ cup honey, and ¼ cup unsalted butter. Stir constantly until melted and smooth, about 3-4 minutes.
- Remove from heat and stir in 1 teaspoon vanilla extract and ¼ teaspoon salt.
- In a large mixing bowl, place 2 cups rolled oats. Pour the warm peanut butter mixture over the oats and stir until fully combined. If using, fold in ½ cup mini chocolate chips.
- Transfer the mixture to the prepared pan. Using a spatula or lightly greased hands, press the mixture firmly and evenly into the pan. Use the bottom of a measuring cup to pack it down tightly.
- Refrigerate for at least 2 hours, or until completely firm. For best results, chill overnight.
- Lift the block out of the pan using the parchment paper handles. Place on a cutting board and cut into 12 even bars with a sharp knife.
Notes
Press the mixture firmly into the pan to prevent crumbling. For cleaner cuts, chill overnight. If bars are too sticky to cut, refrigerate for 15 more minutes. For a vegan version, replace honey with maple syrup and butter with coconut oil. For gluten-free, use certified gluten-free rolled oats. For nut-free, use sunflower seed butter.
Nutrition
- Serving Size: 1 bar
- Calories: 245
- Sugar: 14
- Sodium: 95
- Fat: 14
- Saturated Fat: 4
- Carbohydrates: 26
- Fiber: 3
- Protein: 7
Keywords: no-bake, peanut butter, oat, lunchbox bars, granola bars, easy snack, kid-friendly, healthy snack