“You’re telling me I have to make dessert for the whole crowd, and it’s graduation day?” my sister groaned over the phone. Honestly, I was already drained from juggling last-minute plans and trying to keep everything on track. But then it hit me—why not let everyone play chef and build their own treats? That’s how the ultimate build-your-own brownie sundae bar was born in my chaotic kitchen, right between piles of caps and gowns.
There was this moment when the first brownie hit the table, warm and fudgy, with a few curious friends hovering around. Someone grabbed a scoop of ice cream, another sprinkled on nuts, and suddenly the room buzzed with laughter and chatter about toppings. It wasn’t just a dessert; it was a little celebration station where everyone got to customize their sweet victory. The best part? No stressed-out host hovering over a single tray of brownies.
It’s funny how something so simple became the highlight of the day. The smell of melting chocolate mingled with creamy vanilla ice cream, and that subtle crunch from chopped pecans or a drizzle of caramel made each sundae feel a bit special. This build-your-own brownie sundae bar stuck with me because it’s not just a dessert—it’s a way to bring people together, letting each person’s sweet tooth run wild. And on a day where memories are made, isn’t that what we want?
Why You’ll Love This Recipe
Honestly, this build-your-own brownie sundae bar is one of those recipes that feels like a party on its own. After making this a few times for friends and family, I can say it checks all the boxes for a fuss-free, crowd-pleasing dessert that’s as fun to make as it is to eat.
- Quick & Easy: The brownies can be baked in about 30 minutes, and setting up the sundae bar takes less than 20. Perfect for those hectic graduation days or last-minute celebrations.
- Simple Ingredients: No need for fancy or hard-to-find items — just pantry staples and some classic ice cream toppings.
- Perfect for Graduation Fun: It’s interactive and keeps guests engaged, making it ideal for any party where everyone wants to feel involved.
- Crowd-Pleaser: I’ve yet to meet a kid or adult who didn’t go back for seconds (or thirds!).
- Unbelievably Delicious: The rich, fudgy brownies paired with creamy ice cream and crunchy toppings create a texture and flavor combo that’s downright addictive.
This isn’t just another brownie sundae recipe. What sets it apart is the freedom it gives everyone to customize their dessert exactly the way they want it. Plus, I’ve tweaked the brownie recipe to be super fudgy by adding a touch of espresso powder for depth — trust me, it wakes up the chocolate flavor without tasting like coffee at all. It’s that little secret I picked up from my favorite fudgy brownie recipe that always impresses guests.
What Ingredients You Will Need
This recipe uses simple, wholesome ingredients to deliver bold flavor and a satisfying texture without the fuss. Most are pantry staples, and you can swap a few to fit your preferences or dietary needs.
- For the Brownies:
- 1 cup (226g) unsalted butter, melted (adds richness and fudginess)
- 2 cups (400g) granulated sugar
- 4 large eggs, room temperature
- 1 teaspoon pure vanilla extract
- 1 cup (125g) all-purpose flour
- ¾ cup (75g) unsweetened cocoa powder (I prefer Dutch-processed cocoa for deeper flavor)
- ½ teaspoon salt
- 1 teaspoon espresso powder (optional, but highly recommended for enhancing chocolate)
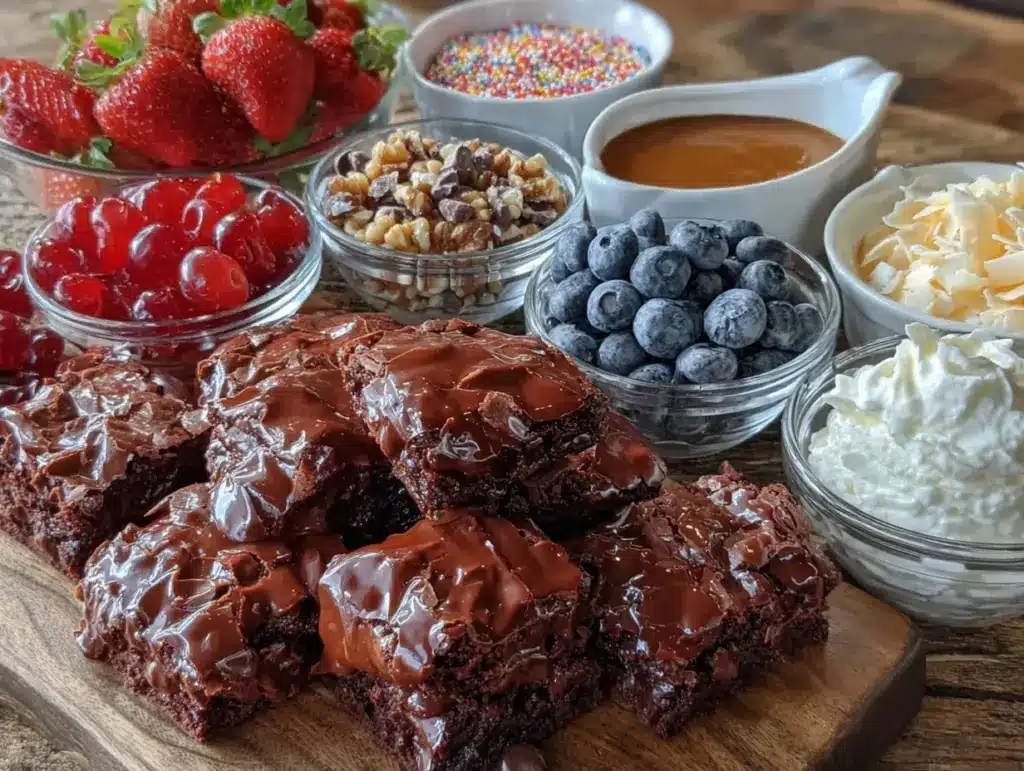
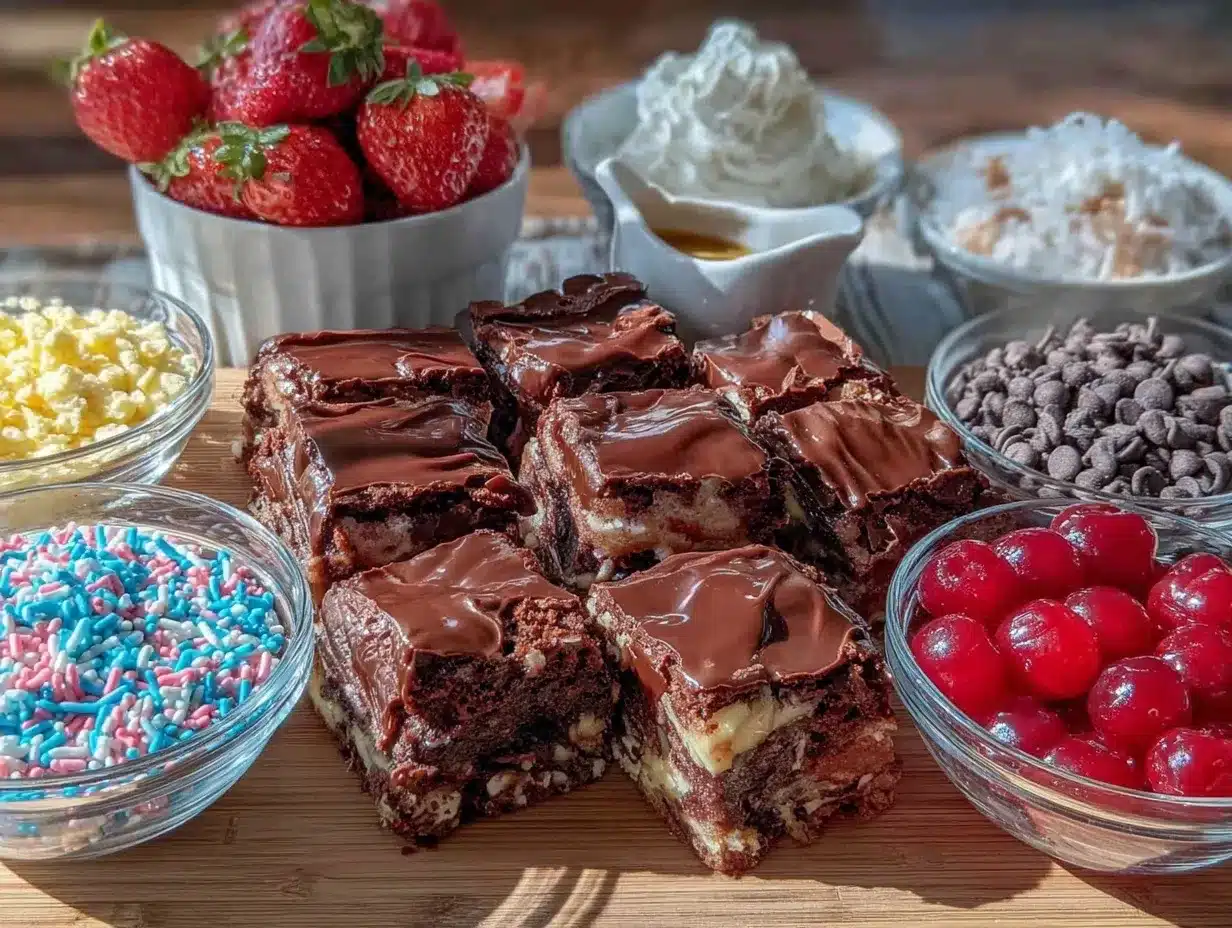
- For the Sundae Bar Toppings:
- Vanilla ice cream (or any favorite flavor)
- Chocolate syrup
- Caramel sauce
- Chopped nuts (pecans, walnuts, or almonds)
- Sprinkles or mini chocolate chips
- Whipped cream
- Maraschino cherries
- Fresh berries (strawberries or raspberries add a nice tart contrast)
- Crushed cookies or candy pieces
For a gluten-free option, swap the all-purpose flour with almond flour or a gluten-free baking blend. If you want to keep it dairy-free, use coconut oil instead of butter and dairy-free ice cream — I’ve tried So Delicious brand with great results. For a little extra fun, try adding a pinch of cayenne powder to the brownie batter for a subtle kick, inspired by the savory candied bacon recipe that balances sweet and spicy beautifully.
Equipment Needed
- 9×13-inch (23×33 cm) baking pan – standard size for brownies; if you don’t own one, a similar sized oven-safe dish will work.
- Mixing bowls – one large for batter mixing, and smaller ones for toppings prep.
- Whisk and rubber spatula – essential for smooth batter mixing and scraping the bowl.
- Measuring cups and spoons – accuracy helps with the brownie texture.
- Cooling rack – to let the brownies cool evenly without getting soggy on the bottom.
- Scoops and small bowls – for setting up each topping; I like using mini ramekins for a tidy presentation.
- Serving platters or trays – to hold brownies cut into squares and keep the sundae bar organized.
If you don’t have a cooling rack, placing the pan on a wire oven rack or even a clean kitchen towel works in a pinch. For mixing, a handheld electric mixer isn’t necessary but speeds things up, especially when beating eggs and sugar. I tend to rely on good old-fashioned elbow grease with a whisk; it’s satisfying and keeps me connected to the process.
Preparation Method
- Preheat your oven to 350°F (175°C). Grease your 9×13-inch baking pan or line it with parchment paper, leaving an overhang for easy brownie removal.
- Mix the wet ingredients: In a large bowl, whisk together the melted butter and sugar until combined. Add the eggs one at a time, whisking well after each addition. Stir in the vanilla extract.
- Combine the dry ingredients: In a separate bowl, sift together the flour, cocoa powder, salt, and espresso powder. This helps prevent lumps and ensures even distribution of flavors.
- Gently fold the dry ingredients into the wet mixture. Use a rubber spatula to fold until just combined—don’t overmix, or brownies can become cakey instead of fudgy. The batter should be thick and glossy.
- Pour the batter into your prepared pan, smoothing the top. Tap the pan lightly on the counter to release any air bubbles.
- Bake for 25-30 minutes. Check at 25 minutes by inserting a toothpick into the center; it should come out with a few moist crumbs but not wet batter. Overbaking dries out the brownies, so keep an eye on that.
- Let the brownies cool completely on a wire rack. This step is key for clean cuts and better texture. If you’re impatient like me, refrigerate them for 30 minutes after cooling to firm them up faster.
- While brownies cool, prepare your sundae bar toppings. Scoop ice cream into the freezer until ready to serve, chop nuts, and place toppings in separate bowls with spoons.
- Cut brownies into squares and arrange on a serving tray. Set up the sundae bar with brownies, ice cream, sauces, and toppings in an inviting way so guests can help themselves.
One quick tip – if you want extra fudgy edges, bake the brownies about 3 minutes less and let them set as they cool. I’ve learned this trick from repeated trial and error (and too many dry brownies). Also, the espresso powder is subtle but really wakes up the chocolate flavor without making it taste like coffee, which some friends didn’t expect but loved.
Cooking Tips & Techniques
There’s a bit of art to getting brownies just right, but honestly, it’s mostly about watching and feeling rather than strict rules. Here’s what I’ve picked up:
- Don’t overmix the batter. Folding in the flour just until combined keeps brownies tender and moist — overworking the batter can lead to toughness.
- Use room temperature eggs. They incorporate better into the batter, making it silky and smooth.
- Measure cocoa powder accurately. Too much can dry out the batter, so spoon it into the cup and level it off instead of scooping directly.
- Keep an eye on baking time. Ovens vary, so start checking at 25 minutes. The toothpick test is your best friend.
- Let brownies cool fully before cutting. This prevents crumbling and helps them hold their shape when piled with toppings.
- Set up toppings in small containers. It keeps the bar neat and encourages experimentation without mess.
I once skipped the cooling step (rookie mistake) and ended up with a gooey mess that couldn’t hold a scoop of ice cream. Lesson learned! Also, multitask by prepping toppings while brownies bake — it saves time and keeps your kitchen flow smooth. For a neat presentation, I like using a serrated knife and wiping it clean between cuts.
Variations & Adaptations
This brownie sundae bar is a perfect canvas for creativity. Here are some twists I’ve tried or recommend:
- Nut-Free Version: Skip nuts and add crushed pretzels or toasted coconut flakes for crunch.
- Seasonal Toppings: Swap fresh berries for chopped peaches or mango in summer, or use spiced apple compote in fall.
- Vegan Adaptation: Use flax eggs (1 tbsp ground flaxseed + 3 tbsp water per egg), dairy-free butter, and vegan ice cream.
- Flavor Boost: Stir in orange zest or a pinch of cinnamon into the brownie batter for a subtle twist.
- Cooking Method: Tried making mini brownie bites in a muffin tin for easy finger foods—just reduce baking time to about 18 minutes.
Personally, I once added a swirl of peanut butter before baking for a rich, nutty surprise. That combo got rave reviews and even inspired me to adapt some ideas from the chocolate chip waffle sundae recipe, mixing textures and flavors that really pop.
Serving & Storage Suggestions
Serve the brownie sundae bar at room temperature for the brownies, with ice cream fresh out of the freezer. Arrange toppings around the brownies in small bowls, and encourage guests to pile on the fun.
This dessert pairs well with simple drinks like cold milk, iced coffee, or even a sparkling lemonade to cut through the richness. I’ve found that setting up a small beverage station nearby keeps things flowing nicely.
For storage, keep leftover brownies covered tightly at room temperature for up to 2 days or refrigerate for up to 5 days. The ice cream and toppings should be stored separately in the freezer or fridge as appropriate. Reheat brownies gently in the microwave (about 15-20 seconds) before serving with ice cream — it’s the little warm touch that makes a sundae truly special.
Flavors tend to deepen with a day’s rest, so if you plan ahead, the brownies taste even better the next day, though fresh is always a hit!
Nutritional Information & Benefits
Each brownie square (about 2-inch/5 cm) with a modest scoop of ice cream and toppings is roughly 350-400 calories, depending on your choices. Key ingredients like cocoa powder bring antioxidants, while nuts add healthy fats and protein.
This dessert can fit into balanced diets when enjoyed in moderation. By using quality ingredients and controlling portion sizes, it becomes a satisfying treat for celebrations without overindulgence. For gluten-free or dairy-free needs, swapping ingredients keeps this inclusive too.
From a wellness perspective, I appreciate that this recipe encourages sharing and mindfulness around food—sometimes the best health boost is a joyful moment with friends and family over something delicious.
Conclusion
The ultimate build-your-own brownie sundae bar is more than just a dessert idea — it’s a way to turn a sweet treat into a fun, interactive experience everyone can enjoy. Whether you’re hosting a graduation party or just want an easy way to impress without breaking a sweat, this recipe has you covered.
Feel free to make it your own by mixing up toppings and playing with the brownie base. I love how it brings people together, letting each person’s personality shine through their sundae choices. Honestly, it’s become my go-to celebration dessert because it’s simple, delicious, and just plain fun.
If you try it out, I’d love to hear how you customize your sundae bar or what toppings your crowd goes wild over. Here’s to sweet celebrations and memories made one scoop at a time!
FAQs About the Ultimate Build-Your-Own Brownie Sundae Bar
How far ahead can I bake the brownies for the sundae bar?
You can bake the brownies up to 2 days before your event. Store them tightly covered at room temperature or in the fridge. Just warm slightly before serving for best texture.
Can I use store-bought brownies for this sundae bar?
Absolutely! Store-bought brownies work fine and save time. Just warm them a bit before serving to mimic that fresh-baked feel.
What’s the best way to keep ice cream from melting too fast at the sundae bar?
Keep ice cream in the coldest part of the freezer until just before serving. Use a scoop warmed with hot water for clean scoops, and serve in small batches to avoid melting.
Are there any allergy-friendly topping ideas?
Yes! Use fresh fruit, coconut flakes, or dairy-free whipped cream. Avoid nuts and use gluten-free cookies or candies to accommodate allergies.
Can I make this sundae bar vegan?
Definitely. Use flax eggs in brownies, dairy-free butter, and plant-based ice cream. Most toppings can be swapped for vegan options, like coconut whipped cream and fruit.
Pin This Recipe!
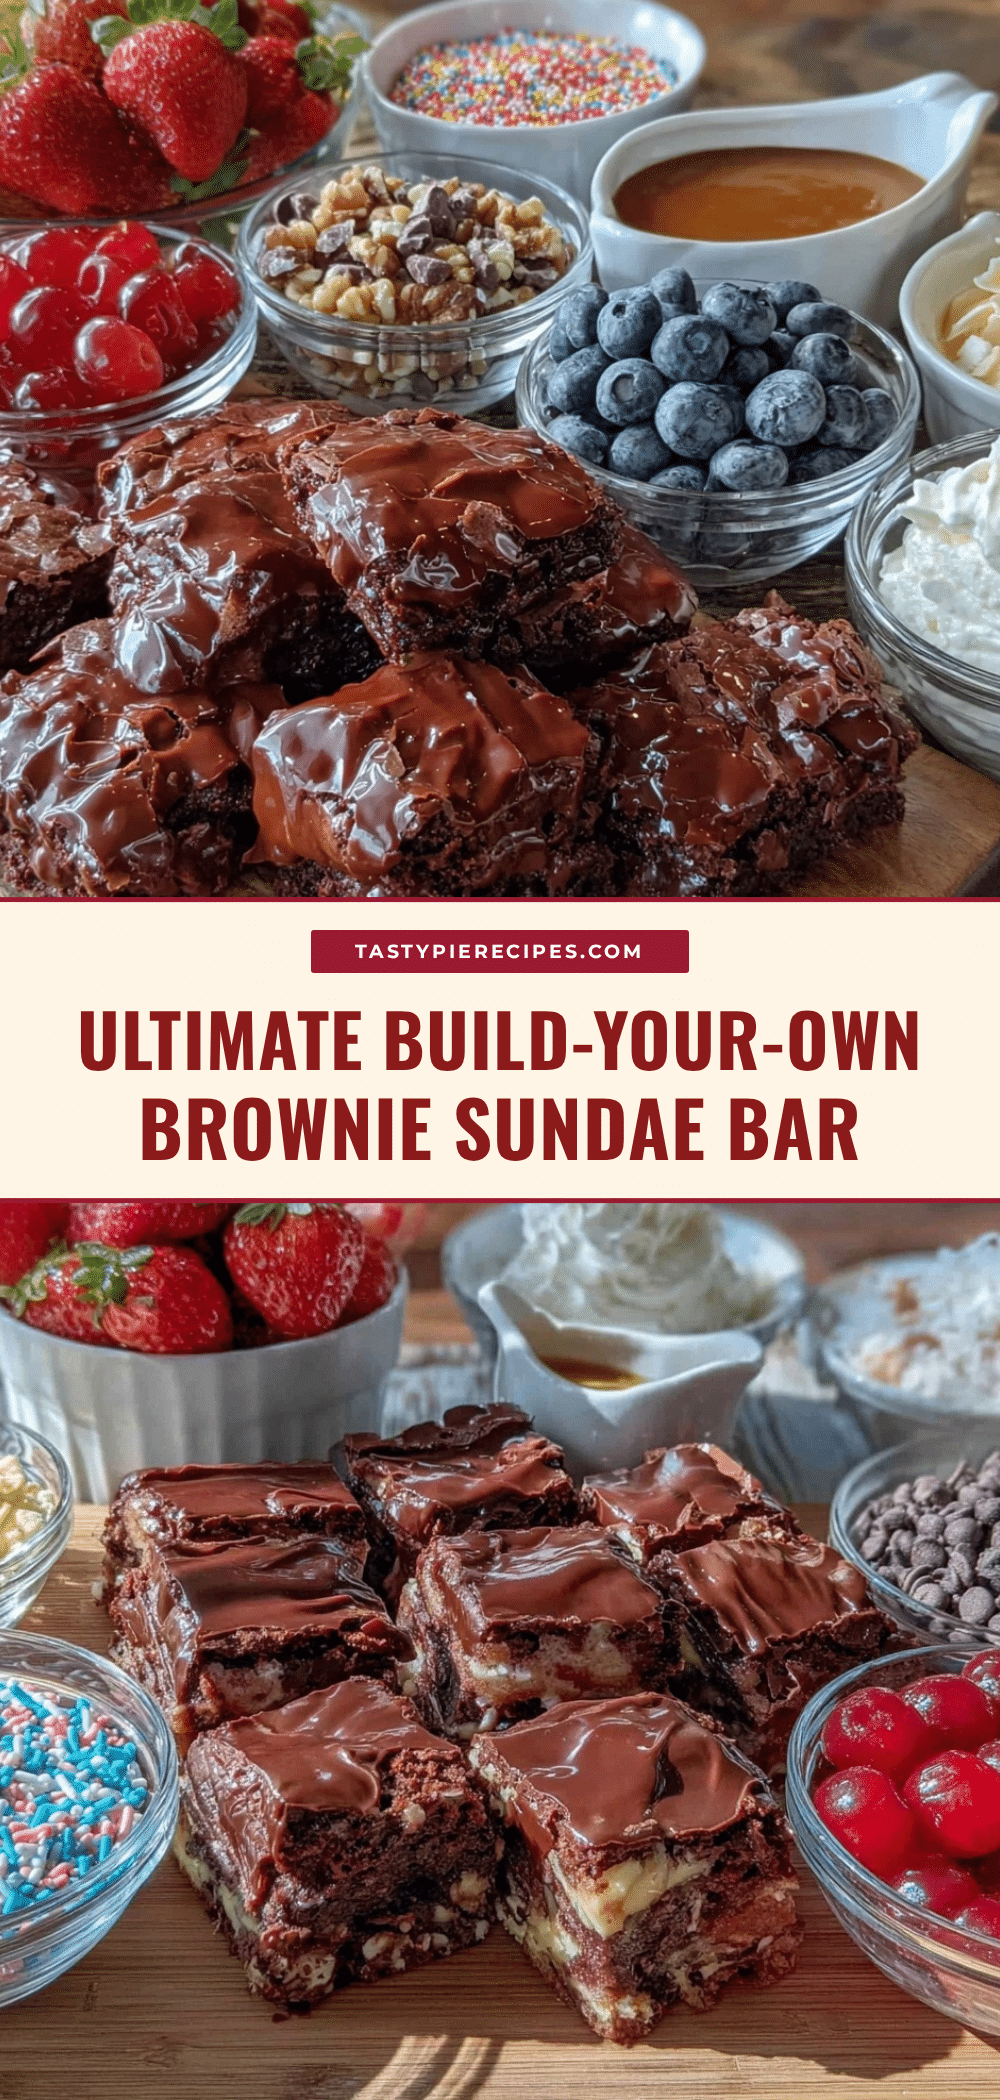
Ultimate Build-Your-Own Brownie Sundae Bar

A fun, interactive dessert perfect for graduation parties where guests can customize their own brownie sundaes with a variety of toppings. The fudgy brownies are enhanced with espresso powder for a rich chocolate flavor.
- Prep Time: 20 minutes
- Cook Time: 30 minutes
- Total Time: 50 minutes
- Yield: 12 servings 1x
- Category: Dessert
- Cuisine: American
Ingredients
- 1 cup (226g) unsalted butter, melted
- 2 cups (400g) granulated sugar
- 4 large eggs, room temperature
- 1 teaspoon pure vanilla extract
- 1 cup (125g) all-purpose flour
- ¾ cup (75g) unsweetened cocoa powder (preferably Dutch-processed)
- ½ teaspoon salt
- 1 teaspoon espresso powder (optional)
- Vanilla ice cream (or any favorite flavor)
- Chocolate syrup
- Caramel sauce
- Chopped nuts (pecans, walnuts, or almonds)
- Sprinkles or mini chocolate chips
- Whipped cream
- Maraschino cherries
- Fresh berries (strawberries or raspberries)
- Crushed cookies or candy pieces
Instructions
- Preheat your oven to 350°F (175°C). Grease a 9×13-inch baking pan or line it with parchment paper with an overhang for easy removal.
- In a large bowl, whisk together melted butter and sugar until combined. Add eggs one at a time, whisking well after each addition. Stir in vanilla extract.
- In a separate bowl, sift together flour, cocoa powder, salt, and espresso powder.
- Gently fold the dry ingredients into the wet mixture using a rubber spatula until just combined. Do not overmix.
- Pour batter into prepared pan and smooth the top. Tap pan lightly to release air bubbles.
- Bake for 25-30 minutes. Check at 25 minutes with a toothpick; it should come out with a few moist crumbs but no wet batter.
- Let brownies cool completely on a wire rack. Optionally refrigerate for 30 minutes to firm up faster.
- While brownies cool, prepare sundae bar toppings by scooping ice cream, chopping nuts, and placing toppings in separate bowls.
- Cut brownies into squares and arrange on a serving tray. Set up the sundae bar with brownies, ice cream, sauces, and toppings for guests to customize.
Notes
For extra fudgy edges, bake brownies about 3 minutes less and let them set as they cool. Use room temperature eggs for better batter texture. Avoid overmixing to keep brownies tender. Refrigerate brownies after cooling to firm up faster if desired. Espresso powder enhances chocolate flavor without tasting like coffee. For gluten-free, substitute flour with almond flour or gluten-free blend. For dairy-free, use coconut oil instead of butter and dairy-free ice cream. Warm brownies slightly before serving for best texture.
Nutrition
- Serving Size: One 2-inch brownie s
- Calories: 350400
- Sugar: 35
- Sodium: 150
- Fat: 18
- Saturated Fat: 10
- Carbohydrates: 50
- Fiber: 3
- Protein: 4
Keywords: brownie sundae, build-your-own dessert, graduation party dessert, fudgy brownies, ice cream sundae bar, easy dessert, crowd-pleaser


