“Are you sure this gravy isn’t lumpy?” my partner asked, eyeing the saucepan with cautious hope. Honestly, I had my doubts too. After years of struggling with that dreaded, clumpy turkey gravy—especially during holiday dinners when everything else was already chaotic—I stumbled onto this easy 5-step recipe for smooth homemade turkey gravy without lumps. No fancy gadgets, no mysterious ingredients, just straightforward kitchen magic.
It all started last Thanksgiving when I was juggling roasting the turkey, sides, and entertaining relatives. I grabbed the drippings, whisked in some flour, and immediately, that familiar grainy texture appeared. I almost threw in the towel but decided to experiment a bit. After a few tries (and a lot of patience), I nailed a gravy that was silky, poured like velvet, and packed with rich turkey flavor.
What surprised me most was how simple it was to get that perfect texture — no lumps, no stress. This smooth homemade turkey gravy without lumps recipe became my go-to for every roast turkey meal, whether it’s a casual Sunday dinner or the holiday spread. If you’re tired of gravy disasters or need a dependable method that works every single time, this recipe might just be the quiet kitchen win you didn’t know you needed.
It’s the little things—like the way the gravy clings to your fork or the comforting aroma filling the room—that made me realize why this recipe stuck around. No fuss, no mess, just pure, smooth comfort in a bowl.
Why You’ll Love This Recipe
After testing countless gravy methods, this recipe stands out because it’s straightforward but failsafe. I mean, making gravy can be intimidating, but this smooth homemade turkey gravy without lumps recipe is different. Here’s why it’s become a favorite of mine and many others who’ve tried it:
- Quick & Easy: Comes together in about 15 minutes, perfect when you’re juggling a full meal.
- Simple Ingredients: Uses pantry staples and turkey drippings—no mysterious thickeners or additions.
- Ideal for Holiday or Everyday: Whether it’s Thanksgiving or a cozy midweek dinner, it complements turkey perfectly.
- Crowd-Pleaser: Everyone notices when gravy is lump-free and silky smooth. It’s a subtle but powerful upgrade.
- Unbelievably Delicious: The flavor is deep, rich, and enhanced by the natural turkey drippings, making it far better than store-bought gravy.
What sets this apart is the technique—starting with whisking the flour into fat before slowly adding liquid, plus careful temperature control. I’ve also swapped in turkey stock when drippings are scarce, and it still holds up beautifully. It’s not just gravy; it’s the kind of sauce that makes you pause and savor the moment.
Plus, if you’ve tried other gravies that ended up chunky or bland, this recipe offers a little confidence boost. With a few simple moves, you get that perfectly smooth texture that’s both comforting and impressive.
What Ingredients You Will Need
This recipe uses simple, wholesome ingredients to deliver bold flavor and satisfying texture without the fuss. Most of these you probably have on hand, and substitutions are easy if you’re missing something.
- Turkey drippings: The star of the gravy. After roasting your turkey, collect the drippings from the pan. If you don’t have enough, supplement with low-sodium turkey or chicken stock.
- Unsalted butter: About 4 tablespoons (56g), used for creating a smooth roux. Unsalted ensures you can control the saltiness.
- All-purpose flour: 1/4 cup (30g) to thicken the gravy. You can substitute with gluten-free flour blends if needed.
- Low-sodium turkey or chicken stock: 2 cups (475ml) for the liquid base. Homemade or store-bought works fine; I usually prefer Swanson or a trusted organic brand.
- Soy sauce or Worcestershire sauce: 1 teaspoon for depth of flavor (optional but recommended).
- Salt and freshly ground black pepper: To taste, added slowly after thickening to avoid oversalting.
- Fresh herbs (optional): A sprig of thyme or rosemary can be simmered briefly for extra aroma.
For best results, skim off excess fat from the drippings but keep enough to blend with butter and flour. If you’re interested in a dairy-free version, swap butter with olive oil or a neutral cooking oil.
Equipment Needed
Here’s the minimal kitchen gear you’ll want on hand to make this smooth homemade turkey gravy without lumps:
- Medium saucepan: A non-stick or heavy-bottomed pan helps prevent scorching.
- Whisk: Essential for mixing the roux and preventing lumps as you add liquid.
- Measuring cups and spoons: For precise ingredient amounts.
- Strainer (optional): To strain drippings if you want an ultra-smooth base free of bits.
- Spoon and ladle: For tasting and serving.
If you don’t have a whisk, a fork can work in a pinch, but whisking really helps keep lumps at bay. I’ve found that a sturdy saucepan with a thick base distributes heat evenly and saves you from constant stirring. For budget-friendly options, many kitchen stores carry great-quality whisks and pans for under $15.
Preparation Method
- Collect and prepare the drippings: After roasting your turkey, pour pan drippings into a fat separator or let them sit to separate fat. Skim off about 2 tablespoons of fat for the roux, and reserve the rest for flavor. If you don’t have enough drippings, add turkey or chicken stock to make 2 cups (475ml) liquid total. (Time: 5 minutes)
- Make the roux: In your saucepan over medium heat, melt 4 tablespoons (56g) of unsalted butter with 2 tablespoons of the reserved turkey fat. Once melted and bubbling, sprinkle in 1/4 cup (30g) all-purpose flour. Whisk constantly for about 2-3 minutes until the flour cooks through and the mixture turns a light golden color. This step is crucial to avoid a raw flour taste and helps prevent lumps. (Time: 3 minutes)
- Add liquid gradually: Slowly pour in your 2 cups (475ml) of turkey drippings and stock mixture in a thin stream while whisking vigorously. This slow addition with continuous whisking prevents lumps from forming. The gravy will start to thicken as you add the liquid. (Time: 3-4 minutes)
- Simmer and season: Bring the gravy to a gentle simmer, stirring frequently. Add 1 teaspoon soy sauce or Worcestershire sauce for a boost of savory depth. Season with salt and freshly cracked black pepper to taste. If using fresh herbs, add a sprig now and remove after a few minutes. (Time: 5 minutes)
- Final texture check: If the gravy is too thick, whisk in a splash more stock or water. If it’s too thin, continue simmering gently while stirring until it reaches your desired consistency. Remove herbs before serving. (Time: 2-3 minutes)
Pro tip: Keep your heat moderate and whisk often — rushing or turning the heat too high can cause lumps or burning. I like to keep a spoon handy to taste and adjust seasoning as I go. This method has never failed me, even during big family dinners.
Cooking Tips & Techniques
Making smooth homemade turkey gravy without lumps is all about technique, and a few insider tips can save you from frustration:
- Whisking is your best friend. Constantly whisking while adding liquid helps break up any potential lumps before they form.
- Cook the roux long enough. That 2-3 minute step isn’t just tradition — it cooks out the floury taste and primes the base for smooth thickening.
- Don’t dump all the liquid in at once. Adding drippings and stock gradually allows the roux to absorb and thicken evenly.
- Skim excess fat. Too much fat can cause greasy gravy or separation. I learned this the hard way after one disastrous batch.
- Use a fat separator or chill the drippings. This makes it easier to remove unwanted fat and get a clean flavor.
- Season late. Salt can intensify as gravy reduces, so add a little at a time and adjust at the end.
- Feel free to strain. For ultra-smooth gravy, strain your finished product through a fine mesh sieve before serving.
I remember once rushing and adding the liquid too fast—instant lumps! Since then, patience and steady whisking have been my gravy-making mantra.
Variations & Adaptations
This smooth homemade turkey gravy without lumps recipe is flexible and easy to tweak for different tastes or dietary needs:
- Gluten-Free: Use a gluten-free flour blend or cornstarch slurry instead of all-purpose flour. Cornstarch should be mixed with cold water before adding to avoid lumps.
- Dairy-Free: Substitute butter with olive oil or vegan margarine. The flavor is slightly different but still rich.
- Herb-Infused: Add fresh sage, thyme, or rosemary sprigs while simmering for a fragrant twist. Remove before serving.
- Spicy Kick: A pinch of cayenne pepper or smoked paprika adds warmth without overpowering the turkey flavor.
- Rich and Creamy: Stir in a splash of heavy cream or coconut milk at the end for extra silkiness.
Personally, I once tried adding caramelized onions to the pan before making the roux—unexpected, but it gave the gravy a lovely sweetness that paired beautifully with roasted turkey. Adjust based on your mood or what’s in your pantry.
Serving & Storage Suggestions
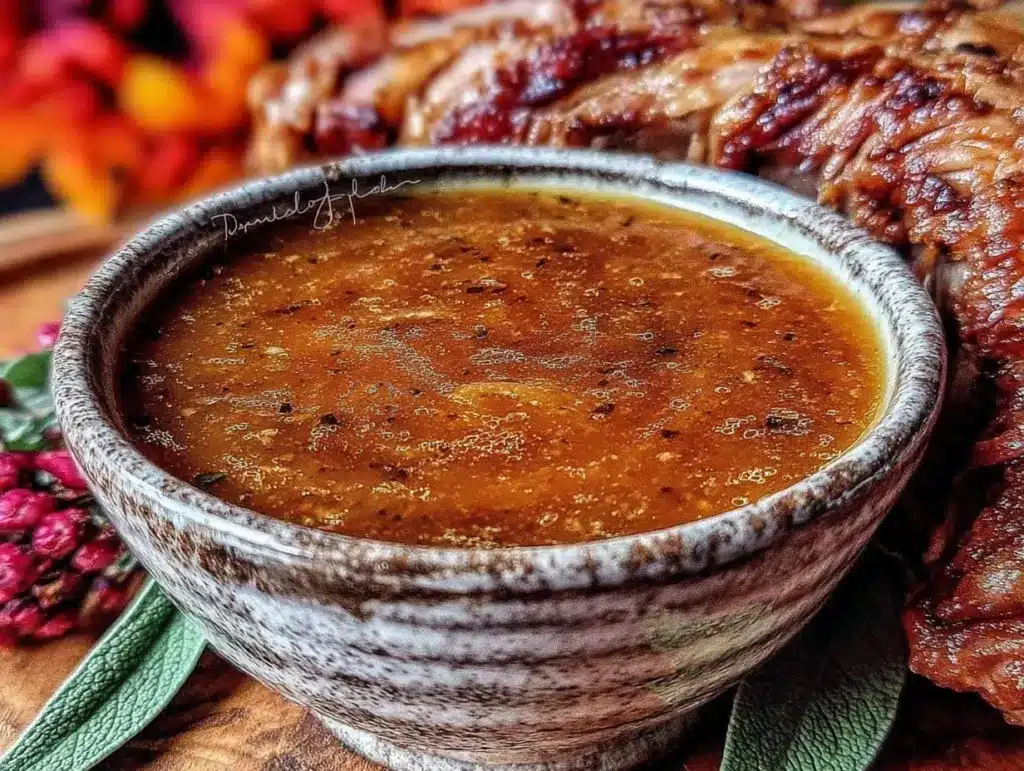
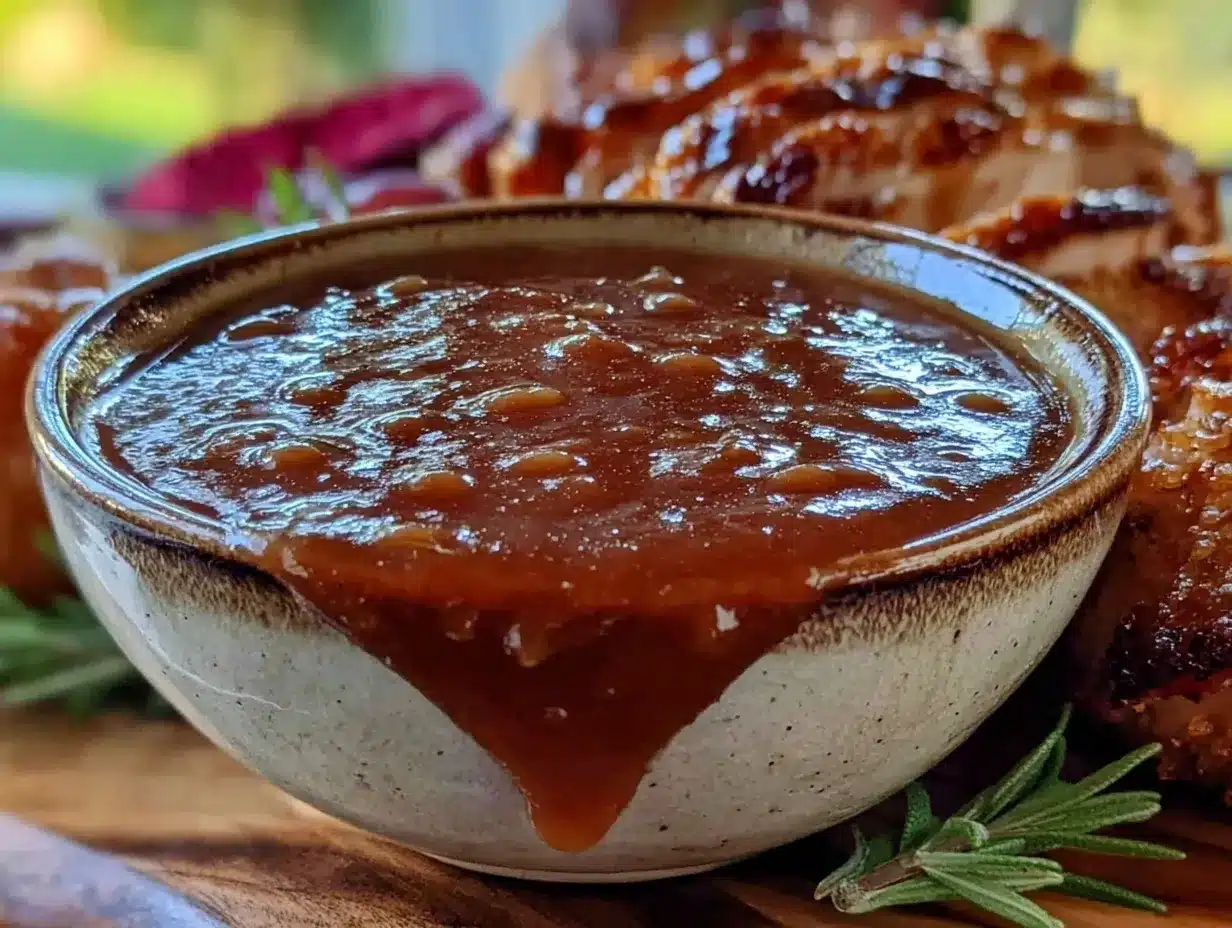
Serve your smooth homemade turkey gravy without lumps warm, spooned generously over sliced turkey, mashed potatoes, or stuffing. It’s the cozy finishing touch that makes a meal feel complete.
For presentation, a gravy boat or small ceramic pitcher looks inviting on the table. Garnish with a sprinkle of fresh thyme or parsley if you’re feeling fancy.
Leftovers store well in an airtight container in the fridge for up to 3 days. To reheat, gently warm on the stovetop over low heat, whisking occasionally. If it thickens too much, stir in a splash of stock or water to loosen it.
Freezing is possible, but the texture might change slightly. I prefer fresh gravy, but if you freeze, thaw overnight in the fridge and reheat slowly.
Flavors tend to deepen after sitting a few hours, so if you’re making ahead, this gravy can taste even better the next day—just reheat gently and whisk before serving.
Pair this gravy with a classic roast turkey dinner or alongside a grilled chicken Greek salad for a lighter meal option that still satisfies. The smooth texture complements a variety of dishes beautifully.
Nutritional Information & Benefits
A typical serving (about 1/4 cup or 60ml) of this smooth homemade turkey gravy contains roughly 60 calories, 5 grams of fat, 2 grams of carbohydrates, and 1 gram of protein. Using turkey drippings adds natural richness without extra additives.
Turkey drippings provide a good source of flavor compounds and trace minerals, while the butter and flour contribute fat and energy. By controlling salt and fat amounts, this gravy can fit into balanced diets.
This recipe can be adapted for gluten-free or dairy-free needs, making it accessible for many dietary preferences. For low-carb eaters, using a small amount of almond flour as thickener is a handy trick.
From a wellness standpoint, homemade gravy means you avoid preservatives and excess sodium found in canned versions. Plus, it’s a comforting way to enjoy a hearty meal without guilt.
Conclusion
Getting smooth homemade turkey gravy without lumps doesn’t have to be a stressful guessing game. With just a few simple ingredients and a little patience, you can create a luscious gravy that feels like a special treat but is surprisingly easy to make.
Feel free to personalize this recipe with your favorite herbs or seasonings. I love how this gravy turns even a simple roast into a memorable meal, and I’m confident you’ll appreciate the silky texture and deep flavor every time.
Cooking is all about those small wins, and this gravy recipe has been one of my most reliable. If you try it out, I’d love to hear how it goes or what variations you come up with—drop a comment or share your experience!
Here’s to many smooth, lump-free gravy moments ahead.
Frequently Asked Questions about Smooth Homemade Turkey Gravy
How do I prevent lumps in turkey gravy?
Whisk constantly while gradually adding the liquid to the roux. Cooking the flour in fat first ensures it thickens evenly without lumps.
Can I make turkey gravy without drippings?
Yes! Use turkey or chicken stock as a base and add butter and flour to create the roux. Drippings add flavor but aren’t mandatory.
What can I use instead of all-purpose flour?
Gluten-free flour blends or cornstarch mixed with cold water work well. Adjust quantities as cornstarch thickens more quickly.
Why is my gravy too thin or too thick?
If too thin, simmer longer to reduce and thicken. If too thick, whisk in more stock or water a little at a time until you reach desired consistency.
Can I prepare turkey gravy ahead of time?
Absolutely. Make it a few hours or a day ahead, refrigerate, and reheat gently on the stove while whisking. Add a splash of stock if needed to loosen.
Pin This Recipe!
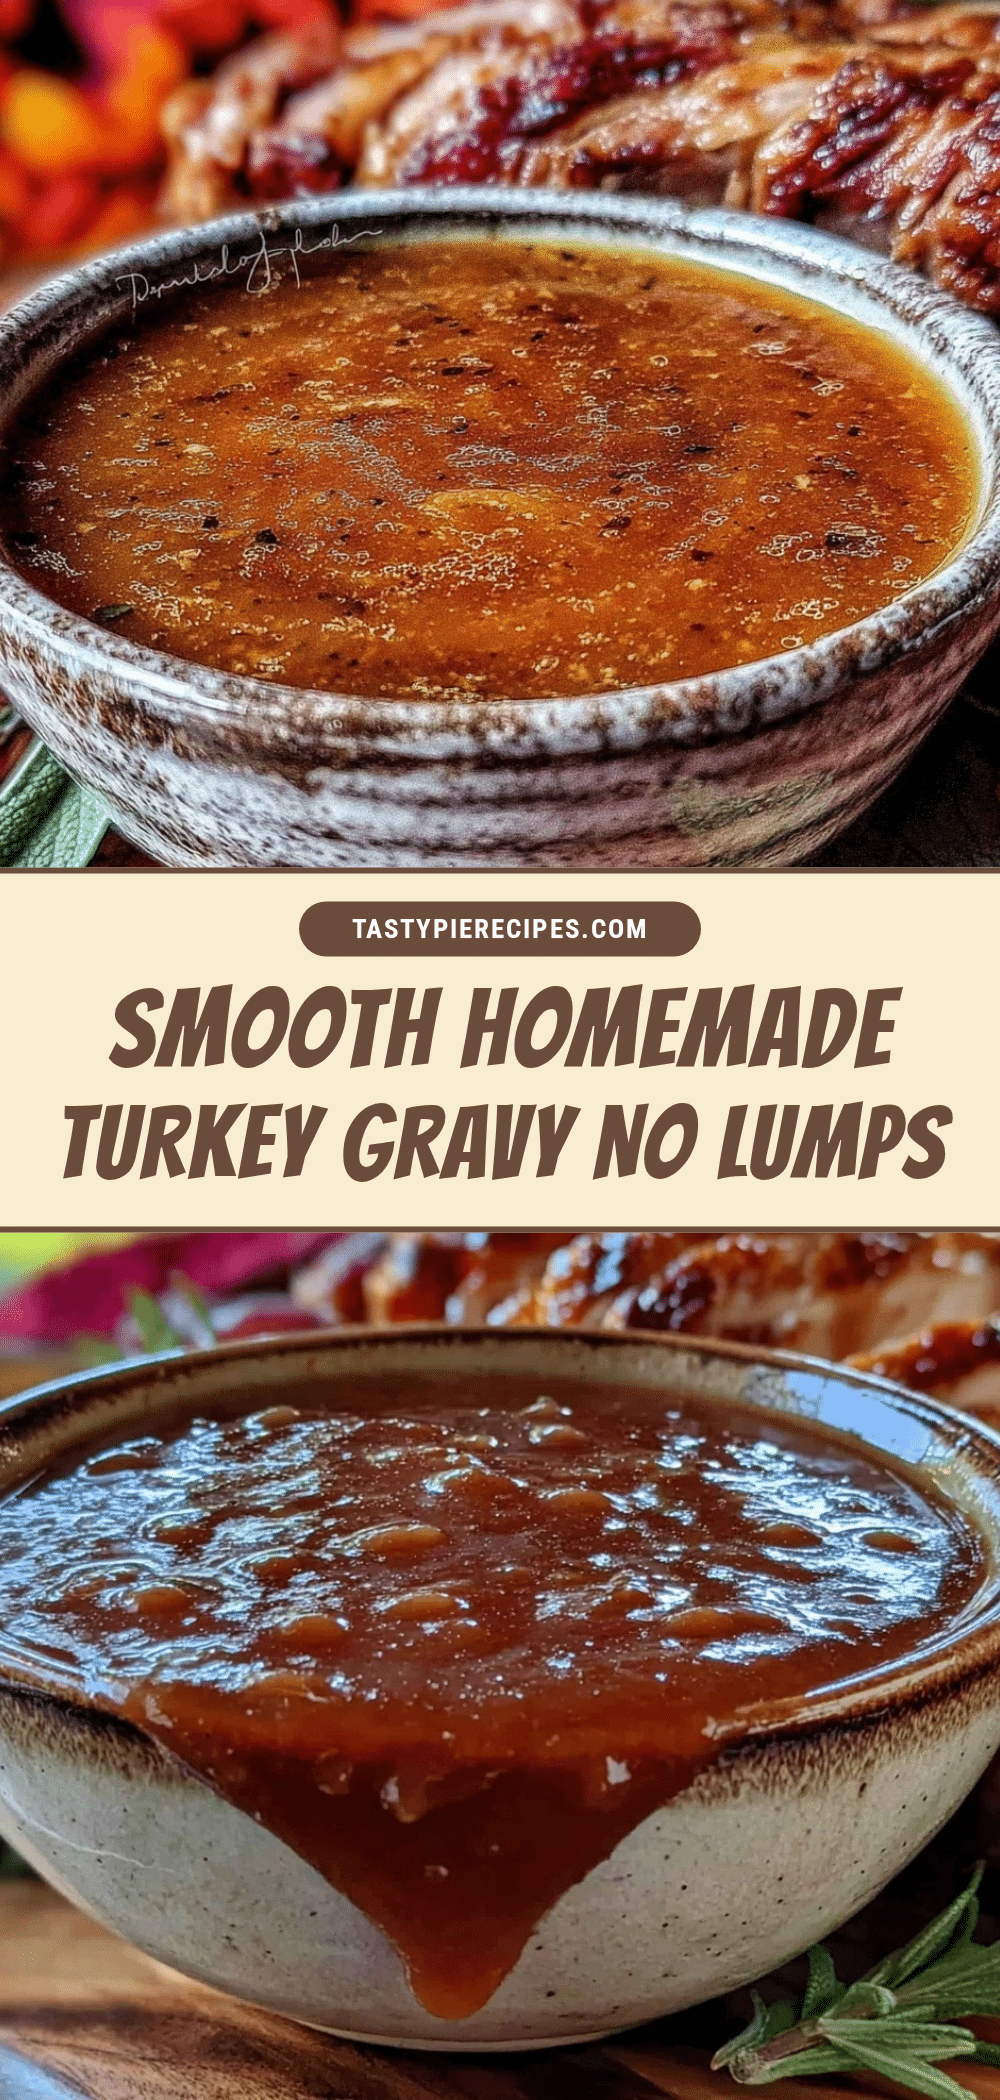
Smooth Homemade Turkey Gravy Without Lumps Easy 5-Step Recipe for Perfect Texture

This easy 5-step recipe delivers smooth, lump-free homemade turkey gravy with rich flavor and perfect texture, ideal for holiday dinners or everyday meals.
- Prep Time: 5 minutes
- Cook Time: 10 minutes
- Total Time: 15 minutes
- Yield: About 8 servings (1/4 cup per serving) 1x
- Category: Sauce
- Cuisine: American
Ingredients
- Turkey drippings (from roasting turkey, supplemented with low-sodium turkey or chicken stock if needed)
- 4 tablespoons (56g) unsalted butter
- 1/4 cup (30g) all-purpose flour (or gluten-free flour blend)
- 2 cups (475ml) low-sodium turkey or chicken stock
- 1 teaspoon soy sauce or Worcestershire sauce (optional)
- Salt and freshly ground black pepper to taste
- Fresh herbs (thyme or rosemary sprig, optional)
Instructions
- Collect and prepare the drippings: After roasting your turkey, pour pan drippings into a fat separator or let them sit to separate fat. Skim off about 2 tablespoons of fat for the roux, and reserve the rest for flavor. If you don’t have enough drippings, add turkey or chicken stock to make 2 cups (475ml) liquid total. (Time: 5 minutes)
- Make the roux: In your saucepan over medium heat, melt 4 tablespoons (56g) of unsalted butter with 2 tablespoons of the reserved turkey fat. Once melted and bubbling, sprinkle in 1/4 cup (30g) all-purpose flour. Whisk constantly for about 2-3 minutes until the flour cooks through and the mixture turns a light golden color. This step is crucial to avoid a raw flour taste and helps prevent lumps. (Time: 3 minutes)
- Add liquid gradually: Slowly pour in your 2 cups (475ml) of turkey drippings and stock mixture in a thin stream while whisking vigorously. This slow addition with continuous whisking prevents lumps from forming. The gravy will start to thicken as you add the liquid. (Time: 3-4 minutes)
- Simmer and season: Bring the gravy to a gentle simmer, stirring frequently. Add 1 teaspoon soy sauce or Worcestershire sauce for a boost of savory depth. Season with salt and freshly cracked black pepper to taste. If using fresh herbs, add a sprig now and remove after a few minutes. (Time: 5 minutes)
- Final texture check: If the gravy is too thick, whisk in a splash more stock or water. If it’s too thin, continue simmering gently while stirring until it reaches your desired consistency. Remove herbs before serving. (Time: 2-3 minutes)
Notes
Whisk constantly while adding liquid slowly to prevent lumps. Cook the roux long enough to avoid raw flour taste. Skim excess fat for best flavor and texture. Season gradually to avoid oversalting. For ultra-smooth gravy, strain before serving. Can substitute butter with olive oil for dairy-free version and use gluten-free flour or cornstarch for gluten-free. Reheat gently and whisk to maintain texture.
Nutrition
- Serving Size: 1/4 cup (60ml)
- Calories: 60
- Fat: 5
- Saturated Fat: 3
- Carbohydrates: 2
- Protein: 1
Keywords: turkey gravy, homemade gravy, lump-free gravy, smooth gravy, holiday gravy, turkey drippings, easy gravy recipe


