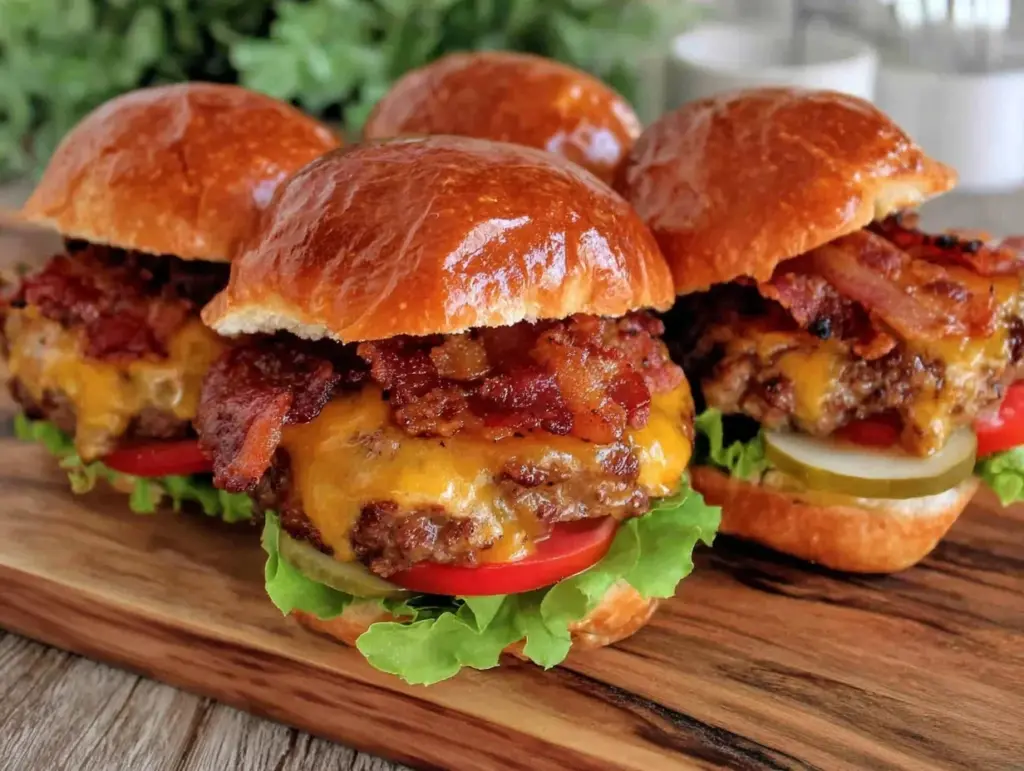
Let me tell you, the scent of sizzling bacon mingled with melting cheddar cheese wafting from my kitchen is enough to make anyone’s mouth water. The first time I whipped up these savory bacon cheeseburger sliders with melted cheddar, I was instantly hooked — the kind of moment where you pause, take a deep breath, and just smile because you know you’re onto something truly special. Years ago, when I was knee-high to a grasshopper, my grandma used to make her own version of sliders, but they never quite hit the mark like this recipe does.
I stumbled upon this gem on a rainy weekend, trying to recreate that nostalgic comfort food vibe with a little twist. Honestly, my family couldn’t stop sneaking these sliders off the cooling rack (and I can’t really blame them). These sliders are dangerously easy to make and pack pure, nostalgic comfort in every bite. Whether it’s a game day feast, a casual weekend hangout, or just a sweet treat for the kids, these savory bacon cheeseburger sliders with melted cheddar have become a staple for family gatherings and gifting.
You know what? After testing this recipe multiple times (in the name of research, of course), I can say it feels like a warm hug wrapped in a bun. You’re going to want to bookmark this one for your next potluck or when you need something quick but impressive. Let’s face it: sliders like these brighten up any Pinterest cookie board—except way more satisfying!
Why You’ll Love This Recipe
Having cooked and tested countless slider recipes, I can confidently say this savory bacon cheeseburger sliders recipe stands apart. It’s not just tasty but thoughtfully crafted to fit into busy lives without skimping on flavor or fun. Here’s why you’ll be coming back for seconds:
- Quick & Easy: Comes together in under 30 minutes, perfect for weeknight dinners or last-minute gatherings.
- Simple Ingredients: No fancy grocery trips needed; you likely already have everything in your kitchen.
- Perfect for Parties: Great for casual get-togethers, game days, or even a fun family dinner.
- Crowd-Pleaser: Always gets rave reviews from kids and adults alike—trust me, these disappear fast.
- Unbelievably Delicious: That combo of crispy bacon, juicy beef, and gooey melted cheddar cheese is pure magic.
What makes this recipe different? The secret lies in using a blend of ground beef with just enough seasoning to let the meat shine, topped off with smoky bacon and perfectly melted sharp cheddar. The buns soak up the savory juices but never get soggy. Honestly, this isn’t just another slider recipe—it’s the best version I’ve ever made, tested, and loved.
This recipe isn’t just good, it’s the kind that makes you close your eyes after the first bite. It’s comfort food reimagined—simple, fast, and soul-soothing all at once. Whether you want to impress guests without stress or turn a simple meal into an unforgettable one, this is your go-to.
What Ingredients You Will Need
This recipe uses simple, wholesome ingredients to deliver bold flavor and satisfying texture without any fuss. Most of these are pantry staples or easy to find at your local store.
- For the Sliders:
- 1.5 lbs (680 g) ground beef (80/20 blend recommended for juiciness)
- 12 slider buns (soft, small, preferably brioche for a touch of sweetness)
- 12 slices sharp cheddar cheese (look for aged cheddar for the richest flavor)
- 12 slices bacon (thick-cut for extra crunch)
- 1 small onion, finely chopped (adds a mild sweetness and moisture)
- 2 cloves garlic, minced (adds savory depth)
- Salt and freshly ground black pepper (season to taste)
- 1 tablespoon Worcestershire sauce (adds umami boost)
- For the Toppings & Sauces:
- Pickles, sliced (for tangy crunch)
- Leafy lettuce (romaine or butter lettuce works great)
- Tomato slices (ripe and juicy)
- Mustard and ketchup (classic condiments for that nostalgic cheeseburger vibe)
- Optional:
- Butter for toasting buns (unsalted, softened)
- Mayonnaise or special sauce (mix mayo, ketchup, and a dash of hot sauce for a quick twist)
I personally use a trusted brand like Applegate for bacon because it crisps beautifully without shrinking too much. For the cheddar, Cabot’s sharp cheddar melts perfectly without getting greasy. If you want a gluten-free option, swap the buns for gluten-free slider rolls or use lettuce wraps as a low-carb alternative.
Equipment Needed
- Large skillet or griddle – for cooking the beef patties and bacon. I prefer a cast-iron skillet for even heat distribution.
- Baking sheet with parchment paper – to keep bacon crispy while draining excess fat.
- Mixing bowl – to combine beef, onion, garlic, and seasonings.
- Spatula or burger press – helpful but not necessary; you can shape patties by hand.
- Sharp knife – for slicing buns, onions, and toppings.
- Optional: Oven or broiler – to melt the cheddar cheese on top of patties quickly.
If you don’t have a cast-iron skillet, a heavy stainless steel pan works fine. For budget-friendly options, non-stick pans can do the job, but keep an eye on the heat to avoid burning. I learned the hard way that a dull knife makes slicing buns a nightmare—so invest in a decent one or keep your knives sharpened regularly.
Preparation Method
- Cook the bacon: Heat your skillet over medium heat. Lay the 12 slices of thick-cut bacon flat and cook until crispy, about 6-8 minutes, flipping halfway. Remove bacon and drain on paper towels. Keep the bacon fat in the pan for extra flavor.
- Prepare the beef mixture: In a mixing bowl, combine 1.5 lbs (680 g) ground beef, finely chopped onion, minced garlic, 1 tablespoon Worcestershire sauce, salt (about 1 teaspoon), and freshly ground black pepper (about ½ teaspoon). Mix gently—overworking can make patties tough.
- Form patties: Divide the mixture into 12 equal portions (about 2 oz or 55 g each). Shape into small, slightly flattened patties that fit your slider buns. Make a shallow indentation in the center of each patty with your thumb to prevent puffing up while cooking.
- Cook the patties: In the same skillet with bacon fat (or add a touch of oil if needed), heat over medium-high. Add patties, cooking about 3 minutes per side for medium doneness. During the last minute, place a slice of sharp cheddar cheese on each patty and cover the pan with a lid to melt the cheese perfectly.
- Toast the buns: While patties cook, slice slider buns in half. Spread softened butter on the cut sides. Place them cut side down on a clean skillet or griddle over medium heat until golden and slightly crisp, about 1-2 minutes.
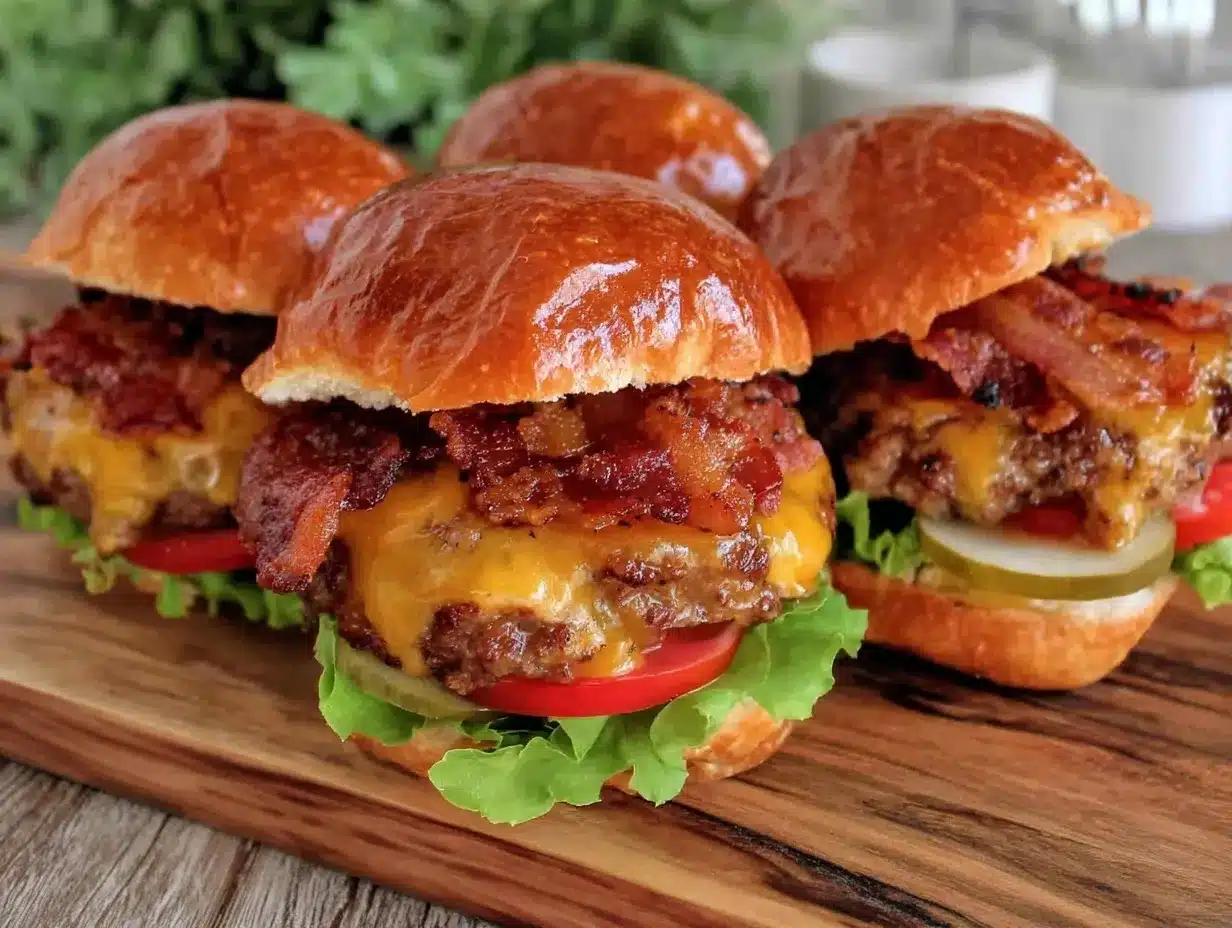
- Assemble sliders: On the bottom bun, layer lettuce, a cheesy beef patty, a slice of crispy bacon, tomato, and pickles. Add your favorite condiments (mustard, ketchup, or special sauce). Top with the bun crown.
- Serve: Arrange sliders on a platter and serve immediately. They’re best enjoyed warm with the cheese still melty and the bacon crunchy.
Tip: If you want to prepare ahead, cook patties without cheese, then add cheese and broil just before serving. This keeps sliders fresh but still cheesy. Watch closely to prevent burning!
Cooking Tips & Techniques
Cooking the perfect sliders is all about balance and timing. One trick I learned is to avoid overmixing the beef mixture; gently folding in ingredients keeps the patties tender instead of dense. Also, making that thumb indentation in patties is a game-changer—prevents those annoying domed burgers.
Don’t rush the cheese melting. Covering the skillet during the last minute traps steam and melts cheddar evenly without drying out the meat. On the bacon front, going thick-cut means you get that satisfying crunch but beware of overcooking—it can turn bitter.
Toast your buns right before assembly to keep them from getting soggy. I sometimes spread a thin layer of butter mixed with a bit of garlic powder for extra flavor. Multitasking here helps—you can cook bacon and prep toppings while patties are resting.
One common mistake is cooking patties on too high heat, which can burn the outside while leaving the inside undercooked. Medium-high heat strikes that perfect balance. Also, seasoning generously but not excessively keeps the flavor balanced and lets the beef shine.
Variations & Adaptations
Want to switch things up? Here are some tasty variations you can try:
- Vegetarian Version: Swap ground beef for a plant-based burger patty or black bean patties. Use dairy-free cheese to keep it vegan-friendly.
- Spicy Kick: Add diced jalapeños into the beef mix or top sliders with spicy chipotle mayo for an extra punch.
- Seasonal Twist: In fall, swap fresh tomato slices for caramelized onions and add a smear of cranberry mustard for a cozy flavor profile.
- Cooking Methods: Instead of pan-frying, grill the patties over medium heat for that smoky, outdoor flavor. Just watch the cooking time closely.
- Cheese Options: Try swapping cheddar with pepper jack for a little heat or Swiss for a milder, nutty note.
One personal favorite variation is adding a fried egg on top of each slider for brunch—it’s dangerously delicious. Also, using Hawaiian sweet rolls instead of brioche buns gives a hint of sweetness that pairs beautifully with smoky bacon.
Serving & Storage Suggestions
Serve these savory bacon cheeseburger sliders warm, right off the pan or grill, to enjoy that gooey melted cheddar in all its glory. They pair wonderfully with classic sides like crispy fries, coleslaw, or a fresh garden salad. For drinks, a cold craft beer or a zesty lemonade rounds out the meal nicely.
If you have leftovers (which is rare!), store them in an airtight container in the refrigerator for up to 2 days. To reheat, wrap sliders in foil and warm in a 350°F (175°C) oven for about 10-15 minutes to keep the buns soft and cheese melty. Avoid microwaving if you can—cheese texture suffers.
Flavors tend to meld and deepen after a day, so sometimes I purposely make extra to enjoy ‘em the next day. Just add fresh lettuce and tomato before serving to keep things crisp and vibrant.
Nutritional Information & Benefits
Each slider contains approximately 250-300 calories, depending on bun size and condiments. They provide a good amount of protein (about 15-18 grams per slider) from the ground beef and bacon, making them satisfying and filling.
Cheddar cheese adds calcium and vitamin D, while using fresh vegetables like lettuce and tomato boosts fiber and antioxidants. Choosing leaner ground beef or turkey can lighten the calorie load without sacrificing flavor.
For those monitoring carbs, swapping regular buns for lettuce wraps or low-carb slider rolls helps keep this recipe friendly for gluten-conscious or low-carb diets. Just watch out for allergens like dairy and gluten in cheese and buns.
Conclusion
If you’re looking for a savory, quick, and crowd-pleasing recipe, these bacon cheeseburger sliders with melted cheddar are definitely worth trying. They hit all the right notes—crispy, cheesy, juicy, and utterly satisfying. I love how easy they come together and how they bring everyone to the table with smiles.
Feel free to customize the toppings and cheese to your liking; that’s part of the fun. Honestly, this recipe has become a favorite in my house, and I can’t wait for you to make it yours too. Give it a whirl, share your tweaks, and let me know how your sliders turn out!
Go ahead—grab your skillet, and let’s get cooking. Your taste buds will thank you!
FAQs about Savory Bacon Cheeseburger Sliders with Melted Cheddar
Can I make these sliders ahead of time?
Yes! You can prepare the patties and bacon in advance, then assemble and melt the cheese just before serving for the best texture and flavor.
What’s the best way to reheat the sliders without drying them out?
Wrap them in foil and warm in the oven at 350°F (175°C) for 10-15 minutes. Avoid microwaving to keep the buns soft and cheese melty.
Can I freeze the sliders?
Absolutely! Freeze fully assembled sliders in an airtight container and thaw overnight in the fridge before reheating.
How do I prevent the patties from shrinking?
Use ground beef with 20% fat content and avoid pressing the patties while cooking. Making a small indentation in the center also helps keep them flat.
Is there a way to make these sliders healthier?
Yes, try lean ground turkey or chicken, use whole grain or low-carb buns, and add extra veggies to boost nutrition while keeping flavor.
Pin This Recipe!
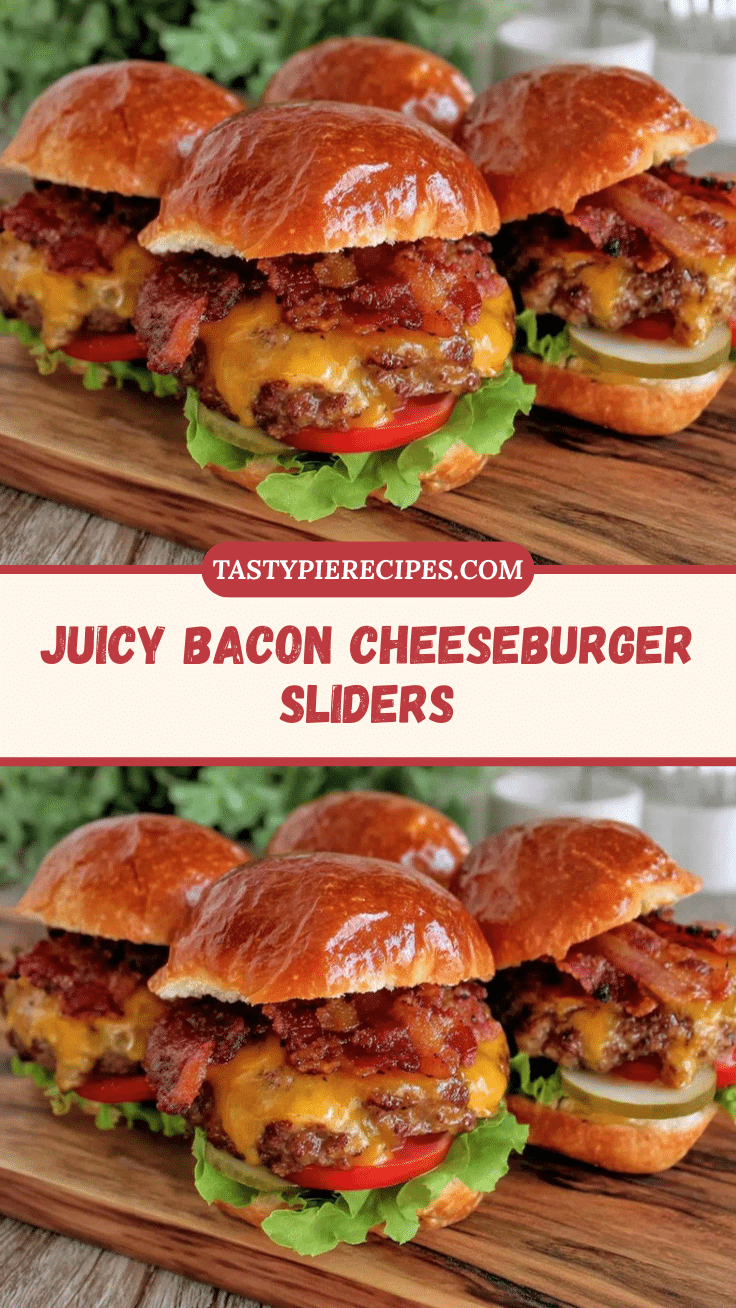
Savory Bacon Cheeseburger Sliders Recipe Easy Homemade Melted Cheddar

These savory bacon cheeseburger sliders with melted cheddar are quick, easy, and perfect for family gatherings or game day. They combine crispy bacon, juicy beef patties, and gooey sharp cheddar cheese in soft slider buns.
- Prep Time: 10 minutes
- Cook Time: 20 minutes
- Total Time: 30 minutes
- Yield: 12 sliders 1x
- Category: Main Course
- Cuisine: American
Ingredients
- 1.5 lbs ground beef (80/20 blend recommended for juiciness)
- 12 slider buns (soft, small, preferably brioche)
- 12 slices sharp cheddar cheese (aged cheddar recommended)
- 12 slices thick-cut bacon
- 1 small onion, finely chopped
- 2 cloves garlic, minced
- Salt to taste (about 1 teaspoon)
- Freshly ground black pepper to taste (about ½ teaspoon)
- 1 tablespoon Worcestershire sauce
- Pickles, sliced
- Leafy lettuce (romaine or butter lettuce)
- Tomato slices
- Mustard
- Ketchup
- Optional: Butter for toasting buns (unsalted, softened)
- Optional: Mayonnaise or special sauce (mix mayo, ketchup, and a dash of hot sauce)
Instructions
- Cook the bacon: Heat skillet over medium heat. Lay 12 slices of thick-cut bacon flat and cook until crispy, about 6-8 minutes, flipping halfway. Remove bacon and drain on paper towels. Keep bacon fat in the pan.
- Prepare the beef mixture: In a mixing bowl, combine 1.5 lbs ground beef, finely chopped onion, minced garlic, 1 tablespoon Worcestershire sauce, salt, and freshly ground black pepper. Mix gently to avoid tough patties.
- Form patties: Divide mixture into 12 equal portions (~2 oz each). Shape into small, slightly flattened patties. Make a shallow indentation in the center of each patty with your thumb.
- Cook the patties: Heat skillet with bacon fat over medium-high heat. Add patties and cook about 3 minutes per side for medium doneness. During the last minute, place a slice of sharp cheddar cheese on each patty and cover pan to melt cheese.
- Toast the buns: Slice slider buns in half. Spread softened butter on cut sides. Place cut side down on skillet or griddle over medium heat until golden and slightly crisp, about 1-2 minutes.
- Assemble sliders: On bottom bun, layer lettuce, cheesy beef patty, crispy bacon slice, tomato, and pickles. Add condiments (mustard, ketchup, or special sauce). Top with bun crown.
- Serve immediately while warm with melty cheese and crispy bacon.
Notes
Avoid overmixing beef to keep patties tender. Make a thumb indentation in patties to prevent puffing. Toast buns just before assembly to avoid sogginess. Use thick-cut bacon for crunch but watch cooking time to prevent bitterness. For gluten-free, swap buns with gluten-free rolls or lettuce wraps. Cheese melts best when covered during last minute of cooking.
Nutrition
- Serving Size: 1 slider
- Calories: 275
- Sugar: 3
- Sodium: 550
- Fat: 18
- Saturated Fat: 8
- Carbohydrates: 15
- Fiber: 1
- Protein: 16
Keywords: bacon cheeseburger sliders, melted cheddar, easy sliders, game day recipe, party food, comfort food, homemade sliders


