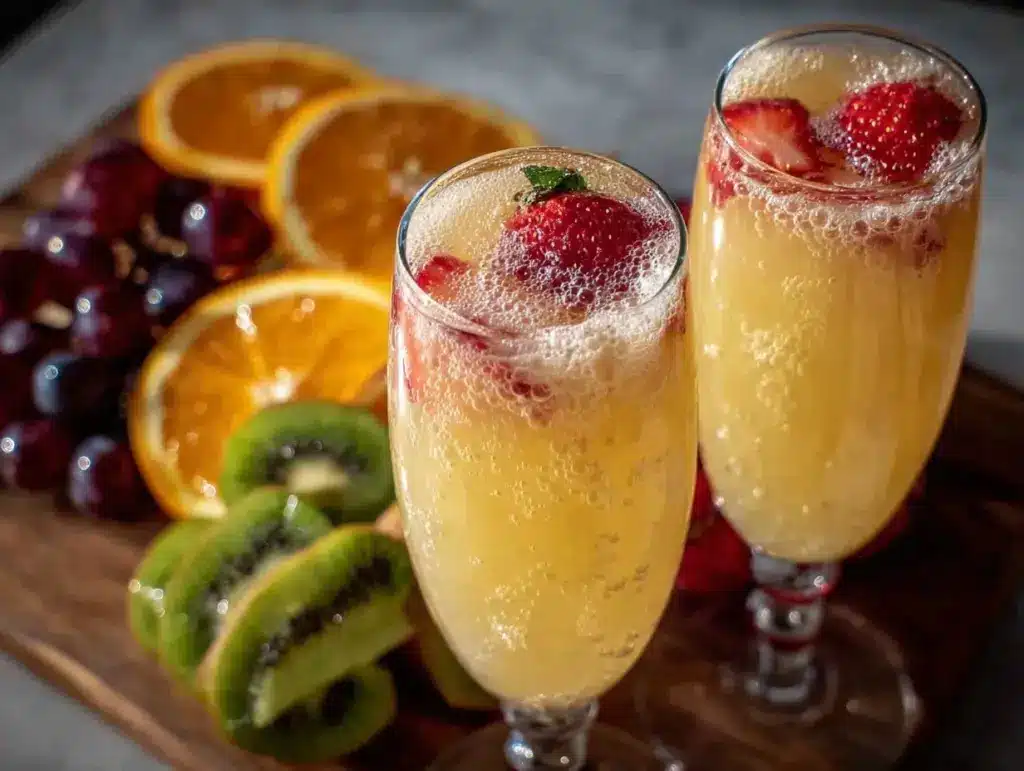
Let me tell you, the bubbly fizz of a well-poured champagne mimosa, mingling with the vibrant burst of fresh fruit, is enough to make anyone’s spirit lift. The first time I set up a champagne mimosa bar for a family celebration, I was instantly hooked—the kind of moment where you pause, take a deep breath, and just smile because you know you’re onto something truly special. Years ago, when I was knee-high to a grasshopper, celebrations meant simple juice and soda, but this sparkling twist brings that nostalgic joy with a fresh, festive flair.
Honestly, setting up the perfect champagne mimosa bar with fresh fruit is dangerously easy, and it brings pure, nostalgic comfort with every sip. My family couldn’t stop sneaking their glasses to the bar, piling colorful berries and citrus slices into their flutes (and I can’t really blame them). Whether you’re hosting a bridal shower, birthday brunch, or just want to brighten up your next get-together, this setup is your secret weapon for making celebrations pop—literally.
You know what’s great? You don’t have to be a mixologist or have a million fancy tools. Just a few simple ingredients and a little creative flair, and you’re ready to impress. I’ve tested this setup more times than I can count (in the name of research, of course), and it’s become a staple for family gatherings, gifting, and those moments when you want to feel like you’re toasting to something wonderful. Trust me, you’re going to want to bookmark this one.
Why You’ll Love This Recipe
This champagne mimosa bar setup isn’t just a pretty face at your party—it’s packed with benefits that make your life easier and your celebrations brighter. Here’s why I swear by it:
- Quick & Easy: Comes together in under 30 minutes, perfect for busy hosts or last-minute celebrations.
- Simple Ingredients: No fancy grocery trips needed; fresh fruit and good bubbly are all you really need.
- Perfect for Any Occasion: Whether it’s brunch, bridal showers, or holiday mornings, this setup fits right in.
- Crowd-Pleaser: Kids love the fruit, adults adore the sparkle—every guest will find their happy place.
- Unbelievably Delicious: The fresh fruit adds natural sweetness and texture, making each sip a little celebration.
What sets this mimosa bar apart is the thoughtful selection of fresh fruit and a few creative twists, like offering different juices beyond the classic orange (think: blood orange, peach nectar, or even a splash of pomegranate). This isn’t just another mimosa bar—it’s your party’s star attraction. The balance of flavors and the visual feast make it the kind of setup where you close your eyes after the first sip and smile because you’ve found something that feels like a warm hug in a glass.
Plus, it’s flexible enough to impress guests without stress, whether you want to keep it simple or jazz it up with a few special touches. Ready to get started?
What Ingredients You Will Need
This champagne mimosa bar setup uses fresh, wholesome ingredients to deliver bold flavor and satisfying texture without the fuss. Here’s everything you’ll want to gather before your celebration begins:
- Champagne or Sparkling Wine: Brut or extra dry works best for that crisp, bubbly base. I personally recommend Veuve Clicquot for a reliable, smooth finish.
- Fresh Orange Juice: Use freshly squeezed for the best flavor, but a high-quality cold-pressed juice is a great shortcut.
- Alternative Juices: Peach nectar, grapefruit juice, blood orange juice, or pomegranate juice add variety and color.
- Fresh Fruit for Garnish:
- Orange slices or wheels (adds bright citrus aroma)
- Fresh strawberries, hulled and halved
- Raspberries or blueberries (for a pop of color and tartness)
- Pineapple chunks or mango cubes for tropical flair
- Fresh mint leaves (optional, for aroma and garnish)
- Optional Sweeteners: Simple syrup or honey for guests who like it sweeter.
- Ice Bucket: To keep the champagne chilled throughout the event.
Choosing ripe, in-season fruit makes all the difference. For example, in summer, swapping in fresh berries or stone fruits makes the bar feel lively and fresh. If you want to keep it gluten-free or vegan, all these ingredients work perfectly without any fuss. And if you want to cater to different palates, having a few juice options is key—trust me, your guests will thank you.
Equipment Needed
Setting up a champagne mimosa bar doesn’t require a lot of fancy tools, but having the right equipment helps everything flow smoothly.
- Champagne Flutes: Tall and slender glasses keep the bubbles lively. If you’re short on flutes, clear wine glasses work just fine.
- Pitchers or Carafes: For displaying the different juice options. Glass pitchers look elegant and help guests see what’s inside.
- Serving Trays or Boards: To neatly arrange fruit garnishes and utensils—makes the bar look inviting and organized.
- Small Tongs or Picks: For guests to grab fruit without sticky fingers.
- Ice Bucket or Cooler: To keep champagne chilled throughout the event.
- Citrus Juicer: Optional, but makes squeezing fresh oranges a breeze (handheld or electric). I prefer a simple handheld juicer for quick cleanup.
If you’re working with a tight budget, no worries—many dollar stores offer decent glassware and serving pieces. Just keep things clean and fresh, and you’ll have a mimosa bar that looks like a million bucks without spending it.
Preparation Method
- Chill Your Champagne and Juices: Place bottles of champagne and pitchers of juice in the fridge for at least 2 hours before your celebration. If you’re short on time, an ice bucket with plenty of ice will keep things cool during the party.
- Prepare Fresh Fruit Garnishes: Wash all fruit thoroughly. Slice oranges into thin wheels or half-moons for easy garnishing. Hull and halve strawberries, and prepare small bowls of raspberries, blueberries, and pineapple chunks. Arrange fruit attractively on serving trays or bowls. (Tip: Dry fruit well with paper towels to avoid watering down drinks.)
- Set Up the Mimosa Bar: Arrange your champagne flutes, pitchers of juice, and fruit garnishes on a table or counter. Include small tongs, toothpicks, or cocktail picks for guests to add fruit to their glasses without fuss.
- Optional Sweeteners: Place a small bowl of simple syrup or honey with a spoon nearby for guests who want a sweeter mimosa. Label it clearly.
- Guide Your Guests: Provide a small sign or card with simple instructions: “Pour 2 parts champagne, 1 part juice. Add fresh fruit garnish as desired.” This keeps things easy and fun!
- Maintain the Bar: Throughout the celebration, refill juices and fruit as needed. Keep champagne chilled and replace empty bottles promptly.
One personal trick I learned is to prep the fruit an hour before guests arrive to keep it fresh and vibrant. Also, always have extra napkins on hand—you know how messy fresh fruit in drinks can get!
Cooking Tips & Techniques
Perfecting your champagne mimosa bar is all about timing and presentation, and a few handy tips can save you from common pitfalls:
- Don’t Overfill Glasses: Fill your flute about two-thirds full to avoid fizz overflow. The bubbles need room to dance!
- Use Freshly Squeezed Juice When Possible: It brightens the flavor and avoids that processed juice aftertaste. If you’re juicing oranges, strain out pulp for a smoother sip.
- Keep Fruit Dry: Excess moisture can water down your mimosa. Pat fruit dry before arranging.
- Chill Everything: Bubbles love the cold, so keep your bottles and juice chilled right up until serving.
- Offer Variety: Having two or three juice options keeps things interesting and lets guests customize.
- Multitask With Setup: Prepare fruit and chill bottles earlier in the day to avoid last-minute scrambling. Trust me, it makes hosting way less stressful.
I once learned the hard way that warm champagne and too much fruit juice make the bubbles disappear fast—lesson learned! Also, gentle pouring helps keep fizz intact. And don’t forget, your mimosa bar is as much about the vibe as the drinks, so a neat, colorful setup goes a long way.
Variations & Adaptations
Making a champagne mimosa bar your own is part of the fun. Here are some ways to mix it up:
- Dietary Swaps: Use sparkling water or non-alcoholic sparkling wine for a kid-friendly or alcohol-free version. You can also swap juices for flavored sparkling water for a lighter option.
- Seasonal Twists: In fall or winter, try apple cider or cranberry juice alongside the classic orange. Garnish with cinnamon sticks or pomegranate seeds for a festive touch.
- Flavor Infusions: Add a splash of elderflower liqueur or peach schnapps for a grown-up twist. Fresh herbs like basil or rosemary can add unexpected aroma.
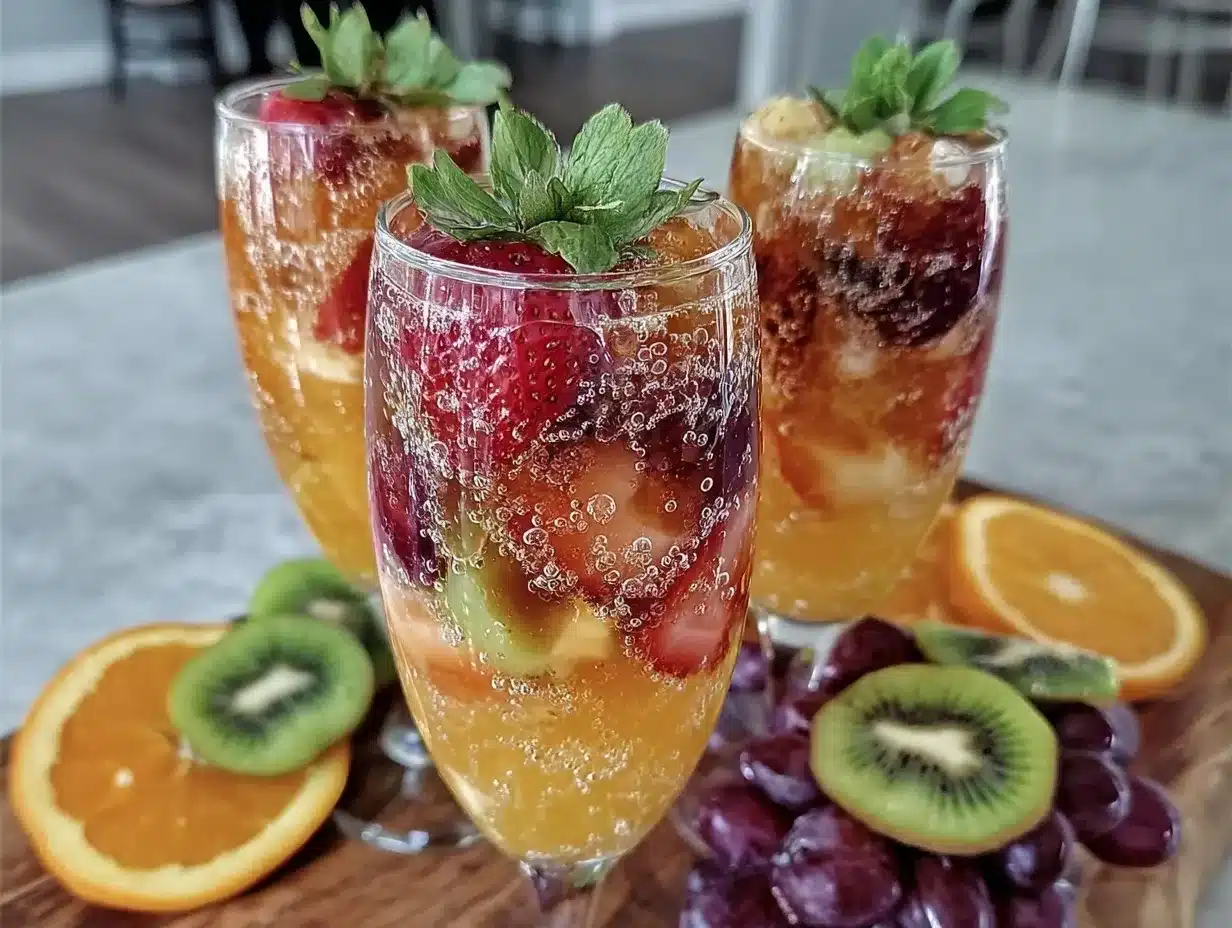
- Personal Favorite: I love adding frozen berries instead of ice cubes—they keep drinks cold and add bursts of flavor as they thaw.
Feel free to customize the bar based on your crowd’s tastes and the season. You might find a new favorite combo that keeps everyone coming back for more.
Serving & Storage Suggestions
Serve your mimosas chilled, straight from the flute with a colorful fruit garnish perched on the rim or floating inside. This bright presentation is perfect for brunch tables or buffet spreads. Pair with light pastries, fresh fruit platters, or savory finger foods like mini quiches to round out your celebration.
Leftover champagne should be sealed with a sparkling wine stopper and refrigerated; it’s best consumed within a day or two to keep fizz alive. Fresh fruit can be stored covered in the fridge for up to two days but is best enjoyed fresh. If you have leftover juice, keep it chilled and use within 48 hours.
Reheat mimosas? Nope—this one’s a cold-only party. But if you want to prep a batch ahead, mix juice and fruit earlier and add chilled champagne just before serving. This keeps everything fresh and bubbly.
Flavors tend to develop beautifully when fruit sits in the juice for a bit, so setting up the bar 30 minutes before guests arrive can add a subtle, natural infusion that’s delightful.
Nutritional Information & Benefits
This champagne mimosa bar offers a light, refreshing treat with moderate calories per serving (around 90-120 calories per 4 oz/120 ml mimosa), thanks to the mix of sparkling wine and fresh juice. Using freshly squeezed juice adds vitamin C and natural antioxidants, while the fresh fruit garnish contributes fiber and vitamins with minimal sugar.
Because of the fresh ingredients, this recipe fits nicely into gluten-free, low-fat, and vegetarian diets. Just keep in mind the champagne contains alcohol, so it’s not suitable for children or those avoiding alcohol. For them, the sparkling water and juice options are perfect alternatives.
Overall, it’s a festive way to enjoy a treat that feels indulgent but can be part of a balanced celebration.
Conclusion
Setting up the perfect champagne mimosa bar with fresh fruit is a simple way to bring sparkle and joy to any celebration. It’s easy to customize, quick to assemble, and offers a delicious combination of flavors that everyone will love. Whether you’re a seasoned host or a newbie looking to impress, this mimosa bar setup will become your go-to for gatherings large and small.
I love this recipe because it turns a simple toast into an experience—colorful, fresh, and downright festive. Plus, it’s so flexible you can tailor it to your crowd’s tastes and your own creativity. Give it a try, tweak it your way, and let those bubbles do the rest.
Don’t forget to share your mimosa bar adventures in the comments below! I’d love to hear your favorite fruit combos or any fun twists you come up with. Cheers to celebrations that sparkle!
FAQs
What type of champagne is best for a mimosa bar?
Brut or extra dry champagnes work best because they balance the sweetness of the juice without being overly sugary. Affordable sparkling wines like Prosecco or Cava also make great bases.
Can I prepare the mimosa bar ahead of time?
You can prep the fruit and juices a few hours ahead and keep them chilled, but add champagne just before serving to keep the bubbles lively.
What are good non-alcoholic alternatives for a mimosa bar?
Use sparkling water or non-alcoholic sparkling wines combined with fresh juices to create a festive, kid-friendly option.
How do I keep the fruit fresh and prevent it from watering down the drinks?
Pat fruit dry before serving and avoid adding ice cubes; instead, use frozen fruit to chill drinks without diluting flavor.
What are some creative juice options besides orange juice?
Try peach nectar, blood orange juice, grapefruit juice, pomegranate juice, or apple cider for seasonal variety and vibrant color.
Pin This Recipe!
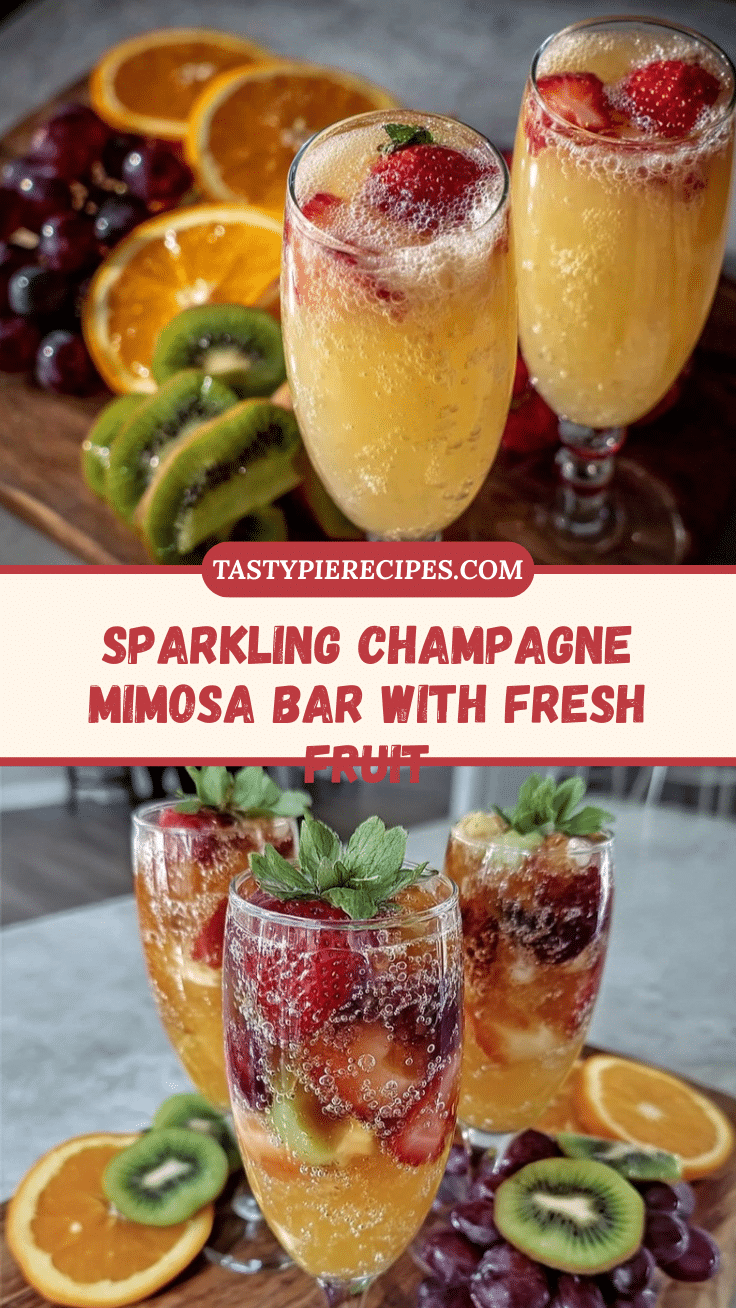
Perfect Champagne Mimosa Bar Setup with Fresh Fruit for Celebrations

A simple and festive champagne mimosa bar setup featuring fresh fruit and a variety of juices, perfect for any celebration or gathering.
- Prep Time: 15 minutes
- Cook Time: 0 minutes
- Total Time: 15 minutes
- Yield: Varies (serves multiple guests)
- Category: Beverage
- Cuisine: American
Ingredients
- Champagne or sparkling wine (Brut or extra dry)
- Fresh orange juice (freshly squeezed or high-quality cold-pressed)
- Alternative juices: peach nectar, grapefruit juice, blood orange juice, pomegranate juice
- Fresh fruit for garnish: orange slices or wheels, hulled and halved strawberries, raspberries, blueberries, pineapple chunks or mango cubes, fresh mint leaves (optional)
- Optional sweeteners: simple syrup or honey
- Ice bucket (to keep champagne chilled)
Instructions
- Chill your champagne and juices in the fridge for at least 2 hours before the celebration. Use an ice bucket with plenty of ice if short on time.
- Prepare fresh fruit garnishes by washing thoroughly. Slice oranges into thin wheels or half-moons, hull and halve strawberries, and prepare small bowls of raspberries, blueberries, and pineapple chunks. Arrange fruit attractively on serving trays or bowls. Dry fruit well with paper towels to avoid watering down drinks.
- Set up the mimosa bar by arranging champagne flutes, pitchers of juice, and fruit garnishes on a table or counter. Include small tongs, toothpicks, or cocktail picks for guests to add fruit to their glasses.
- Place a small bowl of simple syrup or honey with a spoon nearby for guests who want a sweeter mimosa, and label it clearly.
- Provide a small sign or card with instructions: ‘Pour 2 parts champagne, 1 part juice. Add fresh fruit garnish as desired.’
- Maintain the bar throughout the celebration by refilling juices and fruit as needed, keeping champagne chilled, and replacing empty bottles promptly.
Notes
Do not overfill glasses; fill about two-thirds full to avoid fizz overflow. Use freshly squeezed juice when possible and strain out pulp for a smoother sip. Keep fruit dry to prevent watering down drinks. Chill all ingredients well before serving. Offer a variety of juices for guest customization. Prepare fruit about an hour before guests arrive to keep it fresh. Use frozen berries instead of ice cubes to keep drinks cold without dilution.
Nutrition
- Serving Size: 4 oz (120 ml) mimosa
- Calories: 90120
- Sugar: 46
- Sodium: 5
- Carbohydrates: 57
- Fiber: 0.51
Keywords: champagne mimosa, mimosa bar, fresh fruit mimosa, celebration drinks, brunch cocktails, sparkling wine cocktails, easy mimosa setup


