“You’re throwing that out? Wait—wait—don’t!” That was my roommate’s half-joking plea one evening as I reached for the sourdough discard jar. Honestly, I’d been tossing that tangy leftover for months without much thought. But this time, I was determined to try something different. I’d heard whispers about baking with sourdough discard, but brownies? It sounded odd, even to me. Still, curiosity won over skepticism.
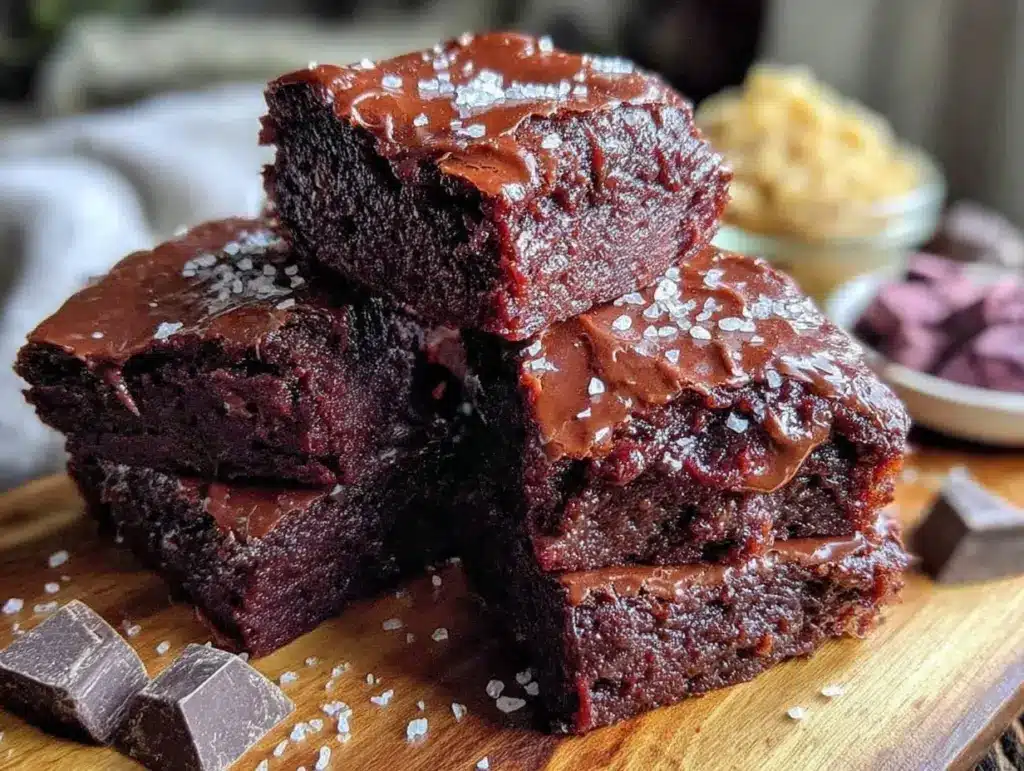
So there I was, mixing up a batch of brownies with that tangy starter, half-expecting a weird, sour mess. Instead, what emerged from the oven was this fudgy, glossy masterpiece that managed to sneak a subtle depth of flavor beneath its rich chocolatey surface. The shiny crackly top practically begged for a second piece, and my roommate—now a believer—kept asking, “Where did this come from?”
What surprised me the most was how the sourdough discard added moisture and a unique texture, without overpowering the classic brownie taste. This recipe stuck around because it turned a waste product into something wildly delicious. It’s perfect when you want to put your sourdough jar to work but crave a dessert that feels indulgent and familiar.
So, if you’ve ever wondered what to do with sourdough discard beyond pancakes or waffles, these fudgy sourdough discard brownies with a glossy finish might just become your new favorite. They’re proof that sometimes the best recipes come from happy accidents and a little experimentation.
Why You’ll Love This Fudgy Sourdough Discard Brownies Recipe
This recipe is one of those kitchen wins you’ll keep coming back to, honestly. After testing it multiple times (yes, I baked these brownies three times in a week—no regrets), I can say it’s a reliable crowd-pleaser that’s surprisingly easy to pull off.
- Quick & Easy: Takes about 35 minutes from start to finish, including baking—ideal for those moments when you want dessert fast without fuss.
- Simple Ingredients: Uses pantry staples alongside sourdough discard, so no last-minute grocery runs needed. It’s a smart way to avoid waste and bake up a treat.
- Perfect for Any Occasion: Whether it’s a casual family dessert night or a cozy weekend treat, these brownies fit right in.
- Crowd-Pleaser: Friends and family keep asking for the recipe because the texture is just right—not cakey, not dry.
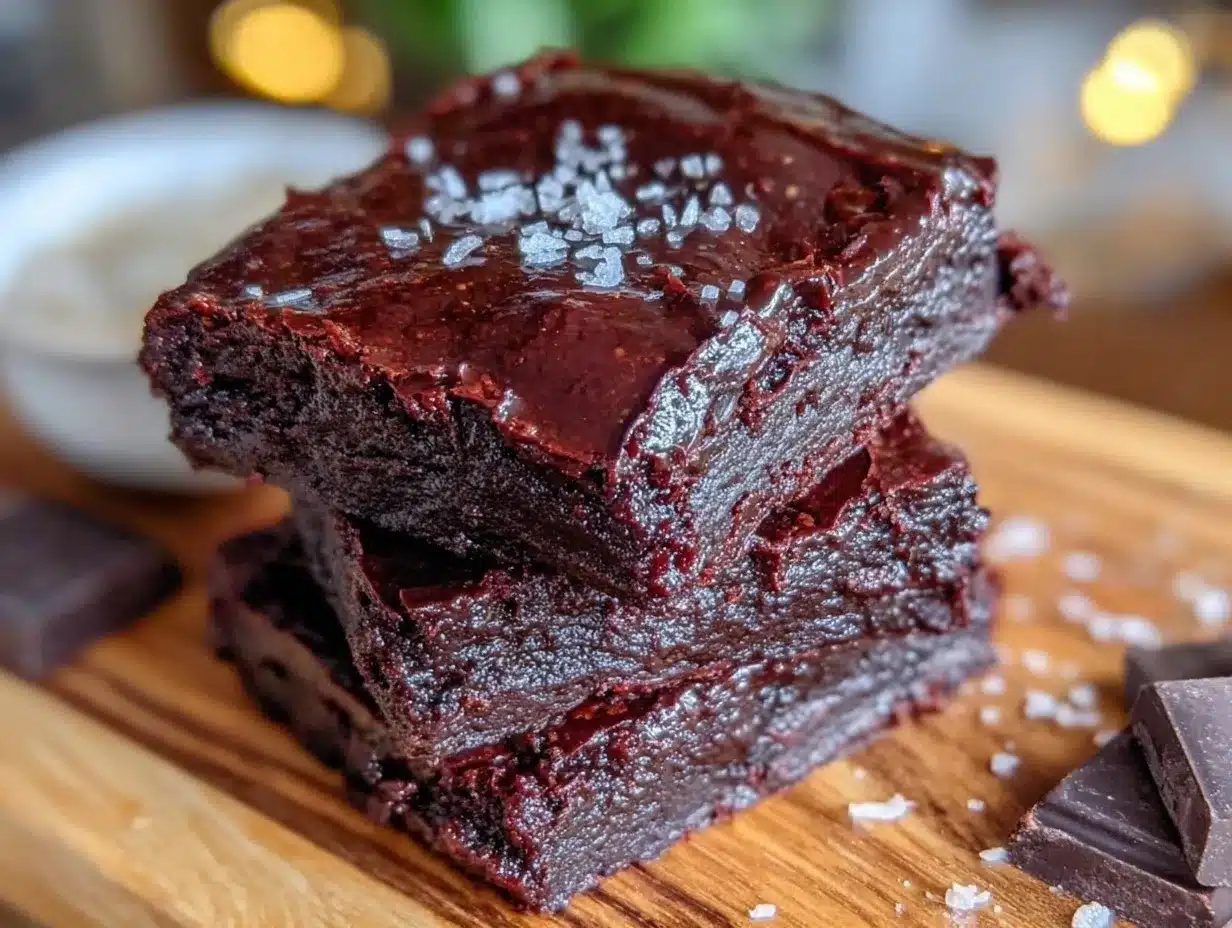
- Unbelievably Delicious: The glossy finish on top? That’s the hallmark of a perfectly fudgy brownie. It’s like a little reward before you even take a bite.
This isn’t your average brownie recipe. The sourdough discard adds a subtle tang that balances the sweetness, while the method creates that signature shiny crust—a texture I’ve struggled to replicate in other brownies. I’ve tried swapping in almond flour for gluten-free versions and kept the glossy top intact, which was a fun surprise.
Honestly, these brownies feel like comfort food with a clever twist. They’re the kind of treat you’ll want to share but might be tempted to keep all to yourself. Plus, if you’re into sourdough, this recipe feels like a secret handshake between the classic tangy starter and rich chocolate indulgence.
What Ingredients You Will Need
This recipe uses simple, wholesome ingredients that work together to create that perfect fudgy texture and glossy sheen. Most are pantry staples, and the sourdough discard plays a starring role, adding moisture and subtle flavor without the need for extra leaveners or complicated steps.
- Sourdough discard (about 1 cup / 240 g, unfed and room temperature) – adds moisture and a slight tang
- Unsalted butter (½ cup / 115 g, melted) – for richness and fudginess, I like using Kerrygold for a nice buttery flavor
- Granulated sugar (¾ cup / 150 g) – balances the tang and chocolate
- Brown sugar (¼ cup / 50 g, packed) – adds chewiness and depth
- Large eggs (2, room temperature) – bind everything together
- Vanilla extract (1 teaspoon) – enhances the chocolate notes
- All-purpose flour (¾ cup / 95 g) – provides structure; you can swap with almond flour for gluten-free
- Unsweetened cocoa powder (½ cup / 50 g, sifted) – the backbone of brownie flavor; I prefer Valrhona for richness
- Salt (½ teaspoon) – balances sweetness and boosts chocolate flavor
- Chocolate chips or chunks (optional, ½ cup / 90 g) – for extra melty pockets
If you want to tweak this recipe, swapping the sugars or using a dairy-free butter alternative can work well, too. Just keep in mind that the glossy finish depends on the sugar and fat balance, so too many substitutions might affect that signature crackly top.
Equipment Needed
This recipe doesn’t call for anything fancy—just the basics you probably already have in your kitchen.
- Mixing bowls: One medium and one large, preferably glass or metal
- Measuring cups and spoons: For accuracy, especially with the cocoa and flour
- Whisk and spatula: A whisk for mixing sugar and butter, spatula for folding ingredients
- 8×8-inch (20×20 cm) baking pan: I’ve tried glass and metal; both work fine, but metal gives a slightly crisper edge
- Parchment paper: To line the pan for easy removal and cleanup
- Oven thermometer (optional): To check your oven temp, which really helps nail that glossy finish
If you don’t have an 8×8 pan, a 9×9 might work, but brownies will be thinner and bake faster. Using parchment paper is a lifesaver—trust me, I’ve tried greasing the pan and it never comes out as clean.
Preparation Method
- Preheat your oven to 325°F (163°C). Line your 8×8-inch baking pan with parchment paper, letting some overhang on the sides for easy lifting.
- Melt the butter gently in a saucepan or microwave until fully liquid but not browned. Transfer to a large mixing bowl.
- Add the granulated and brown sugar to the melted butter. Whisk vigorously until combined and slightly glossy—this step helps develop the shiny crust later. It should take about 1-2 minutes.
- Beat in the eggs, one at a time, making sure each is fully incorporated before adding the next. Stir in the vanilla extract.
- Mix in the sourdough discard until smooth. It might look a little loose, but that’s okay—the sourdough adds moisture and subtle tang without changing the batter’s consistency too much.
- Sift together the flour, cocoa powder, and salt in a separate bowl. Sifting prevents lumps and ensures even mixing.
- Gently fold the dry ingredients into the wet mixture using a spatula, folding just until no streaks remain. Overmixing can toughen the brownies.
- If using chocolate chips, fold them in now. I like to use half bittersweet and half milk chocolate chunks for extra gooeyness.
- Pour the batter into your prepared pan and spread evenly with the spatula.
- Bake for 28-32 minutes. Keep an eye on the glossy top—it should have a shiny, crackled crust but the center will still be soft when you gently press it. A toothpick inserted will come out with a few moist crumbs.
- Let cool completely in the pan on a wire rack. This step is key for fudgy brownies; if you try to cut them warm, they’ll fall apart.
- Lift out the brownies using the parchment overhang, slice into squares, and enjoy.
Pro tip: If your oven runs hot, tent the brownies with foil halfway through baking to avoid burning the edges. Also, beating the sugar and butter well at the start is what helps the glossy crust develop—don’t rush that step.
Cooking Tips & Techniques for Perfect Brownies
Getting that glossy finish and fudgy texture isn’t just luck—it’s about the details.
- Don’t overmix your batter. Once the flour is added, mix gently. Overworking gluten leads to cakey brownies, and honestly, that’s not what we’re after here.
- Use room temperature eggs. They incorporate better and help with the batter’s consistency.
- Be sure your butter is fully melted but not hot. Adding hot butter can cook the eggs prematurely.
- Sugar and butter whisking matters. Whisking the sugar into melted butter until glossy creates tiny air pockets that form the shiny, crackly top. Skipping this can leave you with a dull crust.
- Watch your oven temperature. An oven thermometer is your best friend here because too hot, and the edges burn before the center sets.
- Cool completely before cutting. Patience is tough but needed for clean cuts and that perfect fudgy bite.
One time, I forgot to let the brownies cool fully and ended up with a gooey mess on my knife—and my fingers. Lesson learned! Also, I experimented with adding espresso powder once to deepen the chocolate flavor, which worked like a charm.
While these brownies bake, it’s a perfect moment to prep a quick snack or even a simple salad—like you might do when making a quick ramen upgrade for dinner, multitasking like a pro in the kitchen.
Variations & Adaptations to Try
This fudgy sourdough discard brownie base invites some fun customizations.
- Nutty Upgrade: Stir in ½ cup chopped walnuts or pecans for crunch. Toast them first for extra flavor.
- Spiced Brownies: Add ½ teaspoon cinnamon and a pinch of cayenne to the dry mix for a subtle warmth that pairs beautifully with the chocolate.
- Gluten-Free Option: Swap the all-purpose flour for a 1:1 gluten-free baking blend. I’ve had success with Bob’s Red Mill gluten-free flour, and the texture stays moist and fudgy.
- Chocolate Swirl: Drop spoonfuls of peanut butter or cream cheese and swirl gently into the batter before baking for a decadent twist.
- Vegan Adaptation: Use flax eggs (2 tablespoons ground flaxseed + 6 tablespoons water) and a dairy-free butter alternative. The sourdough discard keeps the moisture, but expect a slightly different texture.
Personally, I once made these with a handful of chopped candied bacon pieces folded in—sweet, salty, and totally addictive. It’s a wild combo but surprisingly delightful!
Serving & Storage Suggestions
These brownies are best served at room temperature to fully enjoy that fudgy texture and glossy top. If you like a warm brownie, pop a square in the microwave for 10-15 seconds—just enough to soften without melting completely.
Pair them with a scoop of vanilla ice cream or a drizzle of salted caramel sauce for an indulgent treat. A cup of strong coffee or a creamy latte also complements the subtle sourdough tang beautifully.
For storage, keep the brownies in an airtight container at room temperature for up to 3 days. They stay moist and fresh, but honestly, they rarely last that long. You can also refrigerate them for up to a week; just let them come to room temp before serving.
To freeze, wrap brownies tightly in plastic wrap and place in a freezer-safe bag. Freeze up to 2 months. Thaw overnight in the fridge, then bring to room temperature before enjoying.
Interestingly, the flavors deepen a bit after a day or two, with the sourdough tang mellowing into the chocolate richness, making leftovers just as inviting as fresh-out-of-the-oven.
Nutritional Information & Benefits
These fudgy sourdough discard brownies are a little indulgence that also smartly repurposes sourdough starter, reducing waste in the kitchen.
| Nutrient | Per Serving (1 brownie, approx. 12 servings) |
|---|---|
| Calories | 190 kcal |
| Fat | 10 g |
| Carbohydrates | 24 g |
| Protein | 3 g |
| Fiber | 2 g |
Key ingredients like cocoa powder offer antioxidants, and the use of real butter and eggs provides satisfying fats and protein. The sourdough discard contributes a tiny bit of fermented goodness and moisture without adding sugar or fat.
Keep in mind this recipe contains gluten, dairy, and eggs, so it’s not suitable for those with allergies or intolerances unless adapted. For a vegan or gluten-free version, see the variations above.
Conclusion
Fudgy sourdough discard brownies with a glossy finish are a delightful way to turn something often wasted into a seriously crave-worthy dessert. The balance of fudgy texture and shiny crust pairs perfectly with the subtle tang from the discard, creating a brownie that’s familiar but with a little twist.
Feel free to tweak the recipe to your taste—whether adding nuts, spices, or making it gluten-free, it’s a versatile base that welcomes creativity. I love how this recipe gave me a reason to keep that sourdough discard jar out on the counter instead of the trash, making baking feel a bit more sustainable and fun.
If you try these brownies, I’d love to hear how you customize them or what moments they brighten in your kitchen. There’s something special about sharing a recipe that’s part kitchen experiment, part happy mistake, and all delicious.
Happy baking!
FAQs About Fudgy Sourdough Discard Brownies
Can I use sourdough starter instead of discard?
It’s best to use unfed sourdough discard since it has less yeast activity. Using active starter might affect the texture and rise, making the brownies more bread-like.
Why do my brownies not have a glossy finish?
The shiny top comes from properly whisking sugar into melted butter until slightly glossy and not overbaking. Also, avoid adding flour too aggressively to preserve the sugar crust.
Can I make these brownies gluten-free?
Yes, substitute all-purpose flour with a 1:1 gluten-free baking blend. The texture might be slightly different but still delicious.
How long can I store these brownies?
Store at room temperature in an airtight container for up to 3 days or refrigerate up to a week. They also freeze well for 2 months.
What does sourdough discard add to the brownies?
It adds moisture and a subtle tang that balances the sweetness, plus a slight chewiness that’s unique compared to regular brownies.
Pin This Recipe!
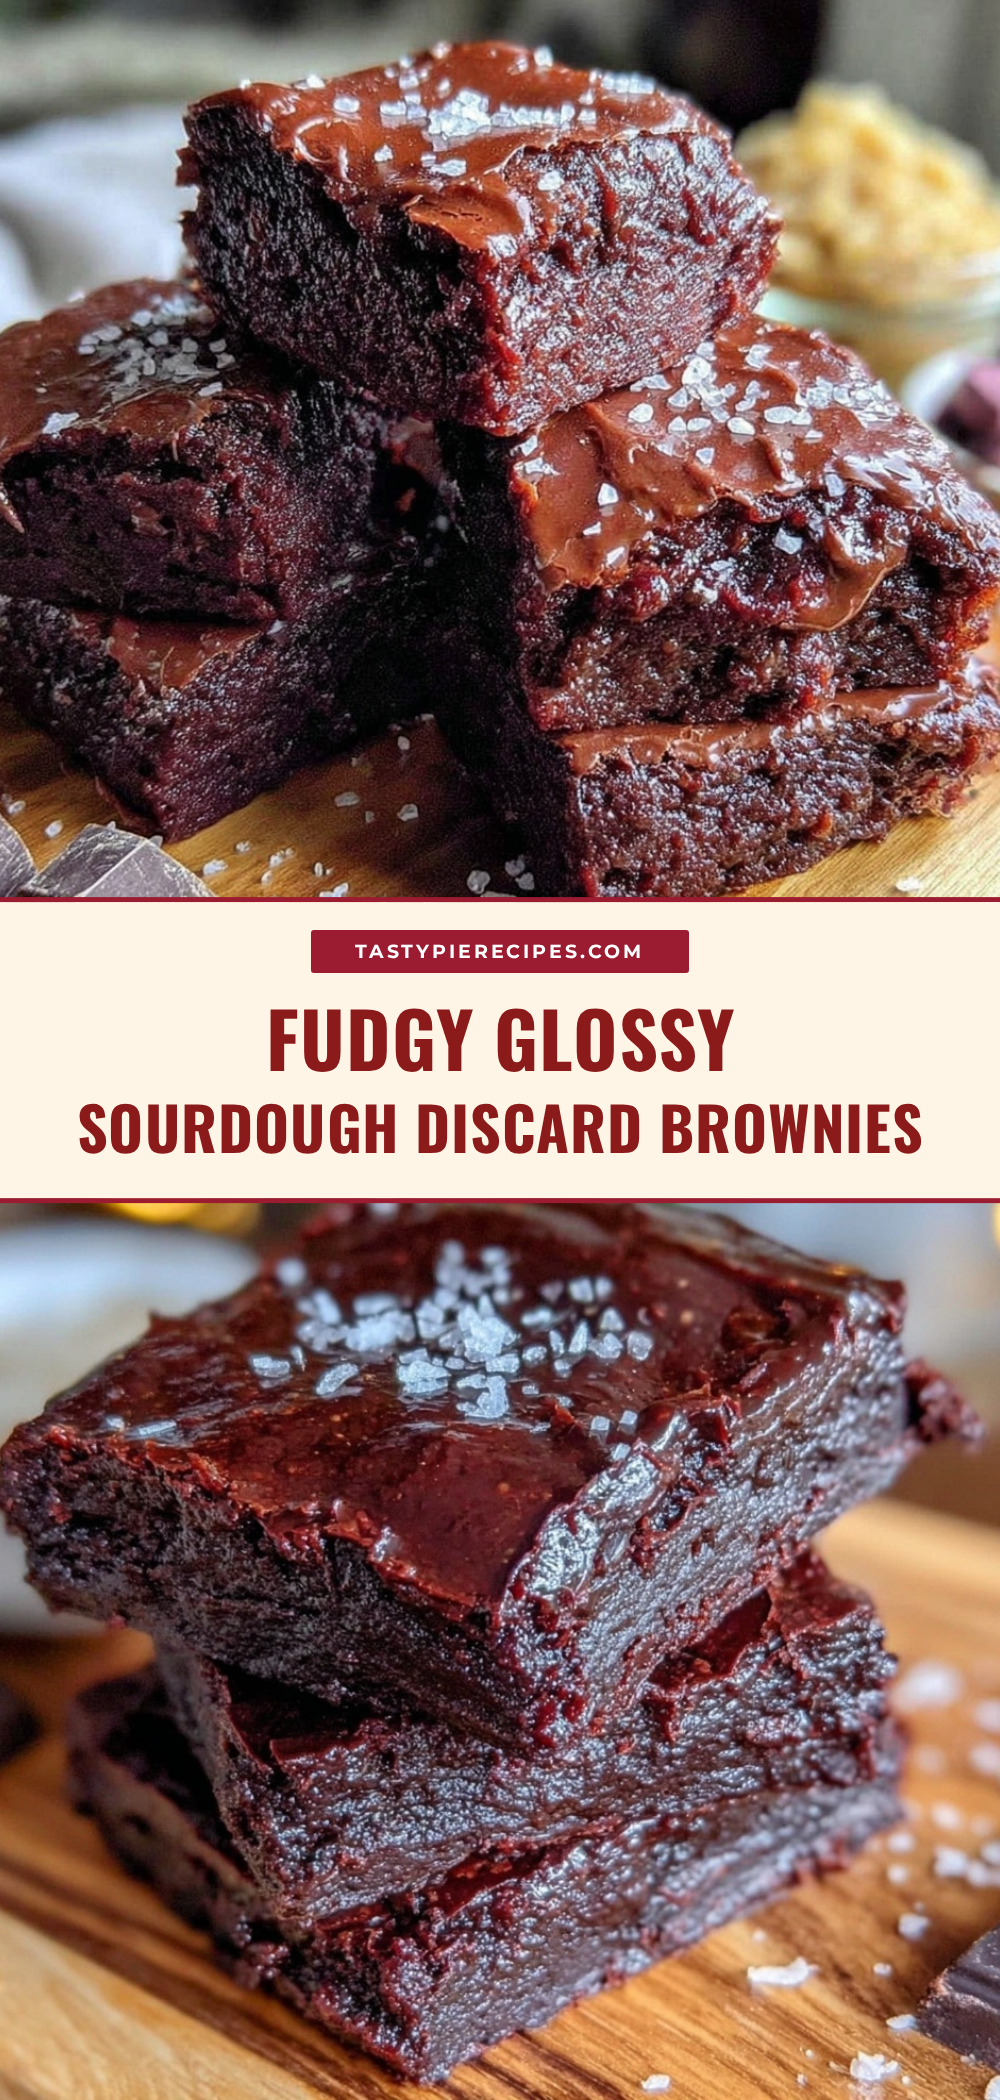
Fudgy Sourdough Discard Brownies
These fudgy sourdough discard brownies feature a glossy, crackly top and a subtle tang from the sourdough discard, creating a rich and moist chocolate treat that’s easy to make and perfect for any occasion.
- Prep Time: 10 minutes
- Cook Time: 30 minutes
- Total Time: 40 minutes
- Yield: 12 servings 1x
- Category: Dessert
- Cuisine: American
Ingredients
- 1 cup (240 g) sourdough discard, unfed and room temperature
- ½ cup (115 g) unsalted butter, melted
- ¾ cup (150 g) granulated sugar
- ¼ cup (50 g) brown sugar, packed
- 2 large eggs, room temperature
- 1 teaspoon vanilla extract
- ¾ cup (95 g) all-purpose flour (or almond flour for gluten-free)
- ½ cup (50 g) unsweetened cocoa powder, sifted
- ½ teaspoon salt
- ½ cup (90 g) chocolate chips or chunks (optional)
Instructions
- Preheat your oven to 325°F (163°C). Line an 8×8-inch baking pan with parchment paper, leaving some overhang for easy lifting.
- Melt the butter gently in a saucepan or microwave until fully liquid but not browned. Transfer to a large mixing bowl.
- Add the granulated and brown sugar to the melted butter. Whisk vigorously until combined and slightly glossy, about 1-2 minutes.
- Beat in the eggs one at a time, ensuring each is fully incorporated before adding the next. Stir in the vanilla extract.
- Mix in the sourdough discard until smooth.
- Sift together the flour, cocoa powder, and salt in a separate bowl.
- Gently fold the dry ingredients into the wet mixture using a spatula, folding just until no streaks remain.
- If using chocolate chips, fold them in now.
- Pour the batter into the prepared pan and spread evenly with a spatula.
- Bake for 28-32 minutes until the top is shiny and crackled but the center is still soft. A toothpick inserted should come out with a few moist crumbs.
- Let cool completely in the pan on a wire rack before cutting.
- Lift out the brownies using the parchment overhang, slice into squares, and enjoy.
Notes
Do not overmix the batter after adding flour to avoid tough brownies. Whisk sugar into melted butter until glossy to develop the shiny crust. Use room temperature eggs and fully melted but not hot butter. Cool brownies completely before cutting for clean slices. Tent with foil if oven runs hot to prevent burning edges.
Nutrition
- Serving Size: 1 brownie (approxima
- Calories: 190
- Fat: 10
- Carbohydrates: 24
- Fiber: 2
- Protein: 3
Keywords: fudgy brownies, sourdough discard recipe, glossy brownies, easy brownies, chocolate dessert, sustainable baking


