Introduction
Picture this: your kitchen filled with the sweet, buttery aroma of freshly baked cookies, a hint of peppermint swirling in the air, and the cheerful sight of red and white swirls adorning your countertop. That’s the magic of making Festive Candy Cane Cookies. The first time I whipped up a batch during a snowy December afternoon, I knew I’d stumbled upon something truly special. These cookies don’t just taste like Christmas; they embody its joy and whimsy.
I remember the look on my kids’ faces when they saw the candy cane-inspired swirls for the first time—they couldn’t wait to sneak bites before they even cooled! Honestly, I don’t blame them. These cookies are not only adorable but also dangerously easy to make, and they’ve quickly become a family tradition. Whether you’re baking for a holiday party, gifting to neighbors, or simply indulging in some festive fun, these cookies are perfect for the season.
After testing (and tasting) this recipe more times than I care to admit, I can confidently say you’re going to want to bookmark this one. They’re the kind of cookies that make you smile, no matter how cold it is outside. Let’s get baking!
Why You’ll Love This Recipe
- Simple and Fun: This recipe is straightforward enough for beginner bakers yet creative enough to be a holiday showstopper.
- Perfect for Christmas: With their festive red and white swirls, these cookies scream holiday cheer.
- Family-Friendly: Kids will love helping twist the dough into candy canes, making it a fun activity for the whole family.
- Deliciously Minty: The touch of peppermint is just enough to evoke the classic candy cane flavor without overpowering the buttery cookie base.
- Customizable: You can tweak the colors, flavors, or even shape them into other holiday-inspired designs.
Unlike many holiday cookie recipes, these are not only eye-catching but also melt-in-your-mouth good. And trust me, they’re a guaranteed crowd-pleaser, whether you’re serving them at a party or wrapping them up as handmade gifts. You’ll love how easy it is to make these cookies, and the joy they bring to everyone who tastes them is simply unmatched.
What Ingredients You Will Need
This recipe uses simple, pantry-friendly ingredients to create a festive treat worthy of any holiday celebration. Here’s what you’ll need:
- Unsalted butter, softened: Adds rich flavor and makes the cookies tender.
- Granulated sugar: For sweetness and that classic cookie texture.
- Large egg: Helps bind the dough together.
- Vanilla extract: Adds warmth and enhances the overall flavor.
- Peppermint extract: A small amount goes a long way in creating that signature candy cane taste.
- All-purpose flour: The base of the dough; make sure to measure accurately for best results.
- Salt: Enhances the flavors and balances the sweetness.
- Red gel food coloring: Essential for creating the red candy cane stripes. Gel food coloring works best for vibrant colors without thinning the dough.
You probably already have most of these ingredients in your kitchen, and a quick trip to the store for peppermint extract and red food coloring will have you ready to go.
Equipment Needed
- Mixing bowls: You’ll need one large bowl for the dough and a smaller bowl for separating and coloring the dough.
- Electric mixer or hand mixer: Makes creaming the butter and sugar a breeze.
- Rubber spatula: Perfect for scraping down the sides of the bowl.
- Measuring cups and spoons: Accuracy is key for baking success.
- Baking sheets: Line these with parchment paper for easy cleanup.
- Rolling pin: Optional—you can shape the dough by hand, but a rolling pin can help if you’re aiming for extra precision.
If you don’t have a mixer on hand, don’t worry—a sturdy wooden spoon and a little elbow grease will get the job done. And if you’re out of parchment paper, lightly greasing the baking sheets works too!
Preparation Method
- Preheat the oven: Set your oven to 350°F (175°C) and line your baking sheets with parchment paper.
- Prepare the dough: In a large mixing bowl, cream together 1 cup (227 grams) of softened unsalted butter and 1 cup (200 grams) of granulated sugar until light and fluffy. Add 1 large egg, 1 teaspoon vanilla extract, and ½ teaspoon peppermint extract, mixing until well combined.
- Add dry ingredients: Gradually incorporate 2½ cups (315 grams) of all-purpose flour and ½ teaspoon salt into the butter mixture. Mix until a soft dough forms.
- Divide and color: Split the dough in half and place one portion in a separate bowl. Add a few drops of red gel food coloring to one half and mix until the color is evenly distributed.
- Shape the cookies: Take a small piece of each dough and roll them into two thin ropes. Place the ropes side by side, gently twist them together, and shape them into a candy cane. Repeat until all the dough is used.
- Bake: Arrange the shaped cookies on the prepared baking sheets, leaving about 1 inch (2.5 cm) of space between them. Bake for 9-11 minutes, or until the edges are set but not browned.
- Cool: Let the cookies cool on the baking sheets for 5 minutes before transferring them to a wire rack to cool completely.
Keep an eye on the cookies as they bake—overbaking can cause them to lose their soft, buttery texture.
Cooking Tips & Techniques
Here are some tried-and-true tips to make your candy cane cookies truly magical:
- Use gel food coloring: Liquid food coloring can make the dough too sticky and hard to work with. Gel coloring ensures vibrant hues without compromising the texture.
- Chill the dough: If the dough feels too soft, pop it into the fridge for 20-30 minutes before shaping your candy canes. This makes it easier to handle.
- Adjust the peppermint flavor: If you’re not a fan of strong peppermint, start with just ¼ teaspoon of peppermint extract and adjust to taste.
- Size matters: Keep the cookie ropes thin when twisting them together—about the thickness of a pencil—for a more polished look.
- Be gentle: Twist the dough carefully to avoid breaking or cracking the ropes. A light touch goes a long way!
And here’s a little secret: if your candy canes don’t turn out perfect the first time, don’t stress. They’ll still taste amazing, and that homemade charm is what makes them extra special.
Variations & Adaptations
- Gluten-Free Option: Swap the all-purpose flour for a gluten-free baking blend. Make sure it’s a 1:1 substitute for best results.
- Colorful Twists: Experiment with different colors like green or blue for a fun twist on the traditional candy cane look.
- Flavor Variations: Replace peppermint extract with almond extract for a nutty twist or orange extract for a citrusy holiday vibe.
- Chocolate-Dipped Delight: Once cooled, dip the ends of the candy canes into melted chocolate and sprinkle with crushed peppermint candies.
Personally, I love making a batch with green swirls for a Grinch-themed holiday treat. It’s a great way to mix things up while still keeping the festive spirit alive!
Serving & Storage Suggestions
Serve these cookies at room temperature on a festive platter. Pair them with a cup of hot cocoa or a glass of cold milk for the ultimate Christmas indulgence. The vibrant swirls make them a great choice for gift boxes or cookie trays at holiday gatherings.
To store, place the cookies in an airtight container at room temperature for up to a week. For longer keeping, freeze them in a freezer-safe container for up to a month. When ready to enjoy, let them thaw at room temperature or warm them slightly in the oven for that freshly baked feel.
Pro tip: The peppermint flavor intensifies after a day or two, making the cookies taste even better as they sit!
Nutritional Information & Benefits
Each cookie is approximately 120 calories, with 6 grams of fat, 15 grams of carbohydrates, and 1 gram of protein. While they’re undoubtedly a treat, they’re a delightful way to savor the holiday season. The peppermint extract not only adds flavor but also offers a refreshing touch that can aid digestion after a big holiday meal.
These cookies are vegetarian-friendly, and you can make them gluten-free or dairy-free with simple substitutions to suit your dietary needs.
Conclusion
There’s something magical about baking Festive Candy Cane Cookies during the holidays—it’s a tradition that fills the house with warmth, laughter, and the irresistible aroma of peppermint and butter. Whether you’re making them for a Christmas party, gifting them to loved ones, or simply treating yourself, these cookies are guaranteed to bring a smile to everyone’s face.
Give them your own twist, experiment with colors and flavors, and make them your own. I hope they become a part of your holiday traditions, just like they’ve become a staple in mine. Let me know how they turn out in the comments below, and feel free to share any creative adaptations you try!
Happy baking, and may your holidays be as sweet as these cookies!
FAQs
Can I make the dough ahead of time?
Yes! You can prepare the dough up to two days in advance and store it in the refrigerator. Just let it come back to room temperature before shaping the cookies.
What if I don’t have peppermint extract?
No problem! You can use vanilla extract instead, or experiment with almond or orange extract for a unique flavor.
How do I prevent the dough from sticking?
If the dough is sticky, chill it in the refrigerator for 20-30 minutes before shaping. You can also lightly dust your work surface with flour.
Can I freeze these cookies?
Absolutely! Once baked and cooled, store the cookies in an airtight container and freeze for up to a month. Thaw at room temperature before serving.
Do I have to use red food coloring?
No, you can get creative with different colors, like green, blue, or even multicolored swirls for a unique twist!
Pin This Recipe!

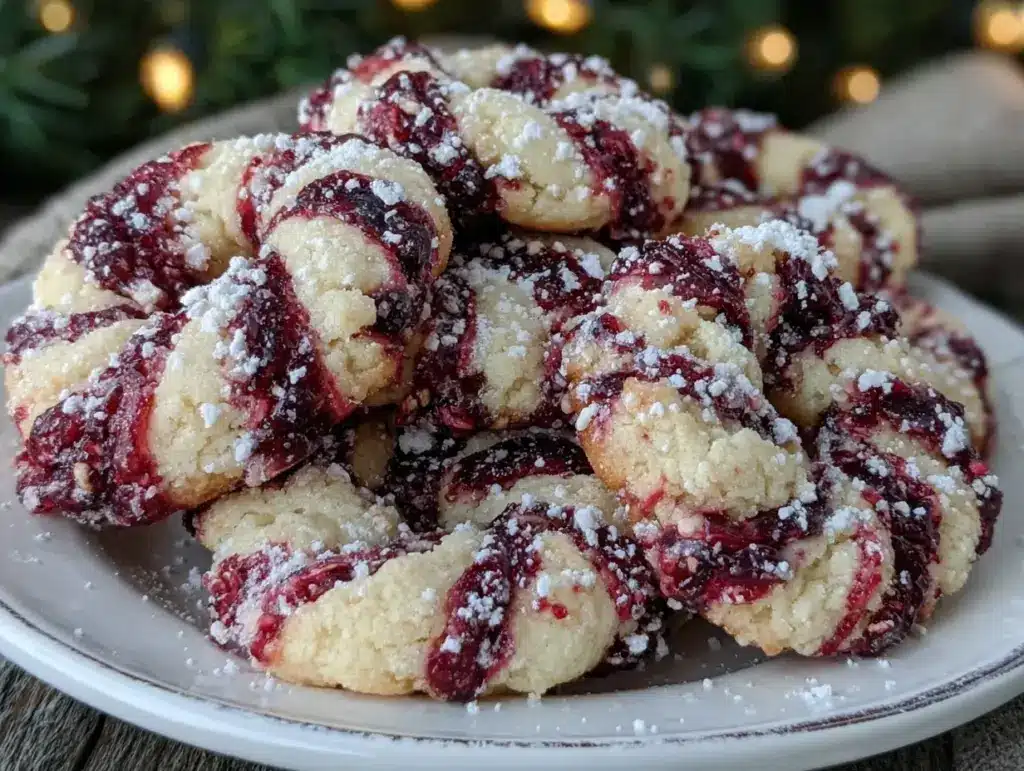
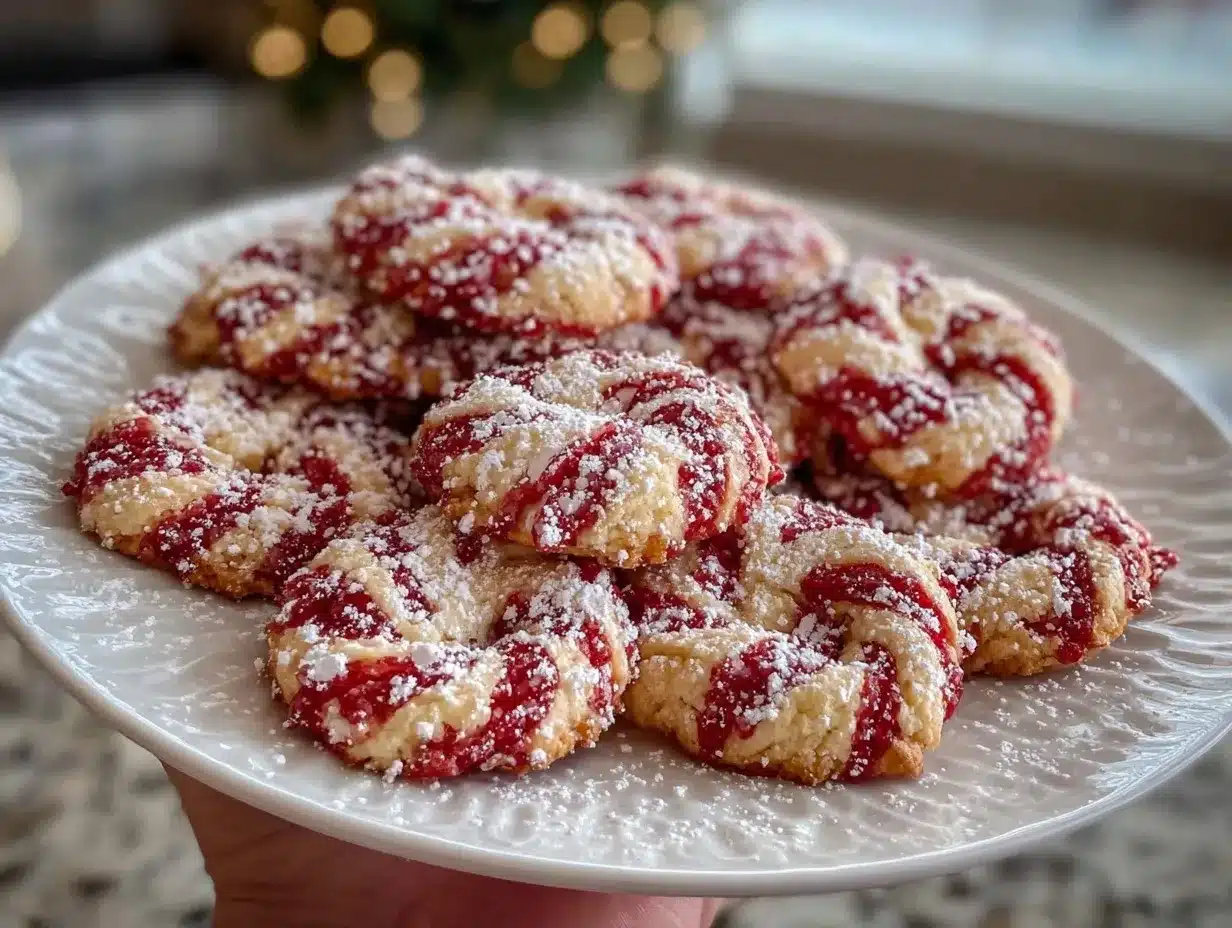
Festive Candy Cane Cookies

These festive cookies feature red and white swirls with a touch of peppermint, perfect for holiday baking and spreading Christmas cheer.
- Prep Time: 30 minutes
- Cook Time: 11 minutes
- Total Time: 41 minutes
- Yield: 24 cookies 1x
- Category: Dessert
- Cuisine: American
Ingredients
- 1 cup (227 grams) unsalted butter, softened
- 1 cup (200 grams) granulated sugar
- 1 large egg
- 1 teaspoon vanilla extract
- 1/2 teaspoon peppermint extract
- 2 1/2 cups (315 grams) all-purpose flour
- 1/2 teaspoon salt
- Red gel food coloring
Instructions
- Preheat the oven to 350°F (175°C) and line baking sheets with parchment paper.
- In a large mixing bowl, cream together the softened butter and granulated sugar until light and fluffy.
- Add the egg, vanilla extract, and peppermint extract, mixing until well combined.
- Gradually incorporate the flour and salt into the butter mixture, mixing until a soft dough forms.
- Divide the dough in half and place one portion in a separate bowl. Add a few drops of red gel food coloring to one half and mix until the color is evenly distributed.
- Take a small piece of each dough and roll them into two thin ropes. Place the ropes side by side, gently twist them together, and shape them into a candy cane. Repeat until all the dough is used.
- Arrange the shaped cookies on the prepared baking sheets, leaving about 1 inch (2.5 cm) of space between them.
- Bake for 9-11 minutes, or until the edges are set but not browned.
- Let the cookies cool on the baking sheets for 5 minutes before transferring them to a wire rack to cool completely.
Notes
[‘Use gel food coloring for vibrant hues without compromising the dough texture.’, ‘Chill the dough for 20-30 minutes if it feels too soft to handle.’, ‘Adjust the peppermint extract to taste if you prefer a milder flavor.’, ‘Keep the cookie ropes thin for a polished look.’, ‘Twist the dough gently to avoid breaking or cracking.’]
Nutrition
- Serving Size: 1 cookie
- Calories: 120
- Fat: 6
- Carbohydrates: 15
- Protein: 1
Keywords: Candy Cane Cookies, Christmas Cookies, Holiday Baking, Peppermint Cookies, Festive Cookies


