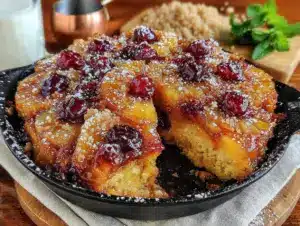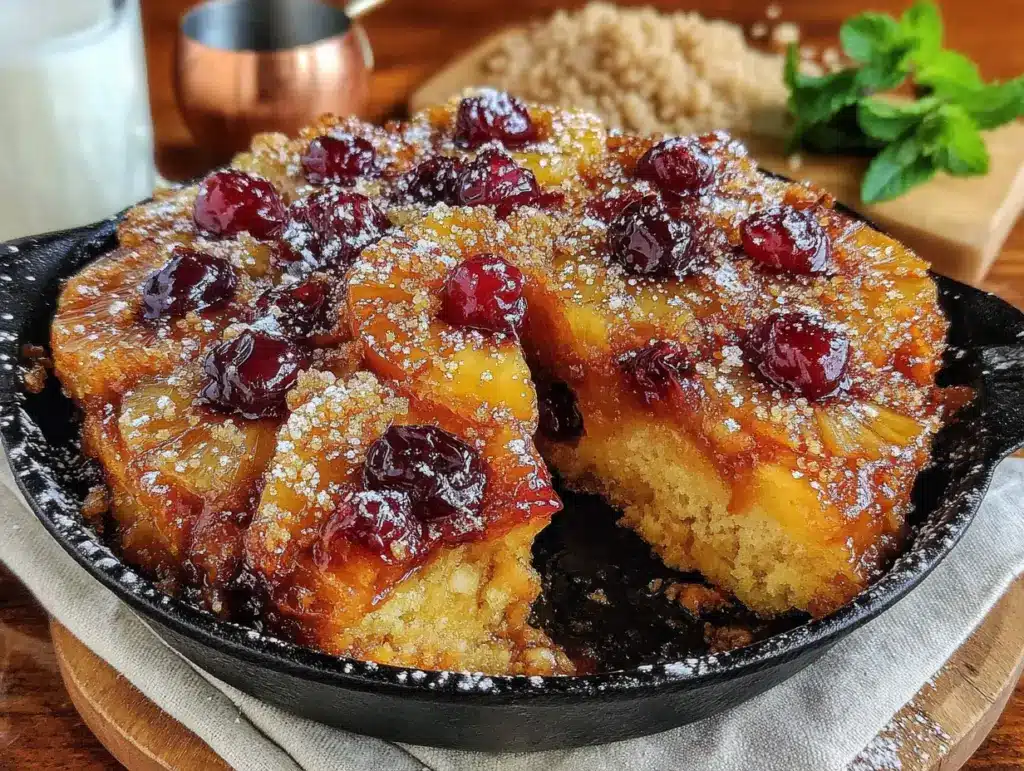
Third time in three days I made this caramelized grilled pineapple skillet cake, and this time I let the butter brown just a second longer before adding the sugar. That was the moment it clicked—that deep, nutty edge against the sweet char from the grill marks. I wasn’t trying to reinvent dessert. I just had a pineapple sitting on the counter that was finally ripe, and the thought of turning on the big oven felt like a chore on a warm evening. So I grabbed my cast iron skillet instead.
There’s something about cooking fruit directly on the grates that changes everything. The sugars tighten, the edges go jammy, and you get these little caramelized spots that taste almost like toasted marshmallow. I kept thinking about that first bite—the way the warm pineapple softened into the tender cake underneath, the little crunch of brown sugar crust on top. Honestly, I didn’t plan to make it again the next day. But I woke up thinking about it, which is usually my sign that a recipe isn’t going anywhere.
This easy caramelized grilled pineapple skillet cake isn’t fussy. It doesn’t require a mixer or a springform pan or any of that nonsense. What it does require is a ripe pineapple, a hot grill, and a skillet that’s seen some use. The cake itself is simple—butter, sugar, eggs, flour—the kind of batter you can whisk together in five minutes without thinking too hard. But the pineapple? That’s where the magic lives. And once you taste it, you’ll understand why I kept coming back to the stove.
Why You’ll Love This Recipe
I’ve tested this recipe six times now—yes, six—because I wanted to make sure the cake stayed tender even with all that juicy fruit on top. The first time, the bottom got a little soggy. The second time, I forgot to pat the pineapple dry and ended up with a caramel soup situation. But by the third batch, I had it dialed in. And now I can tell you, without hesitation, that this is the version worth making.
- Quick & Easy: From start to finish, you’re looking at about 40 minutes. Most of that is hands-off baking time while the grill does the work.
- Simple Ingredients: You probably have flour, sugar, butter, eggs, and vanilla in your kitchen right now. The only special ingredient is a ripe pineapple.
- Perfect for Summer: This is the kind of dessert that works for backyard barbecues, camping trips, or just a Tuesday night when you want something sweet without turning on the oven.
- Crowd-Pleaser: I brought this to a cookout last weekend and watched three people ask for the recipe before they even finished their slice. Kids love it. Adults love it. Even my friend who “doesn’t do cooked fruit” went back for seconds.
- Unbelievably Delicious: The combination of smoky char from the grill, buttery cake, and caramelized pineapple is next-level comfort food. It’s sweet without being cloying, rich without being heavy.
What makes this different from every other pineapple upside-down cake you’ve seen? Two things. First, the pineapple gets grilled before it ever touches the batter, which concentrates its sweetness and adds a subtle smokiness you can’t get any other way. Second, the cake itself is intentionally not too sweet—it’s meant to be a backdrop for the fruit, not compete with it. This isn’t just another version. It’s the one that makes you close your eyes after the first bite.
What Ingredients You Will Need
This recipe uses simple, wholesome ingredients to deliver bold flavor and satisfying texture without the fuss. Most of these are pantry staples, so you probably won’t need a special trip to the store—just a good pineapple and a little patience.
- Fresh pineapple (1 medium, about 2 pounds): Look for one that smells sweet at the stem end and gives slightly when you squeeze it. A ripe pineapple makes all the difference here. (I like Dole or Maui Gold when I can find them.)
- Unsalted butter (1/2 cup, 1 stick, softened): Plus 2 tablespoons melted for grilling the pineapple. I use Kerrygold for the butter—it has a higher fat content that makes the cake extra tender.
- Granulated sugar (3/4 cup): Divided—1/4 cup for the pineapple caramel, 1/2 cup for the cake batter.
- Light brown sugar (1/4 cup, packed): This goes into the skillet with the butter before the pineapple goes on top. It creates that deep, almost molasses-like caramel layer.
- All-purpose flour (1 1/2 cups): Spoon and level it—don’t scoop straight from the bag or you’ll end up with a dry cake.
- Baking powder (1 1/2 teaspoons): Make sure it’s fresh. If it’s been sitting in your cabinet for a year, go buy a new can.
- Salt (1/4 teaspoon): Just enough to balance the sweetness. I use fine sea salt.
- Large eggs (2, room temperature): Room temperature eggs incorporate better into the batter. If you forgot to take them out of the fridge, place them in a bowl of warm water for 5 minutes.
- Vanilla extract (1 teaspoon): Pure vanilla, not imitation. It really does make a difference here.
- Whole milk (1/2 cup): You can substitute buttermilk if you want a tangier cake, but whole milk gives the best texture.
- Optional toppings: A sprinkle of flaky sea salt right before serving, or a dollop of whipped cream if you’re feeling fancy. A scoop of vanilla ice cream never hurts either.
If you don’t have a grill, don’t worry—I’ll cover alternative cooking methods in the variations section. And if pineapple isn’t your thing (though I’m not sure we can be friends), you can swap in peaches, nectarines, or even mango with similar results.
Equipment Needed
You don’t need a lot of fancy gear for this recipe, which is part of why I love it. But a few specific tools will make your life easier.
- 10-inch cast iron skillet: This is non-negotiable. Cast iron holds heat evenly and gives you that beautiful caramelized crust on the bottom of the cake. If you don’t have one, you can use a 10-inch oven-safe nonstick skillet, but the caramel won’t develop quite as well. Lodge makes a solid, affordable option that will last forever.
- Grill (gas or charcoal): You’ll need a hot grill to char the pineapple slices. I use a Weber gas grill, but charcoal adds an even smokier flavor if you have the time.
- Tongs: For flipping the pineapple slices on the grill. Get a good pair with silicone grips—your hands will thank you.
- Mixing bowls (medium and large): One for dry ingredients, one for wet. Nothing fancy needed.
- Whisk: For combining the dry ingredients and smoothing out the batter.
- Spatula (rubber or silicone): For scraping every last bit of batter into the skillet. Don’t waste a drop.
- Paring knife: For cutting the pineapple. A sharp one makes the job infinitely easier.
- Cutting board: Preferably one with a juice groove to catch all that sweet pineapple liquid.
- Cooling rack: Optional but helpful if you want to flip the cake out of the skillet while it’s still warm.
If you don’t have a cast iron skillet, you can find one at most kitchen supply stores for around $20. It’s worth the investment—you’ll use it for everything from searing steaks to baking cornbread. Just remember to season it properly before the first use, and never put it in the dishwasher.
Preparation Method
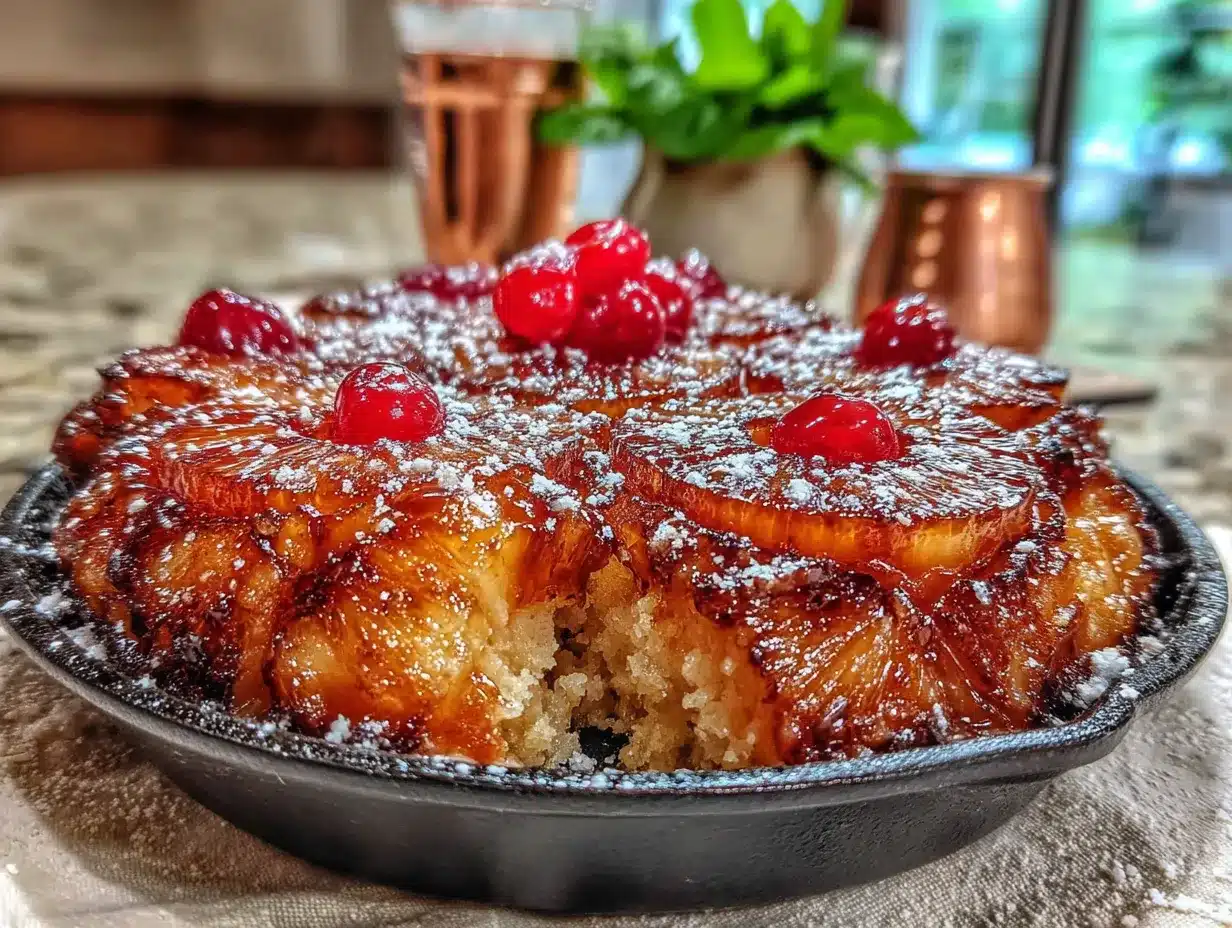
Let me walk you through this step by step. I’ve made this enough times to know exactly where things can go wrong, so I’ll point out the tricky parts as we go.
- Preheat your grill to medium-high heat (about 400°F / 200°C). While it’s heating up, prepare your pineapple. Cut off the top and bottom, then slice off the skin, making sure to remove those little brown eyes. Cut the pineapple crosswise into 1/2-inch thick rings. You should get about 6-8 rings depending on the size of your fruit. Remove the core from each ring using a small cookie cutter or a paring knife—just punch it out like you’re making donut holes. (Save the cores for snacking or infusing water later.)
- Brush the pineapple rings with 2 tablespoons of melted butter on both sides. Sprinkle them lightly with about 1 tablespoon of the granulated sugar—just enough to help them caramelize. Place the rings on the hot grill and cook for 3-4 minutes per side, until you see deep grill marks and the edges start to look sticky and golden. Don’t walk away—pineapple burns fast. When they’re done, transfer them to a plate and set aside.
- Reduce the grill temperature to 350°F (175°C) or preheat your oven to 350°F if you’re finishing the cake indoors. Place your cast iron skillet on the grill or stovetop over medium heat. Add the remaining 1/4 cup of butter and let it melt completely. Sprinkle the brown sugar evenly over the melted butter and stir gently until it’s combined and bubbly—about 1 minute. Remove the skillet from the heat.
- Arrange the grilled pineapple rings in the skillet on top of the brown sugar mixture. Overlap them slightly if needed, or cut some rings in half to fill in gaps. The pineapple should cover the bottom of the skillet in a single layer. Set the skillet aside while you make the batter.
- In a medium bowl, whisk together the flour, baking powder, and salt. Set aside. In a large bowl, beat the softened butter and remaining 1/2 cup of granulated sugar together until light and fluffy—about 2 minutes with a hand mixer or vigorous whisking. Add the eggs one at a time, beating well after each addition. Stir in the vanilla extract.
- Add the flour mixture to the butter mixture in three additions, alternating with the milk. Start and end with the flour. Mix just until combined—overmixing will make the cake tough. The batter will be thick but scoopable, like a soft cookie dough.
- Spoon the batter gently over the pineapple in the skillet, spreading it evenly with a spatula. Don’t press down—just let it settle naturally over the fruit. The batter will seem thin in some spots, but it will puff up as it bakes.
- Place the skillet on the grill (or in the oven) and bake for 25-30 minutes, or until the top is golden brown and a toothpick inserted in the center comes out clean. If you’re using a grill, keep the lid closed and check after 20 minutes—grills can run hot. The cake should pull away slightly from the edges of the skillet when it’s done.
- Let the cake cool in the skillet for exactly 5 minutes. This is crucial—if you flip it too soon, the caramel will run everywhere. If you wait too long, the cake will stick. After 5 minutes, run a knife around the edge of the skillet, place a large plate or serving platter on top, and carefully invert the whole thing. Lift the skillet off slowly—the pineapple should be beautifully caramelized on top. If any pieces stick, just nudge them back into place with a spatula.
- Serve warm or at room temperature. A sprinkle of flaky sea salt right before serving really makes the flavors pop. A scoop of vanilla ice cream or a dollop of whipped cream doesn’t hurt either.
Cooking Tips & Techniques
I’ve made every mistake in the book with this recipe so you don’t have to. Here’s what I learned the hard way.
Don’t skip the grill step. I know it’s tempting to just throw the pineapple in the skillet raw and let it cook with the cake, but trust me—grilling first concentrates the sugars and adds that smoky depth that makes this recipe special. If you’re short on time, you can char the pineapple in a dry cast iron skillet on the stovetop instead. Same idea, just a little less smoky.
Pat the pineapple dry before grilling. Wet pineapple won’t caramelize—it’ll steam instead. After you brush on the butter, let the rings sit for a minute so the excess moisture evaporates. You want them tacky, not dripping.
Watch the caramel closely. Brown sugar and butter can go from perfectly bubbly to burnt in about 30 seconds. As soon as the mixture is smooth and starting to bubble around the edges, take it off the heat. The residual heat will continue to cook it while you arrange the pineapple.
Use room temperature ingredients. Cold eggs and milk will seize the butter and give you a dense, uneven cake. I know it’s annoying to plan ahead, but it really does make a difference. Set your eggs and milk on the counter 30 minutes before you start.
Don’t overmix the batter. I’m guilty of this myself—I get impatient and start whisking like I’m trying to win a race. But overmixing develops gluten, which makes the cake tough. Mix until the flour just disappears, then stop. A few small lumps are totally fine.
Let it rest before flipping. That 5-minute wait is non-negotiable. I flipped one too early once and ended up with a caramel volcano all over my counter. The cake was still delicious, but it looked like a disaster. Give it those 5 minutes, I promise it’s worth it.
Variations & Adaptations
One of the best things about this recipe is how easy it is to adapt. Here are a few ways I’ve played around with it.
- Grilled Peach Skillet Cake: Swap the pineapple for ripe peaches—halved and pitted, grilled cut-side down for 3-4 minutes. The flavor is softer and more floral, and it pairs beautifully with a little cinnamon in the batter. This is my go-to for late summer when peaches are at their peak.
- Coconut Pineapple Skillet Cake: Add 1/2 cup of toasted shredded coconut to the batter and sprinkle another 1/4 cup over the top before baking. The coconut adds texture and a tropical twist that makes this taste like a vacation. I also like to swap the milk for coconut milk for extra richness.
- Spiced Rum Version: Add 2 tablespoons of dark rum to the brown sugar mixture before adding the pineapple, and another tablespoon to the batter. The rum deepens the caramel flavor and adds a grown-up kick. Just be careful not to add too much—you want a hint of warmth, not a cocktail.
- Gluten-Free Option: Substitute the all-purpose flour with a 1:1 gluten-free baking flour blend. I’ve tested this with Bob’s Red Mill and King Arthur’s measure-for-measure blends, and both worked great. The texture is slightly more crumbly, but the flavor is spot-on.
- Dairy-Free Adaptation: Use vegan butter (I like Miyoko’s) and full-fat oat milk or coconut milk. The cake will be a little less tender, but still delicious. Just make sure your vegan butter is solid, not the spreadable kind from a tub.
I once tried a version with grilled mango instead of pineapple, and honestly, it was almost better. The mango gets this incredible jammy texture on the grill, and the sweetness pairs perfectly with the buttery cake. If you see good mangoes at the store, give it a shot.
Serving & Storage Suggestions
This cake is best served warm, right after you flip it out of the skillet. The caramel is still gooey, the pineapple is soft and sticky, and the cake is tender and fragrant. A scoop of vanilla bean ice cream melting over the top is my favorite way to eat it—the cold creaminess against the warm cake is pure magic.
If you’re serving it at a party, you can make it a few hours ahead and reheat it gently in a 300°F oven for about 10 minutes. Just cover it loosely with foil so the top doesn’t dry out. It also works beautifully at room temperature—the flavors actually deepen as it sits.
For storage, cover the skillet tightly with foil or transfer the cake to an airtight container. It will keep in the refrigerator for up to 3 days. The cake will firm up as it chills, but the pineapple stays soft and caramelized. To reheat, pop individual slices in the microwave for 15-20 seconds, or warm them in a skillet over low heat for a few minutes per side.
You can also freeze this cake for up to 2 months. Wrap it tightly in plastic wrap, then foil, and freeze it whole or in individual slices. To serve, thaw overnight in the refrigerator and reheat as directed above. The texture won’t be quite as tender as fresh, but it’s still really good—perfect for when you need a quick dessert fix.
If you’re looking for other warm, fruity desserts to round out your summer menu, you might enjoy this creamy strawberry basil lemonade panna cotta for a lighter option, or this fresh fig and honey crostata with ricotta and thyme if you want something a little more elegant. Both pair beautifully with the same vanilla ice cream.
Nutritional Information & Benefits
Let’s be real—this is dessert, not a health food. But there are a few bright spots worth mentioning. Pineapple is packed with vitamin C and bromelain, an enzyme that can aid digestion. The butter and eggs provide some protein and healthy fats, and the whole milk adds calcium. Plus, you’re getting a serving of fruit, which is more than most cakes can claim.
Here’s the approximate nutritional breakdown per serving (based on 8 servings):
- Calories: 320
- Fat: 16g
- Carbohydrates: 42g
- Fiber: 2g
- Sugar: 28g
- Protein: 5g
If you’re watching your sugar intake, you can reduce the granulated sugar in the batter to 1/3 cup without sacrificing too much texture. The pineapple and caramel provide plenty of sweetness on their own. For a lower-calorie option, serve it with a dollop of Greek yogurt instead of ice cream.
This recipe is not gluten-free as written, but see the variations section for a simple swap. It contains dairy and eggs, so it’s not suitable for vegans, but the dairy-free adaptation works well for those with lactose intolerance.
Conclusion
This caramelized grilled pineapple skillet cake is the kind of recipe that makes you feel like you’ve discovered a secret. It’s simple enough for a Tuesday night dessert but impressive enough for a summer party. The smoky char from the grill, the gooey caramel, the tender cake—it all comes together in one skillet with minimal fuss and maximum flavor.
I love this recipe because it reminds me that you don’t need complicated techniques or exotic ingredients to make something memorable. Sometimes all it takes is a ripe pineapple, a hot grill, and a little patience. The first time I made it, I was just trying to use up fruit. Now I buy pineapple specifically for this cake, and I don’t feel bad about it at all.
I’d love to hear how yours turns out. Did you try a different fruit? Add a spice? Serve it with something unexpected? Drop a comment below and let me know—I read every single one, and I’m always looking for new ideas to test in my kitchen. And if you share a photo on social media, tag me so I can see your beautiful creation. Happy cooking, friends!
Frequently Asked Questions
Can I make this without a grill?
Absolutely. If you don’t have a grill, you can char the pineapple slices in a dry cast iron skillet over high heat for 2-3 minutes per side. It won’t have the same smoky flavor, but you’ll still get beautiful caramelization. You can also use a grill pan on the stovetop for similar results.
Can I use canned pineapple?
You can, but I don’t recommend it. Canned pineapple is packed in juice or syrup and has a much softer texture that won’t hold up well on the grill. Fresh pineapple gives you that firm, juicy bite and the concentrated sweetness you need for this recipe. If you’re in a pinch, drain canned rings very well and pat them dry before grilling.
Why did my cake stick to the skillet?
This usually happens for one of two reasons: either you didn’t let the cake cool for the full 5 minutes before flipping, or the caramel wasn’t bubbly enough before you added the pineapple. Make sure the brown sugar and butter mixture is actively bubbling when you take it off the heat, and don’t rush the cooling time. A well-seasoned cast iron skillet also helps prevent sticking.
Can I make this ahead of time?
Yes! You can make the cake a day ahead and store it in the refrigerator. To serve, reheat it in a 300°F oven for about 10 minutes, or microwave individual slices for 15-20 seconds. The caramel will soften and the cake will be almost as good as fresh. I actually think the flavors meld together even more overnight.
What can I serve with this cake?
Vanilla ice cream is the classic pairing, but I also love it with whipped cream, a drizzle of coconut cream, or even a dollop of Greek yogurt for a tangy contrast. A sprinkle of toasted coconut or chopped macadamia nuts adds nice texture. And if you’re feeling extra indulgent, a drizzle of caramel sauce never hurts.
Pin This Recipe!
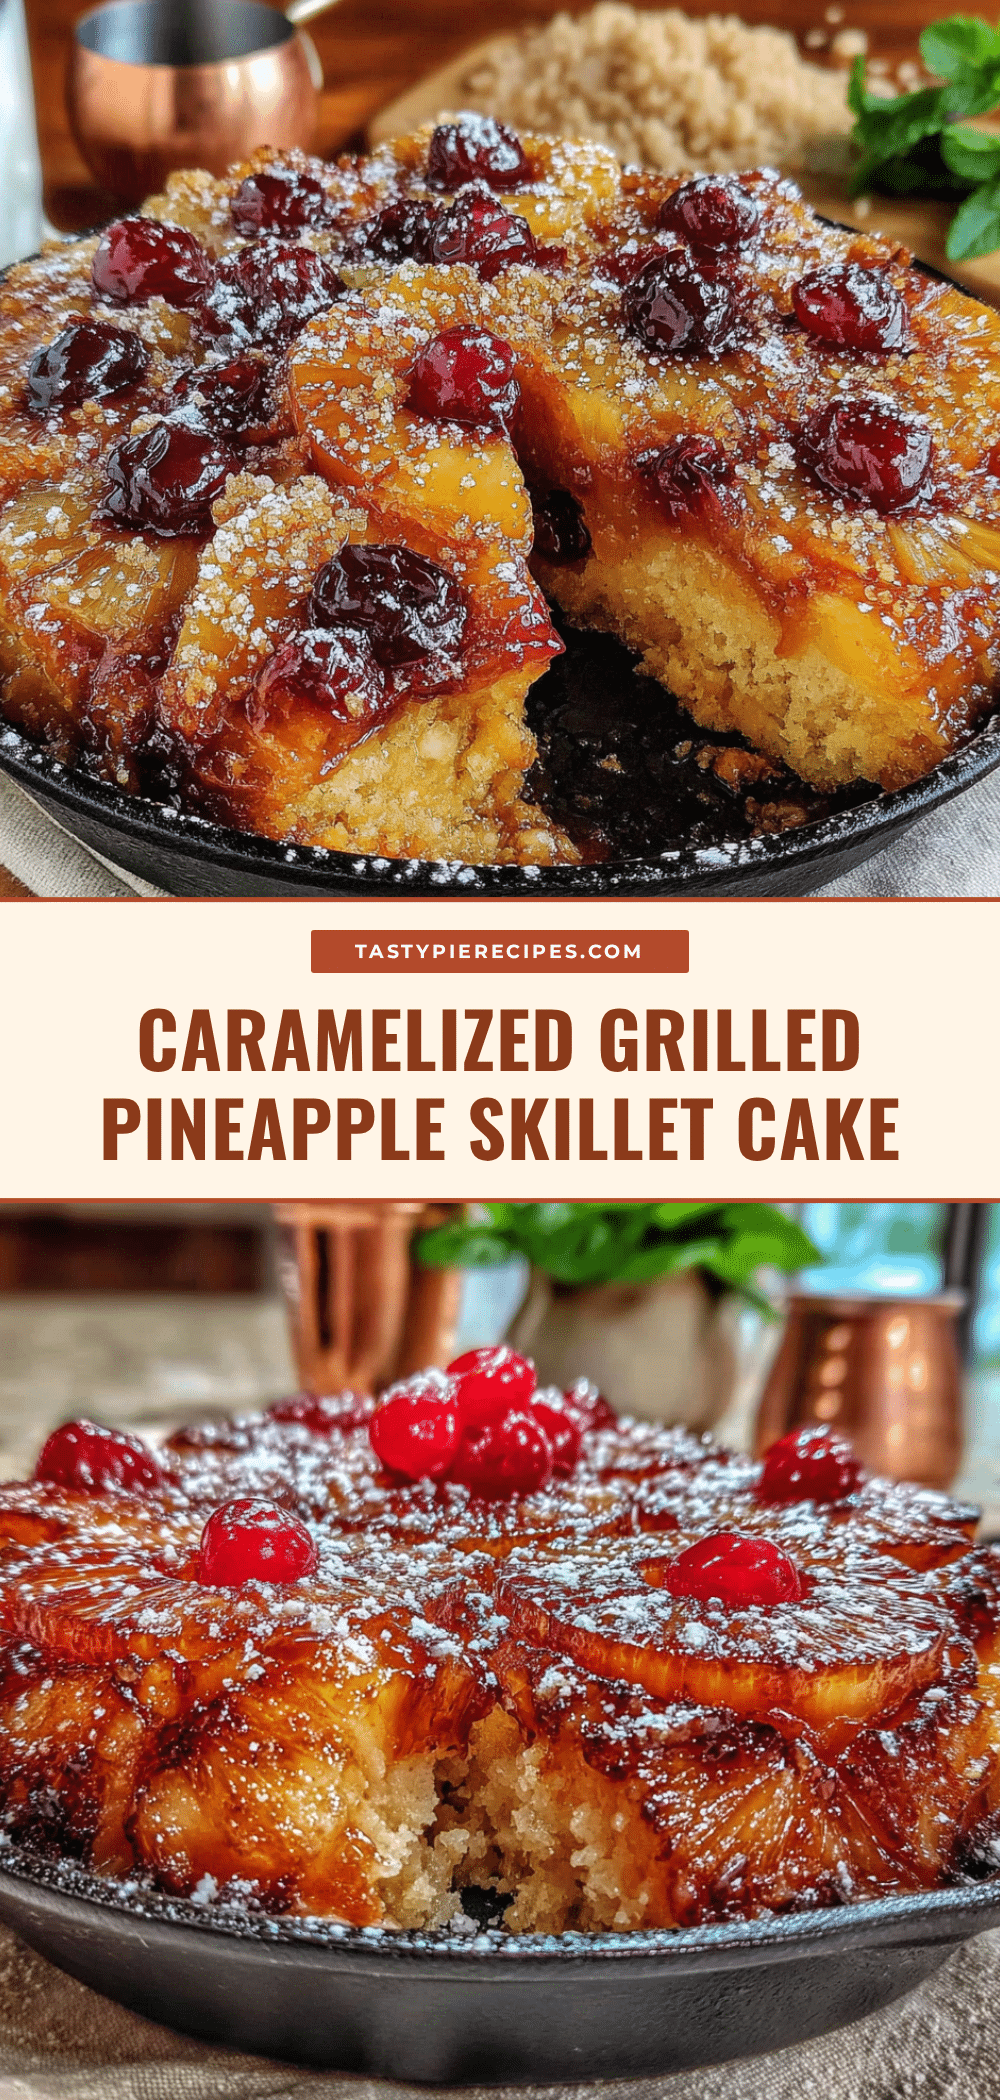
Easy Caramelized Grilled Pineapple Skillet Cake Recipe

A simple, no-fuss dessert featuring grilled pineapple caramelized in a cast iron skillet with a tender, buttery cake. Perfect for summer barbecues or a quick weeknight treat.
- Prep Time: 15 minutes
- Cook Time: 30 minutes
- Total Time: 45 minutes
- Yield: 8 servings 1x
- Category: Dessert
- Cuisine: American
Ingredients
- 1 medium fresh pineapple (about 2 pounds)
- 1/2 cup unsalted butter (1 stick), softened, plus 2 tablespoons melted for grilling
- 3/4 cup granulated sugar, divided (1/4 cup for caramel, 1/2 cup for batter)
- 1/4 cup light brown sugar, packed
- 1 1/2 cups all-purpose flour
- 1 1/2 teaspoons baking powder
- 1/4 teaspoon fine sea salt
- 2 large eggs, room temperature
- 1 teaspoon pure vanilla extract
- 1/2 cup whole milk
- Optional: flaky sea salt, whipped cream, or vanilla ice cream for serving
Instructions
- Preheat grill to medium-high heat (about 400°F / 200°C). Cut pineapple into 1/2-inch thick rings, remove core. Brush rings with 2 tablespoons melted butter and sprinkle with 1 tablespoon granulated sugar.
- Grill pineapple rings for 3-4 minutes per side until deep grill marks appear and edges are sticky and golden. Transfer to a plate and set aside.
- Reduce grill temperature to 350°F (175°C) or preheat oven to 350°F. Place cast iron skillet on grill or stovetop over medium heat. Add remaining 1/4 cup butter and melt. Sprinkle brown sugar evenly over butter, stir until combined and bubbly (about 1 minute). Remove from heat.
- Arrange grilled pineapple rings in skillet on top of brown sugar mixture, overlapping slightly if needed. Set aside.
- In a medium bowl, whisk together flour, baking powder, and salt. In a large bowl, beat softened butter and remaining 1/2 cup granulated sugar until light and fluffy (about 2 minutes). Add eggs one at a time, beating well after each. Stir in vanilla.
- Add flour mixture to butter mixture in three additions, alternating with milk, starting and ending with flour. Mix just until combined (batter will be thick).
- Spoon batter gently over pineapple in skillet, spreading evenly with a spatula. Do not press down.
- Place skillet on grill (or in oven) and bake for 25-30 minutes, until top is golden brown and a toothpick inserted in center comes out clean. If using grill, keep lid closed and check after 20 minutes.
- Let cake cool in skillet for exactly 5 minutes. Run a knife around edge, place a large plate on top, and carefully invert. Lift skillet off slowly. If any pineapple sticks, nudge back into place.
- Serve warm or at room temperature. Sprinkle with flaky sea salt, or top with vanilla ice cream or whipped cream if desired.
Notes
Don’t skip grilling the pineapple—it concentrates sugars and adds smoky depth. Pat pineapple dry before grilling to ensure caramelization. Watch caramel closely to avoid burning. Use room temperature ingredients for best texture. Do not overmix batter. Let cake rest exactly 5 minutes before flipping to prevent caramel from running.
Nutrition
- Serving Size: 1 slice (1/8 of cake
- Calories: 320
- Sugar: 28
- Sodium: 180
- Fat: 16
- Saturated Fat: 10
- Carbohydrates: 42
- Fiber: 2
- Protein: 5
Keywords: grilled pineapple, skillet cake, caramelized pineapple, summer dessert, cast iron dessert, pineapple upside-down cake, easy dessert