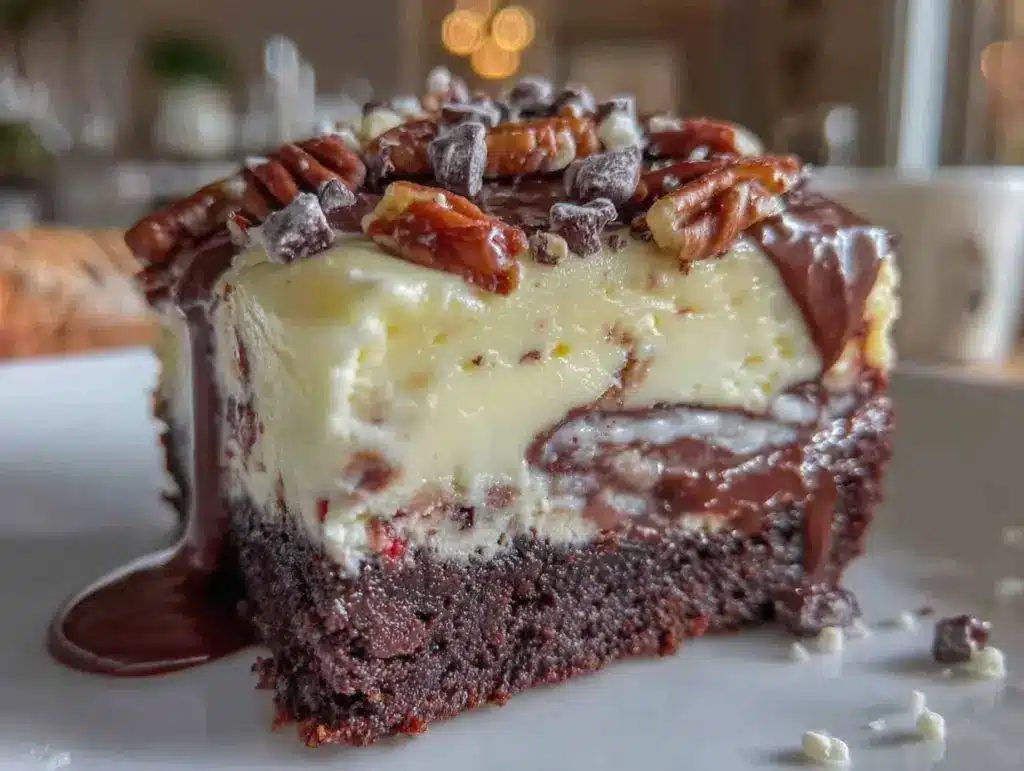
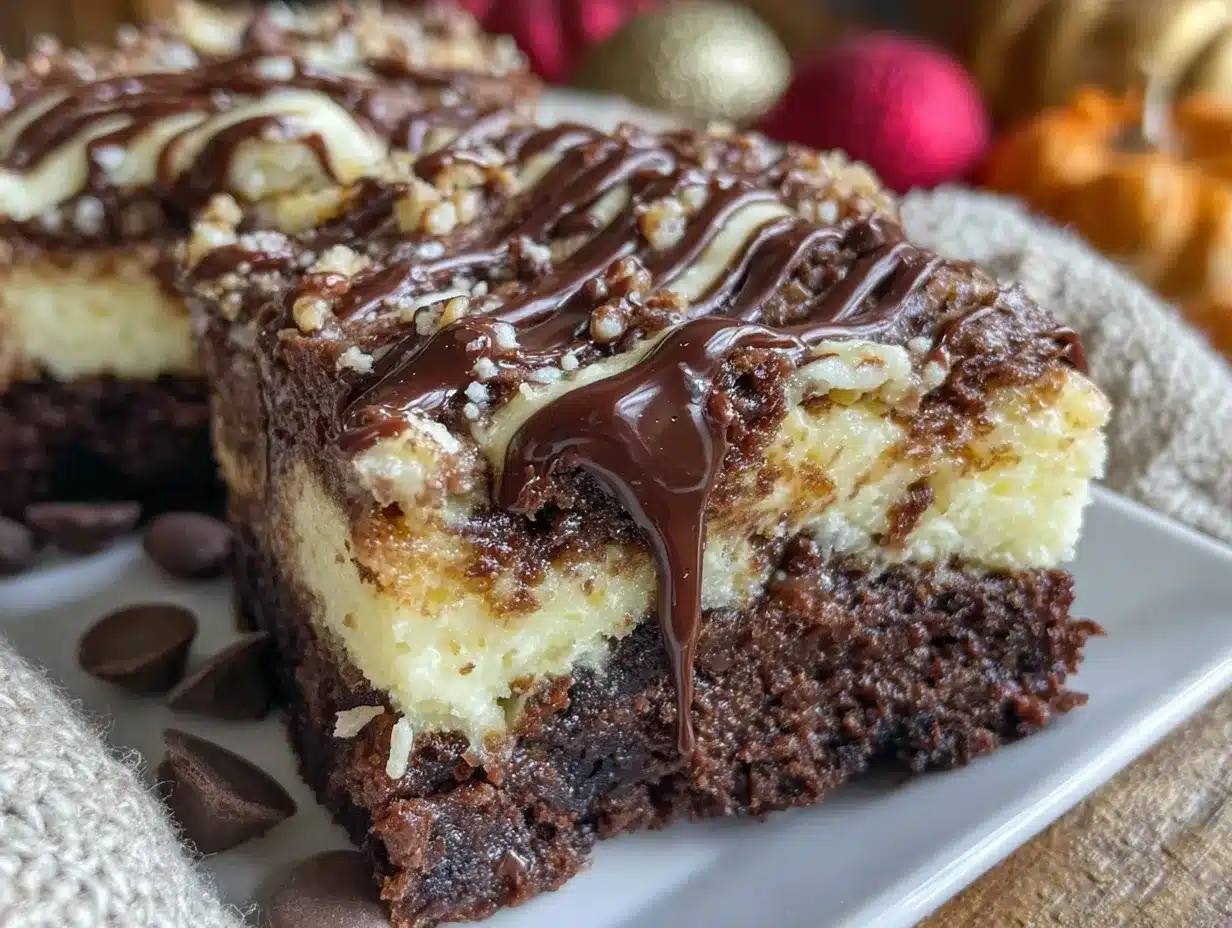
Imagine the rich aroma of chocolate blending with the tangy sweetness of cheesecake filling your kitchen. The first time I made this Decadent Chocolate Earthquake Cake, I couldn’t believe how stunningly indulgent and easy it was. The gooey chocolate meets the creamy cheesecake swirl, creating a dessert that’s not only a feast for the eyes but a treat for the soul. My family literally lined up for seconds (and thirds), and it’s been a staple at gatherings ever since. This cake brings together the best of both worlds—chocolate and cheesecake—in a way that feels like pure magic.
Honestly, the name “Earthquake Cake” suits it perfectly. The layers shift and crack during baking, forming a perfectly imperfect dessert that feels like a warm hug. Whether you’re hosting a party or just want a sweet treat to brighten your day, this cake is guaranteed to impress. Bookmark this recipe now—because once you taste it, you’ll want to make it over and over again!
Why You’ll Love This Recipe
- Quick & Easy: Comes together in just about an hour, perfect for busy schedules or last-minute dessert ideas.
- Simple Ingredients: No fancy shopping required—you likely have most of these ingredients in your pantry.
- Perfect for Any Occasion: Whether it’s a potluck, birthday party, or just a cozy night at home, this cake always hits the sweet spot.
- Crowd-Pleaser: The combination of chocolate and cheesecake layers is irresistible to kids and adults alike.
- Uniquely Delicious: The cracked, gooey texture and balanced flavors make this cake stand out from traditional chocolate desserts.
This recipe isn’t just a dessert—it’s an experience. The way the flavors meld together is truly special, and the texture is unlike anything else. Whether you’re looking to impress guests or indulge in a piece of nostalgia, this Earthquake Cake checks all the boxes!
What Ingredients You Will Need
This Decadent Chocolate Earthquake Cake uses basic ingredients to create something truly extraordinary. Here’s what you’ll need:
- For the Cake Base:
- 1 box chocolate cake mix (use your favorite brand)
- 1 cup water
- 1/2 cup vegetable oil
- 3 large eggs
- For the Cheesecake Layer:
- 8 oz cream cheese, softened
- 1/2 cup granulated sugar
- 1 large egg
- 1 tsp vanilla extract
- For the Add-Ins:
- 1 cup shredded coconut (optional)
- 1 cup chopped pecans
- 1 cup semi-sweet chocolate chips
- For the Topping:
- 1/4 cup butter, melted
- 1 cup powdered sugar
- 2 tbsp milk
Feel free to substitute or skip ingredients based on your preferences. For example, you can use walnuts instead of pecans or add white chocolate chips for a fun twist!
Equipment Needed
Here’s the equipment you’ll need to whip up your Earthquake Cake:
- A 9×13-inch baking dish (glass or metal works great)
- Mixing bowls (at least two medium-sized)
- Hand mixer or stand mixer
- Rubber spatula (for spreading and folding)
- Measuring cups and spoons
- Whisk (for the topping)
If you don’t have a hand mixer, a sturdy whisk and some elbow grease will do the trick. For a budget-friendly option, you can use parchment paper in your baking dish for easy cleanup!
Preparation Method
- Preheat Your Oven: Set your oven to 350°F (175°C). Grease your 9×13-inch baking dish thoroughly to prevent sticking.
- Prepare the Cake Base: In a mixing bowl, combine the chocolate cake mix, water, vegetable oil, and eggs. Beat on medium speed for 2 minutes until smooth. Pour the batter into the prepared baking dish.
- Make the Cheesecake Layer: In another bowl, beat the cream cheese, sugar, egg, and vanilla extract until creamy. Spoon dollops of the cheesecake mixture over the cake batter, then gently swirl using a knife or spatula.
- Add the Add-Ins: Sprinkle shredded coconut, chopped pecans, and chocolate chips evenly over the top. These will create pockets of flavor and texture throughout the cake.
- Prepare the Topping: Whisk together melted butter, powdered sugar, and milk until smooth. Drizzle this mixture over the cake.
- Bake: Place the dish in the oven and bake for 40-45 minutes. You’ll know it’s ready when the edges are set but the center still has a slight jiggle.
- Cool: Allow the cake to cool for at least 30 minutes before serving. The layers will settle and firm up as it cools.
Pro tip: Don’t over-swirl the cheesecake layer—it’s meant to stay in delicious pockets throughout the cake!
Cooking Tips & Techniques
- Don’t Overmix: When combining the cake batter, mix just until smooth to avoid a dense texture.
- Room Temperature Ingredients: Make sure your cream cheese and eggs are at room temperature for a perfectly creamy cheesecake layer.
- Use Quality Chocolate Chips: Opt for semi-sweet or dark chocolate chips for the best flavor contrast.
- Watch the Baking Time: Since the center is meant to stay gooey, check the cake at the 40-minute mark to avoid overbaking.
- Layer Strategically: Sprinkle add-ins evenly to ensure every bite has a perfect mix of textures.
These tips will help you create a cake that’s not only indulgent but consistently perfect every time!
Variations & Adaptations
- Gluten-Free Option: Use a gluten-free chocolate cake mix and ensure all other ingredients are certified gluten-free.
- Seasonal Twist: Add crushed peppermint candies in winter or fresh raspberries in summer for a unique flavor profile.
- Dairy-Free Adaptation: Swap cream cheese with a dairy-free alternative and use plant-based milk for the topping.
I once added caramel drizzle to the topping, and it was a game-changer! Don’t be afraid to experiment and make this cake your own.
Serving & Storage Suggestions
Serve this cake slightly warm or at room temperature. Pair it with a scoop of vanilla ice cream or a dollop of whipped cream for extra indulgence. For beverages, coffee or milk perfectly complements the rich flavors.
To store, cover the cake tightly with plastic wrap and refrigerate for up to 5 days. It also freezes beautifully—just slice into portions, wrap individually, and freeze for up to 2 months. To reheat, let it thaw and warm slices in the microwave for 20-30 seconds.
Nutritional Information & Benefits
This Decadent Chocolate Earthquake Cake is all about indulgence. While it’s not a diet-friendly dessert, you do get the benefits of antioxidants from the chocolate and healthy fats from the nuts. One serving (based on 12 servings) contains approximately:
- Calories: 350
- Fat: 18g
- Sugar: 28g
- Protein: 4g
- Carbohydrates: 45g
If you have dietary restrictions, you can make substitutions to tweak the nutritional profile or portion sizes to fit your needs.
Conclusion
If you’re looking for a dessert that wows, this Decadent Chocolate Earthquake Cake with Creamy Cheesecake Layers is the answer. It’s rich, gooey, and packed with flavor that’s hard to resist. Whether you stick to the original recipe or customize it with your favorite ingredients, it’s guaranteed to become a family favorite.
I love this cake because it’s a little messy, a little indulgent, and a whole lot of fun to make. Give it a try, and let me know how it turned out in the comments below. Don’t forget to share this recipe with your friends—it might just become their new favorite too!
Happy baking!
FAQs
Can I use a different cake mix flavor?
Absolutely! While chocolate is the classic choice, you can use vanilla, red velvet, or even marble cake mix for a fun twist.
Do I need to refrigerate the cake?
Yes, due to the cheesecake layer, it’s best to store this cake in the refrigerator to keep it fresh.
Can I make this cake ahead of time?
Yes! You can bake the cake a day in advance, store it in the fridge, and reheat individual slices as needed.
What’s the best way to swirl the cheesecake layer?
Use a butter knife or spatula and make gentle figure-eight motions. Don’t over-swirl—it’s okay if the layers look uneven.
Can I skip the add-ins like coconut or pecans?
Of course! The cake will still be delicious without them, but they do add extra texture and flavor.
Pin This Recipe!

Decadent Chocolate Earthquake Cake with Cheesecake Layers

A rich and indulgent dessert combining gooey chocolate and creamy cheesecake layers, perfect for any occasion.
- Prep Time: 15 minutes
- Cook Time: 45 minutes
- Total Time: 1 hour
- Yield: 12 servings 1x
- Category: Dessert
- Cuisine: American
Ingredients
- 1 box chocolate cake mix
- 1 cup water
- 1/2 cup vegetable oil
- 3 large eggs
- 8 oz cream cheese, softened
- 1/2 cup granulated sugar
- 1 large egg
- 1 tsp vanilla extract
- 1 cup shredded coconut (optional)
- 1 cup chopped pecans
- 1 cup semi-sweet chocolate chips
- 1/4 cup butter, melted
- 1 cup powdered sugar
- 2 tbsp milk
Instructions
- Preheat your oven to 350°F (175°C). Grease a 9×13-inch baking dish thoroughly.
- In a mixing bowl, combine the chocolate cake mix, water, vegetable oil, and eggs. Beat on medium speed for 2 minutes until smooth. Pour the batter into the prepared baking dish.
- In another bowl, beat the cream cheese, sugar, egg, and vanilla extract until creamy. Spoon dollops of the cheesecake mixture over the cake batter, then gently swirl using a knife or spatula.
- Sprinkle shredded coconut, chopped pecans, and chocolate chips evenly over the top.
- Whisk together melted butter, powdered sugar, and milk until smooth. Drizzle this mixture over the cake.
- Bake for 40-45 minutes. The edges should be set, but the center should have a slight jiggle.
- Allow the cake to cool for at least 30 minutes before serving.
Notes
Don’t over-swirl the cheesecake layer to maintain pockets of creamy texture. Use room temperature ingredients for the best results.
Nutrition
- Serving Size: 1 slice
- Calories: 350
- Sugar: 28
- Fat: 18
- Carbohydrates: 45
- Protein: 4
Keywords: chocolate cake, cheesecake, earthquake cake, dessert, easy recipe, crowd-pleaser


