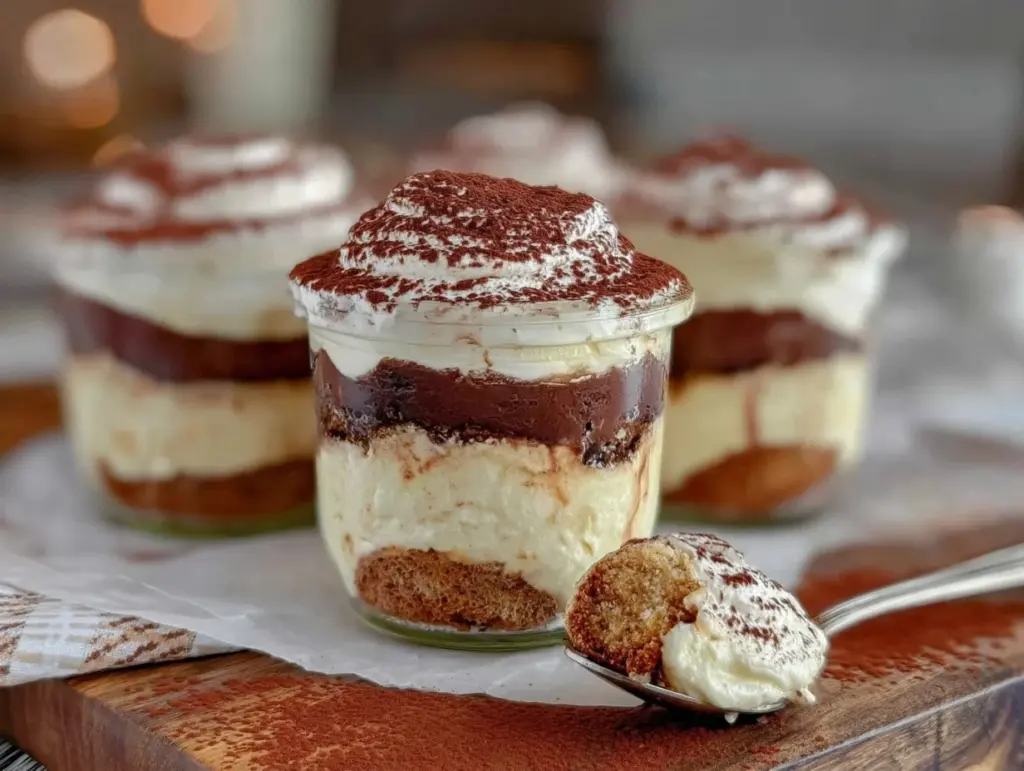
“You have to try this,” my friend said over a crackling video call, waving a tiny dessert cup that looked too pretty to eat. I was skeptical — tiramisu always felt like a fussy, multi-step project reserved for dinner parties and fancy occasions. But this was different. These creamy individual tiramisu cups with cold brew and cocoa dust promised all the classic indulgence without the intimidating mess.
So, I took a chance, mostly because my kitchen had been feeling a bit too quiet, and honestly, I needed a pick-me-up that wasn’t just another cup of coffee. The cold brew infusion gave it a smooth, rich kick, and the dusting of cocoa on top was like a gentle whisper of chocolate, not overpowering but just enough to make you pause and savor. I found myself making these cups multiple times that week — a late-night solo treat and a surprise delight for a friend dropping by.
The best part? These desserts come together in no time, and the individual portions mean no fuss with slicing or plating. Each spoonful is its own little celebration. It’s funny how such a simple recipe can quietly become your go-to comfort dessert, perfect for those moments when life feels a bit hectic but you still want something special. It stuck with me because it’s easy, creamy, and has just the right hint of coffee buzz — more than just a tiramisu, it’s a cozy ritual in a cup.
Why You’ll Love This Recipe
This creamy individual tiramisu cups recipe with cold brew and cocoa dust is honestly a game-changer for dessert lovers who want something quick but impressive. After testing and tweaking it a few times (okay, maybe more than a few), I’m convinced this is the easiest way to get that classic tiramisu vibe without the fuss of assembling a full cake. Here’s why it stands out:
- Quick & Easy: Ready in under 30 minutes, making it perfect for last-minute cravings or when you’ve just got a few minutes to spare after dinner.
- Simple Ingredients: No fancy or hard-to-find items here. Most of these are pantry staples, and the cold brew can be homemade or store-bought.
- Perfect for Entertaining: Individual servings mean no awkward slicing, so it’s a hit for casual get-togethers or a sweet finish to a cozy dinner.
- Crowd-Pleaser: Adults and kids alike give it thumbs up — probably because it balances that creamy sweetness with a subtle coffee edge.
- Unbelievably Delicious: The texture is silky and smooth, with the cocoa dust adding just the right touch of bittersweet flavor. It’s like comfort food with a little sophistication.
What sets this recipe apart is the cold brew soak — it’s smoother and less bitter than espresso, letting the mascarpone shine without competing flavors. Plus, making it in cups means the creamy layers don’t get soggy or messy. I’ve tried a few tiramisu recipes before, but this version always makes me pause and savor that perfect balance of coffee, cream, and cocoa dust. It’s a little indulgence that feels thoughtful, even when you’re just treating yourself on a random weeknight.
What Ingredients You Will Need
This recipe uses simple, wholesome ingredients to deliver bold flavor and satisfying texture without the fuss. Most are pantry essentials, and there’s flexibility if you want to swap a few things around.
- Cold Brew Coffee: About 1 cup (240 ml), chilled. I like using Stumptown cold brew for its smooth finish, but any good-quality brand or homemade version works.
- Ladyfinger Cookies (Savoiardi): Around 12-15 pieces, depending on cup size. Look for crisp, dry ladyfingers for the best soak.
- Mascarpone Cheese: 8 oz (225 g), room temperature. This is the creamy heart of tiramisu, so pick a fresh brand with no additives.
- Heavy Cream: 1/2 cup (120 ml), cold, for whipping. Use fresh cream with at least 36% fat for that perfect fluffy texture.
- Granulated Sugar: 1/4 cup (50 g), for sweetness. You can adjust to taste if you prefer less sugar.
- Egg Yolks: 3 large, room temperature. If you’re wary about raw eggs, look for pasteurized ones or substitute with a custard base.
- Vanilla Extract: 1 teaspoon. Pure vanilla really lifts the flavor here.
- Cocoa Powder: Unsweetened, for dusting on top. I recommend a high-quality Dutch-processed cocoa for a mellow chocolate touch.
- Optional: Coffee Liqueur (e.g., Kahlúa): 2 tablespoons. Adds a boozy depth if you’re feeling fancy.
Substitution tips: If you need a dairy-free version, swap mascarpone with coconut cream mixed with a bit of dairy-free cream cheese, and use coconut-based whipping cream. Almond flour ladyfingers or gluten-free cookies can replace the original to suit gluten-free needs.
Equipment Needed
- Mixing Bowls: At least two – one for whipping cream, one for mascarpone mixture.
- Electric Mixer or Whisk: An electric hand mixer makes whipping cream and egg yolks easier, but a sturdy balloon whisk works with some elbow grease.
- Measuring Cups and Spoons: For precise amounts — especially important with sugar and coffee.
- Small Serving Cups or Glasses: About 4-6 cups, depending on size. I use clear glass cups to show off the layers, but small mason jars or dessert ramekins are lovely too.
- Sifter or Fine Mesh Strainer: For dusting the cocoa powder evenly on top.
If you don’t have a sifter, a small tea strainer works well for cocoa dusting. For whipping cream, a chilled metal bowl helps it whip faster and hold its shape better. I like using my trusty KitchenAid hand mixer, but if you’re in a hurry, store-bought whipped cream can be a shortcut, though the texture isn’t quite the same.
Preparation Method
- Prepare the Cold Brew Soak: Pour about 1 cup (240 ml) of cold brew coffee into a shallow bowl. If using coffee liqueur, stir in 2 tablespoons now. Set aside for soaking ladyfingers. (5 minutes)
- Whip the Egg Yolks and Sugar: In a medium bowl, whisk 3 large egg yolks with 1/4 cup (50 g) granulated sugar until the mixture becomes pale, thick, and slightly fluffy. This should take about 3-4 minutes with an electric mixer. (4 minutes)
- Mix the Mascarpone and Vanilla: Gently fold 8 oz (225 g) room-temperature mascarpone cheese and 1 teaspoon vanilla extract into the egg yolk mixture until smooth and creamy. Avoid overmixing to keep the texture light. (3 minutes)
- Whip the Heavy Cream: In a separate chilled bowl, whip 1/2 cup (120 ml) heavy cream until soft peaks form. It should hold shape but still be silky. (3-5 minutes)
- Combine Cream and Mascarpone Mixture: Carefully fold the whipped cream into the mascarpone mixture in batches, preserving the airy texture. This makes the tiramisu filling delightfully creamy. (2 minutes)
- Soak the Ladyfingers: Quickly dip each ladyfinger into the cold brew coffee for 1-2 seconds—don’t let them soak too long or they’ll turn mushy. The goal is a gentle coffee flavor with some bite left. (5 minutes)
- Assemble the Cups: Start by placing a soaked ladyfinger piece at the bottom of each serving cup. Spoon a generous layer of mascarpone cream on top. Repeat with another soaked ladyfinger and finish with a creamy layer. (10 minutes)
- Chill: Cover cups with plastic wrap and refrigerate for at least 2 hours, or overnight if you can wait. The flavors meld, and the texture firms up perfectly. (2+ hours)
- Finish with Cocoa Dust: Just before serving, sift a fine layer of unsweetened cocoa powder over each cup for that classic bittersweet finish. (2 minutes)
Tip: If you find your mascarpone mixture too stiff, a splash of milk or cream can soften it just enough. Watch the ladyfinger soak time closely — soggy layers are the biggest tiramisu pitfall, and you want that delicate balance of texture. When chilling, cover tightly to avoid fridge smells sneaking in.
Cooking Tips & Techniques
Making individual tiramisu cups is surprisingly straightforward, but a few tips can help you get that silky, coffee-kissed perfection every time.
- Whipping the Egg Yolks Correctly: Achieving a pale, fluffy texture here is key to a rich mascarpone filling. If it feels grainy or separates, whisk a bit longer or try warming the bowl over a simmering water bath for a few minutes before whipping (careful not to scramble!).
- Cold Brew vs. Espresso: Cold brew is less acidic and bitter, which makes the coffee notes smoother in this dessert. I’ve tried espresso, but it can overpower the delicate mascarpone.
- Ladyfinger Soak Time: This is the trickiest part. They should be dipped quickly — think a light kiss, not a soak. Too long and you get a soggy mess; too short and the coffee flavor won’t come through.
- Folding Technique: When combining whipped cream with mascarpone, fold gently with a spatula. Overmixing deflates the cream and makes the filling dense.
- Make-Ahead Friendly: These cups actually taste better after chilling overnight. The flavors deepen, and the texture firms up. Just remember to dust cocoa powder right before serving so it stays fresh.
Once, I accidentally left a batch uncovered in the fridge overnight — the texture was still great, but the cocoa dust got damp. Lesson learned: always cover and add cocoa last minute. Also, multitasking by whipping cream while soaking ladyfingers saves precious time.
Variations & Adaptations
This recipe is flexible enough to suit different tastes and dietary needs without losing its charm.
- Chocolate Lover’s Version: Add a layer of finely chopped dark chocolate or chocolate chips between the mascarpone layers, or swirl in some melted chocolate for extra richness.
- Non-Alcoholic Twist: Omit the coffee liqueur and add a touch of vanilla or almond extract to the coffee soak for flavor depth without the booze.
- Seasonal Fruit Addition: Fresh raspberries or sliced strawberries can add a bright, tart contrast to the creamy sweetness. Place them between layers or as a topping.
- Gluten-Free Option: Swap traditional ladyfingers for gluten-free biscuits or homemade almond flour cookies to keep it safe for sensitive diets.
- Dairy-Free Adaptation: Use coconut cream whipped to stiff peaks and a dairy-free cream cheese substitute instead of mascarpone. Cold brew stays the same for a coffee punch.
One time, I made a batch with a hint of orange zest mixed into the mascarpone — unexpected but surprisingly refreshing! If you want a quick coffee dessert that’s a little different, this tweak adds a subtle citrus pop.
Serving & Storage Suggestions
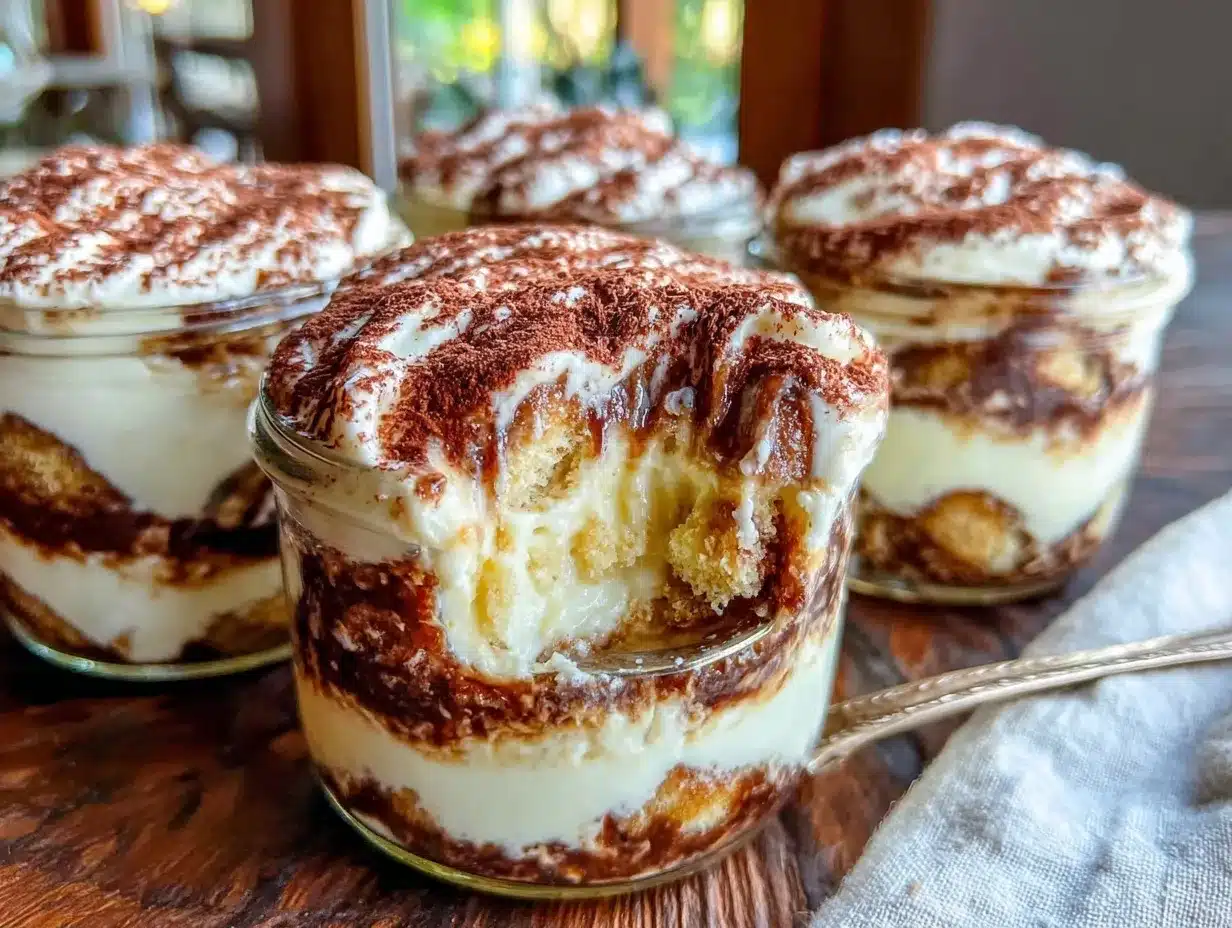
These creamy individual tiramisu cups are best served chilled, straight from the fridge. The cold temperature keeps the layers firm and the flavors balanced.
For presentation, I like to serve them in clear glass cups so the layers show through — it’s a simple but elegant touch. A small spoon and a napkin nearby make for easy, no-mess indulgence. They pair wonderfully with a hot espresso or even a chilled glass of dessert wine if you’re feeling fancy.
To store, cover the cups tightly with plastic wrap or use airtight lids if you have them. They keep well in the refrigerator for up to 3 days, although the texture is best within the first 48 hours. For longer storage, you can freeze them for up to 1 month — just thaw overnight in the fridge before serving.
When reheating, it’s best not to microwave — these are meant to be enjoyed cold. Letting them sit a few minutes at room temperature before eating helps the flavors open up a bit. Over time, the coffee-soaked ladyfingers soften further, so if you prefer a little bite, eat them sooner rather than later.
Nutritional Information & Benefits
Each creamy individual tiramisu cup contains roughly 300-350 calories, depending on portion size and optional additions like coffee liqueur. It’s a moderate indulgence with a nice balance of protein from mascarpone and fats from cream, along with caffeine from cold brew for a gentle energy boost.
Cold brew coffee provides antioxidants and a smoother caffeine release compared to regular brewed coffee, which can help with alertness without jitters. Mascarpone offers calcium and vitamin A, while the egg yolks add richness and essential nutrients like vitamin D.
If you’re mindful of allergens, note the presence of dairy, eggs, and gluten (unless substituted). Using dairy-free and gluten-free options can tailor this recipe for special diets without losing its creamy essence.
Conclusion
These creamy individual tiramisu cups with cold brew and cocoa dust have become my quiet little indulgence, a way to bring a bit of sweetness and coffee comfort into any day. They’re simple enough to whip up without stress but taste like you’ve spent hours crafting something special.
Feel free to customize the layers, swap ingredients, or experiment with flavors — that’s part of the fun with this recipe. Whether you’re treating yourself after a long day or surprising a friend with a thoughtful dessert, these cups deliver satisfaction in every spoonful.
If you try this recipe, I’d love to hear how you make it your own! Comments and adaptations are always welcome — sharing kitchen wins (and even small flops) makes the experience richer. Here’s to cozy, creamy moments that remind us why dessert matters.
Frequently Asked Questions
Can I make these tiramisu cups ahead of time?
Absolutely! They actually taste better after chilling overnight, which allows the flavors to meld and the texture to firm up perfectly.
Is it safe to use raw egg yolks in this recipe?
If you’re concerned, use pasteurized eggs or substitute with a cooked custard base. Alternatively, some recipes replace eggs with whipped cream only, though the texture will vary slightly.
What can I use if I don’t have ladyfingers?
You can use sponge cake slices, gluten-free biscuits, or even a crisp cookie like amaretti. Just make sure they soak up the coffee well without becoming too soggy.
Can I skip the coffee liqueur?
Yes, it’s optional. You can add a splash of vanilla or almond extract to the coffee soak for extra flavor without alcohol.
How do I store leftover tiramisu cups?
Store them covered in the refrigerator for up to 3 days. For longer storage, freeze them for up to 1 month and thaw overnight before serving.
For those who enjoy quick comfort dishes, these tiramisu cups pair well with savory snacks like savory bacon jam or a cozy breakfast like the wholesome loaded avocado toast. Sweet and savory balance is always a win in my kitchen.
Pin This Recipe!
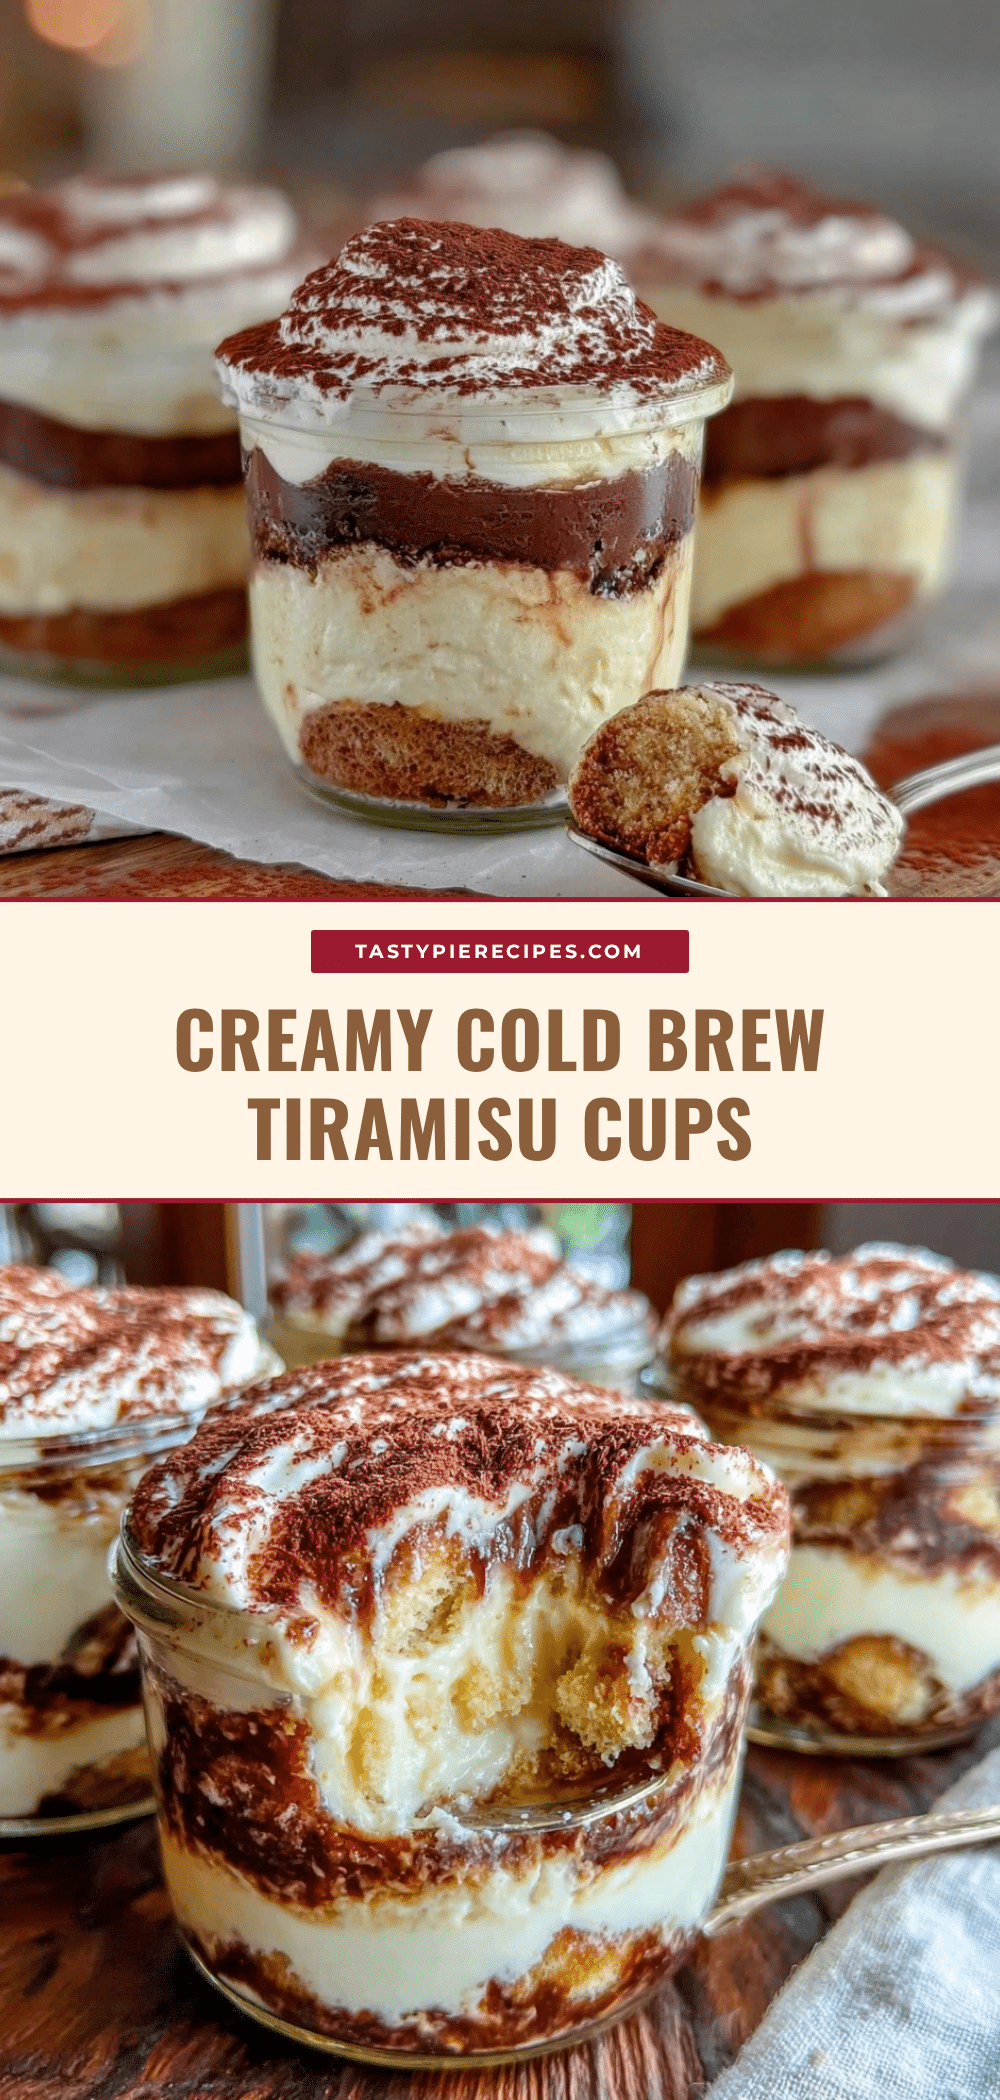
Creamy Individual Tiramisu Cups Recipe with Cold Brew and Cocoa Dust
These creamy individual tiramisu cups combine cold brew coffee and mascarpone cream for a quick, easy, and indulgent dessert. Perfect for last-minute cravings or entertaining, they offer classic tiramisu flavor without the fuss.
- Prep Time: 15 minutes
- Cook Time: 0 minutes
- Total Time: 2 hours 15 minutes
- Yield: 4-6 servings 1x
- Category: Dessert
- Cuisine: Italian
Ingredients
- 1 cup (240 ml) cold brew coffee, chilled
- 12–15 ladyfinger cookies (savoiardi), crisp and dry
- 8 oz (225 g) mascarpone cheese, room temperature
- 1/2 cup (120 ml) heavy cream, cold, for whipping
- 1/4 cup (50 g) granulated sugar
- 3 large egg yolks, room temperature
- 1 teaspoon vanilla extract
- Unsweetened cocoa powder, for dusting
- Optional: 2 tablespoons coffee liqueur (e.g., Kahlúa)
Instructions
- Pour 1 cup (240 ml) cold brew coffee into a shallow bowl. Stir in 2 tablespoons coffee liqueur if using. Set aside for soaking ladyfingers. (5 minutes)
- Whisk 3 large egg yolks with 1/4 cup (50 g) granulated sugar in a medium bowl until pale, thick, and slightly fluffy, about 3-4 minutes. (4 minutes)
- Gently fold 8 oz (225 g) mascarpone cheese and 1 teaspoon vanilla extract into the egg yolk mixture until smooth and creamy. Avoid overmixing. (3 minutes)
- In a separate chilled bowl, whip 1/2 cup (120 ml) heavy cream until soft peaks form. (3-5 minutes)
- Carefully fold the whipped cream into the mascarpone mixture in batches to keep it airy. (2 minutes)
- Quickly dip each ladyfinger into the cold brew coffee for 1-2 seconds, avoiding sogginess. (5 minutes)
- Assemble cups by placing a soaked ladyfinger piece at the bottom, spooning a layer of mascarpone cream on top, repeating with another soaked ladyfinger, and finishing with a creamy layer. (10 minutes)
- Cover cups with plastic wrap and refrigerate for at least 2 hours or overnight for best flavor and texture. (2+ hours)
- Just before serving, sift a fine layer of unsweetened cocoa powder over each cup. (2 minutes)
Notes
Use pasteurized eggs or a custard base if concerned about raw eggs. Avoid soaking ladyfingers too long to prevent sogginess. Cover cups tightly when chilling to avoid fridge odors. Dust cocoa powder just before serving to keep it fresh. Dairy-free and gluten-free substitutions are possible.
Nutrition
- Serving Size: One individual cup
- Calories: 300350
- Sugar: 18
- Sodium: 70
- Fat: 22
- Saturated Fat: 13
- Carbohydrates: 25
- Fiber: 1
- Protein: 6
Keywords: tiramisu, individual tiramisu cups, cold brew dessert, easy tiramisu, creamy tiramisu, coffee dessert, cocoa dust, mascarpone dessert


