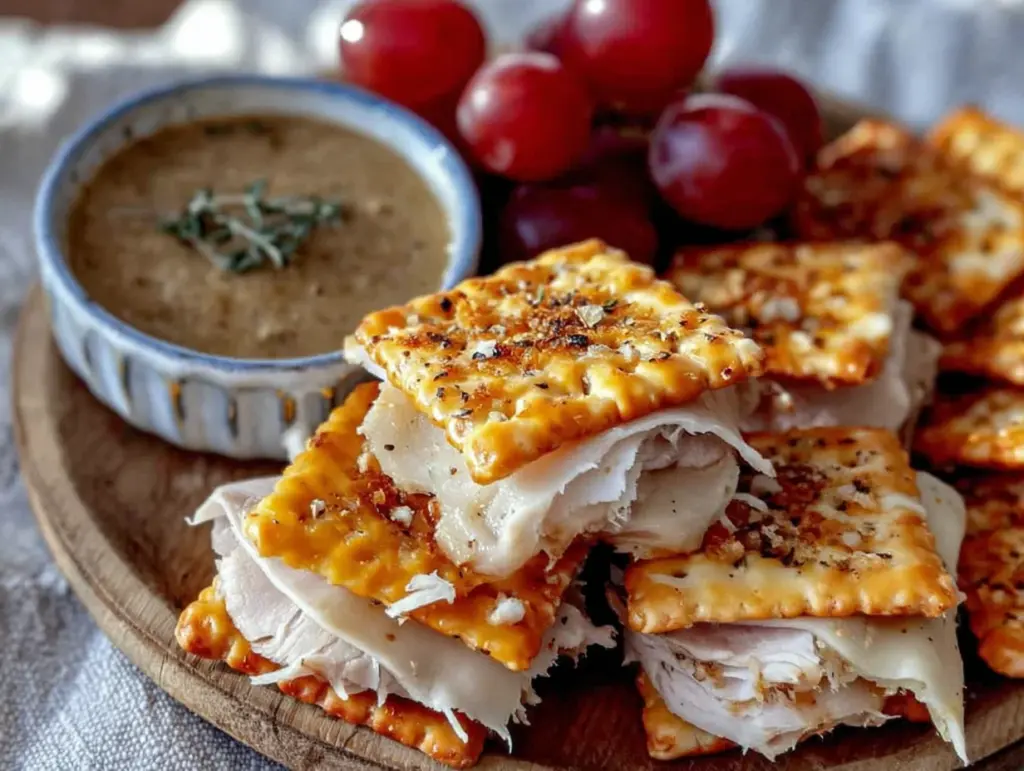
That first *snap* of the plastic tray breaking the seal — the sound alone could send me into a fit of pure, unadulterated childhood joy. It was the early 90s, and for me, that little compartmentalized box of crackers, processed cheese, and mystery meat was the ultimate lunch currency. I remember trading my pudding cup for an extra sleeve of those square crackers, carefully constructing a perfect little sandwich, and feeling like I had won the lunchtime lottery. Fast forward twenty-something years, and I’m staring into my own fridge, packing lunches for my nephew, feeling a pang of guilt as I reach for a box of the same stuff. That’s when it hit me — I could make it better. Way better. I could take that nostalgic concept and turn it into something I’d actually feel good about eating, something with real turkey, real cheese, and crackers that don’t taste like cardboard. So I started tinkering, and honestly? The first batch was a little dry. The turkey was too thick, the cheese too cold. But I kept at it, and this version — this homemade lunchable — it finally sticks. It tastes like the memory, but better. Like the version your brain painted all those years ago.
Why You’ll Love This Recipe
Let’s be honest — store-bought lunchables are a genius concept with questionable execution. This homemade version fixes everything you wish was different about them. It’s a lunch upgrade that takes ten minutes to assemble.
- Real Ingredients, Real Flavor: No more processed cheese product or mystery meat. You get to choose high-quality deli turkey and your favorite sharp cheddar or gouda. The flavor difference is night and day.
- Completely Customizable: Hate crackers? Swap them for pretzel thins. Lactose intolerant? Use vegan cheese slices. The power is in your hands, and that makes lunch way more exciting.
- Budget-Friendly: Buying a block of cheese and a pack of deli meat in bulk costs a fraction of those single-serve boxes. You can make a week’s worth of lunches for the price of two store-bought kits.
- Perfect for Meal Prep: These come together in a flash on Sunday afternoon. Just portion everything out, and you have grab-and-go lunches for the entire week. No morning stress.
- Crowd-Pleaser for All Ages: Kids love the fun, interactive nature of building their own snacks, and adults appreciate the clean, protein-packed ingredients. It’s a win-win at the lunch table.
What Ingredients You Will Need
This recipe relies on a handful of simple, wholesome ingredients that you can find at any grocery store. The key is choosing quality items that taste good on their own because you’re not hiding them under heavy sauces or seasonings.
- Deli Turkey (8 ounces): Look for oven-roasted or smoked turkey breast from the deli counter. Ask for it sliced medium-thin — about 1/8 inch thick. Too thin and it tears when you peel it; too thick and it’s hard to stack on a cracker. I personally love Boar’s Head or a simple store-brand roasted turkey for a clean flavor.
- Sharp Cheddar Cheese (4 ounces): A block of sharp cheddar is your best friend here. It has more flavor than mild cheddar and stands up to the turkey. You can also use Colby Jack, Gouda, or even a creamy Havarti. Cut it into roughly 1-inch squares that fit perfectly on a standard square cracker.
- Whole Wheat Crackers (about 40 crackers): I prefer a sturdy, square whole wheat cracker like Wheat Thins or a simple woven wheat cracker. They provide a nice crunch and a little nutty flavor. You can also use saltines, Ritz, or even gluten-free rice crackers.
- Optional Extras: This is where you can really make it your own. Add a small handful of grapes, a few baby carrots, a handful of cherry tomatoes, or a couple of dark chocolate squares for a sweet finish. A little container of honey mustard or ranch dressing for dipping takes it to the next level.
Equipment Needed
You don’t need any fancy gadgets for this one. A sharp knife and a cutting board are the heavy lifters. I recommend a good chef’s knife for slicing the cheese block into neat squares — it makes a difference in presentation. A vegetable peeler can be handy if you want to shave thin ribbons of carrot for a fun crunch. For storage, you’ll want a set of small, reusable containers with compartments or a few small glass snap-lid containers. I use a bento-style box for my nephew’s lunch and simple Weck jars for my own. A small cookie cutter in a fun shape (like a star or a heart) can also be used to cut the cheese or turkey for a special occasion — my nephew loves when I do that for his birthday week lunches.
Preparation Method
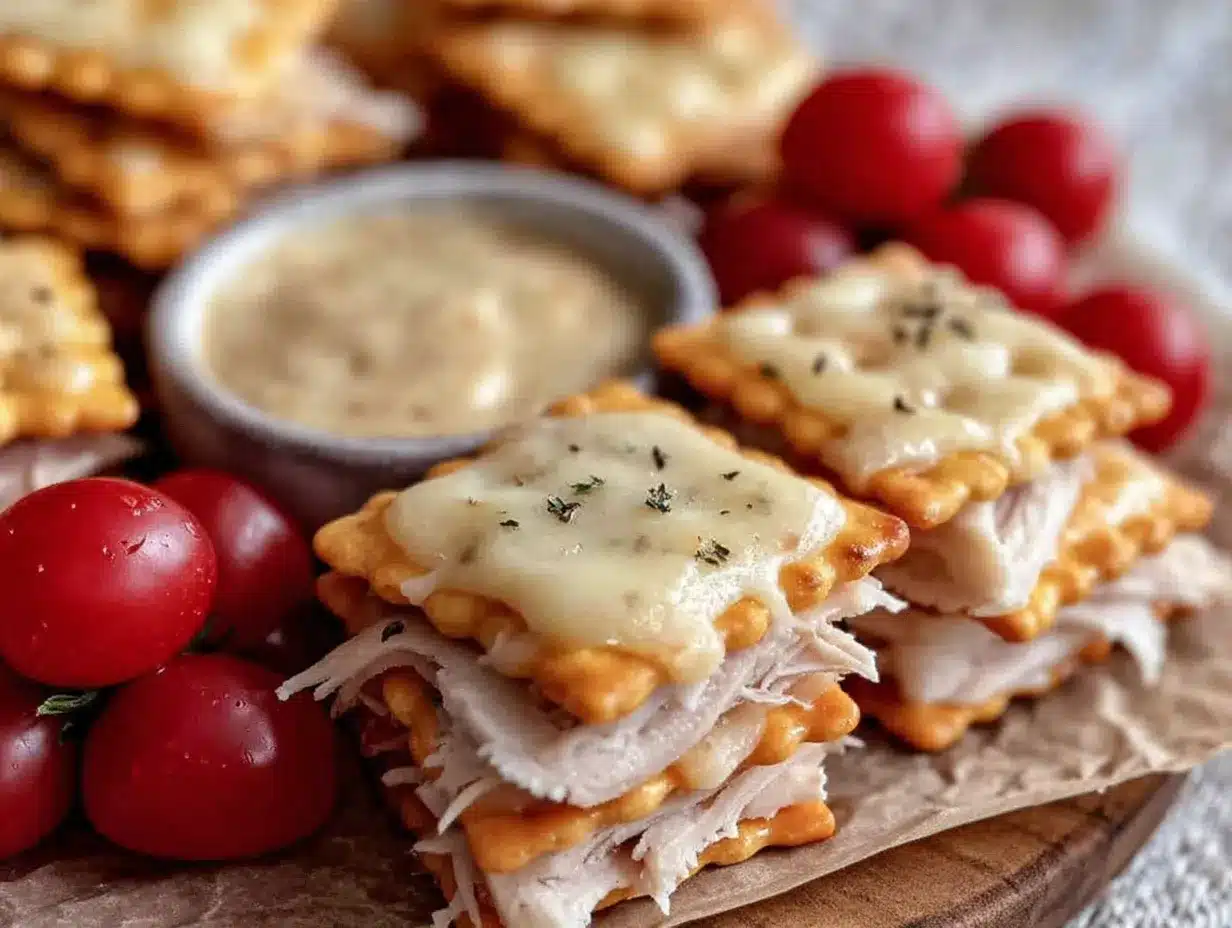
This is the easiest part. Once you have your ingredients prepped, the assembly takes less than five minutes per serving. Let’s break it down step-by-step.
- Prep the Turkey: Lay your deli turkey slices flat on the cutting board. If they are large, cut them into quarters or halves so they are roughly the size of your crackers. You want pieces that are easy to stack. Stack them neatly in a pile.
- Cut the Cheese: Unwrap your block of cheese and cut it into 1/2-inch thick slices. Then, cut those slices into 1-inch squares. Aim for uniform pieces so they stack nicely. You should get about 16-20 squares from a 4-ounce block.
- Portion the Crackers: Count out about 8-10 crackers per serving. Place them in one compartment of your container. If you’re using a bento box, the crackers go in the largest section.
- Assemble the Protein: In another compartment, arrange your turkey pieces and cheese squares. You can stack them together or keep them separate. I like to alternate them in a little row so it looks pretty when you open the box.
- Add the Extras: Fill any remaining compartments with your chosen sides. A handful of grapes, some baby carrots, or a few cherry tomatoes add color and nutrition. A small dollop of mustard or ranch in a tiny silicone cup is a game-changer.
- Seal and Store: Close the lid tightly and store the containers in the refrigerator. They will stay fresh for up to 4 days. The crackers will stay crunchy as long as they are kept in a separate, dry compartment.
A quick note on timing: This whole process, from unwrapping the cheese to sealing the last container, takes about 10 minutes for four servings. It’s genuinely faster than driving to the store to buy the pre-made version.
Cooking Tips & Techniques
I learned a few things the hard way so you don’t have to. First, don’t pre-stack the crackers with the turkey and cheese. If you do, the moisture from the turkey will seep into the crackers and turn them into sad, soggy little pillows. Keep everything separate until you’re ready to eat. That’s the whole fun of a lunchable anyway — the building.
Second, if you’re packing this for a school lunch, consider using a small insulated lunch bag with an ice pack. The cheese and turkey need to stay cold for food safety, and a cold lunch just tastes better. I’ve also found that toasting the crackers slightly before packing them gives them an extra crunch that lasts longer. Just spread them on a baking sheet and pop them in a 300°F oven for 3-4 minutes. Let them cool completely before packing.
One mistake I made early on was using pre-sliced cheese from the deli. It’s too thin and flimsy for stacking. A block of cheese gives you the perfect thickness and a much better texture. Trust me on this one — it’s worth the extra 30 seconds of cutting.
Variations & Adaptations
This recipe is a blank canvas. Here are a few ways to switch it up depending on your mood or dietary needs.
- Italian Twist: Swap the turkey for salami or prosciutto, use fresh mozzarella pearls instead of cheddar, and add a few pepperoncini or olives on the side. Serve with rosemary crackers or grissini breadsticks.
- Veggie Lover’s Version: Skip the meat entirely and use thick slices of roasted red pepper, cucumber rounds, and avocado. Pair it with a sharp white cheddar or a creamy goat cheese. It’s fresh, light, and incredibly satisfying.
- Gluten-Free Option: Simply use your favorite gluten-free crackers. I love the nut-based ones or simple rice crackers. Everything else in the recipe is naturally gluten-free, so this is an easy swap.
- Low-Carb / Keto: Replace the crackers with cucumber rounds or bell pepper slices. You still get the satisfying crunch and the perfect vessel for your turkey and cheese, but without the carbs. It’s a great option for a light lunch.
Serving & Storage Suggestions
These homemade lunchables are best served cold, straight from the fridge. The contrast between the cool, creamy cheese and the crunchy cracker is a big part of the appeal. If you’re packing them for a picnic or a day out, keep them in a cooler with an ice pack until you’re ready to eat.
For storage, keep the assembled containers in the refrigerator for up to 4 days. The crackers will stay crisp if they are kept in a separate, dry compartment. If you’re using a single container without dividers, pack the crackers in a small zip-top bag inside the container. I’ve found that the flavors actually meld together a bit after a day or two in the fridge, making the turkey taste even better. It’s a strange but welcome development.
To reheat? You don’t! This is a no-cook, cold lunch. But if you want to get fancy, you can briefly toast the turkey and cheese stacks under the broiler for a warm, melty version. Just watch them closely so the crackers don’t burn.
Nutritional Information & Benefits
One serving (about 8 crackers, 2 ounces of turkey, and 1 ounce of cheese) contains approximately 320 calories, 18 grams of protein, 15 grams of fat, and 28 grams of carbohydrates. This makes it a balanced meal with a good mix of protein, healthy fats, and energy-providing carbs.
The turkey provides lean protein that keeps you full and focused, while the cheese offers calcium for strong bones and a little bit of healthy fat for satiety. The whole wheat crackers add fiber, which aids digestion. If you add grapes or carrots, you’re also getting a dose of vitamins and antioxidants. It’s a lunch that actually fuels your body without weighing you down.
Conclusion
Honestly, this recipe changed the way I think about lunch. It’s not just about saving money or avoiding processed ingredients — though both of those are great. It’s about taking a little bit of time to make something that feels special, even if it’s just for a Tuesday afternoon. The look on my nephew’s face when he opens his lunchbox and sees a homemade version of his favorite store-bought treat? Priceless. So go ahead, grab your favorite cheese, pick out some good crackers, and make your own perfect little lunch kit. You deserve a lunch break that feels like a treat, not a chore. If you make these, I’d love to hear how you customized them — drop a comment below and tell me your favorite combination!
Frequently Asked Questions
Can I use any type of cheese for this recipe?
Absolutely! Sharp cheddar is my go-to, but Colby Jack, Gouda, Havarti, or even a spreadable brie work wonderfully. Just make sure it’s firm enough to cut into neat squares that won’t crumble.
How long do these homemade lunchables stay fresh in the fridge?
They will stay fresh for up to 4 days when stored in an airtight container in the refrigerator. Keep the crackers in a separate, dry compartment to maintain their crunch.
Can I freeze these for later use?
I don’t recommend freezing them. The texture of the cheese and the crackers will be negatively affected by freezing and thawing. They are best made fresh and stored in the fridge.
What are the best crackers to use for this recipe?
Sturdy, square crackers like Wheat Thins, woven wheat crackers, or even simple saltines work best. They need to be strong enough to hold a piece of turkey and cheese without breaking.
Can I make these nut-free for school lunches?
Yes, this recipe is naturally nut-free as written. Just be sure to check the labels on your crackers and any optional extras to ensure they are processed in a nut-free facility if needed.
Pin This Recipe!
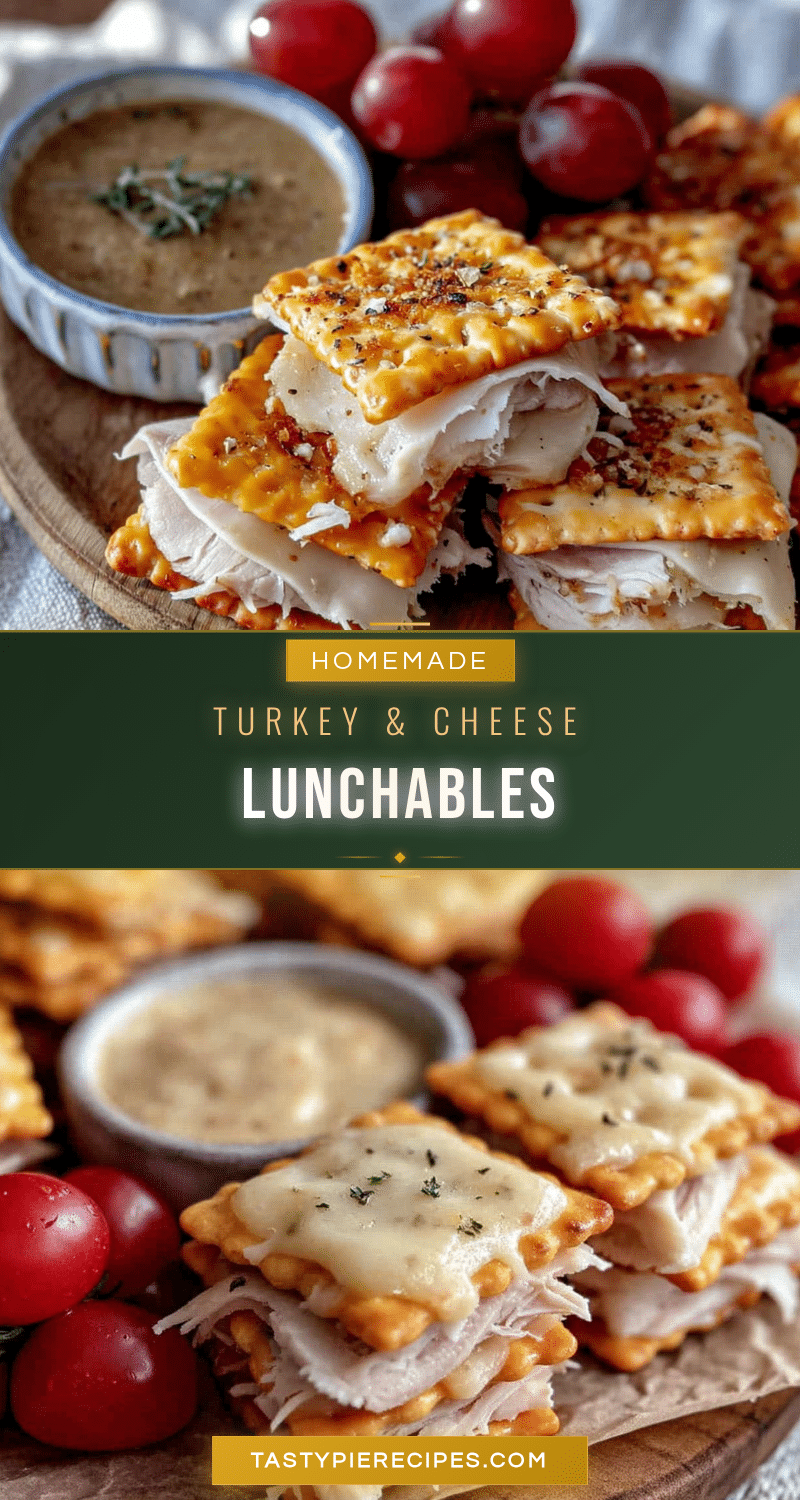
Best Homemade Turkey Cheese Cracker Lunchables

A nostalgic homemade version of the classic lunchable, made with real turkey, sharp cheddar, and whole wheat crackers. Perfect for meal prep and customizable to your taste.
- Prep Time: 10 minutes
- Cook Time: 0 minutes
- Total Time: 10 minutes
- Yield: 4 servings 1x
- Category: Lunch
- Cuisine: American
Ingredients
- 8 ounces deli turkey (oven-roasted or smoked, sliced medium-thin)
- 4 ounces sharp cheddar cheese (block, cut into 1-inch squares)
- 40 whole wheat crackers (such as Wheat Thins or woven wheat crackers)
- Optional: grapes, baby carrots, cherry tomatoes, dark chocolate squares, honey mustard or ranch dressing
Instructions
- Prep the Turkey: Lay deli turkey slices flat on a cutting board. Cut large slices into quarters or halves so they are roughly the size of the crackers. Stack neatly.
- Cut the Cheese: Unwrap the block of cheese and cut into 1/2-inch thick slices, then into 1-inch squares. Aim for uniform pieces (about 16-20 squares).
- Portion the Crackers: Count out about 8-10 crackers per serving and place in one compartment of your container.
- Assemble the Protein: In another compartment, arrange turkey pieces and cheese squares. Alternate them in a row for a pretty presentation.
- Add the Extras: Fill remaining compartments with optional sides like grapes, baby carrots, cherry tomatoes, or a small container of mustard or ranch.
- Seal and Store: Close the lid tightly and refrigerate. Keeps fresh for up to 4 days. Keep crackers in a separate dry compartment to maintain crunch.
Notes
Do not pre-stack crackers with turkey and cheese to avoid sogginess. For extra crunch, toast crackers at 300°F for 3-4 minutes and cool completely before packing. Use block cheese, not pre-sliced, for better texture. Keep lunch cold with an ice pack.
Nutrition
- Serving Size: 1 serving (8 cracker
- Calories: 320
- Sugar: 4
- Sodium: 680
- Fat: 15
- Saturated Fat: 7
- Carbohydrates: 28
- Fiber: 3
- Protein: 18
Keywords: homemade lunchables, turkey cheese crackers, meal prep lunch, kid-friendly lunch, no-cook lunch