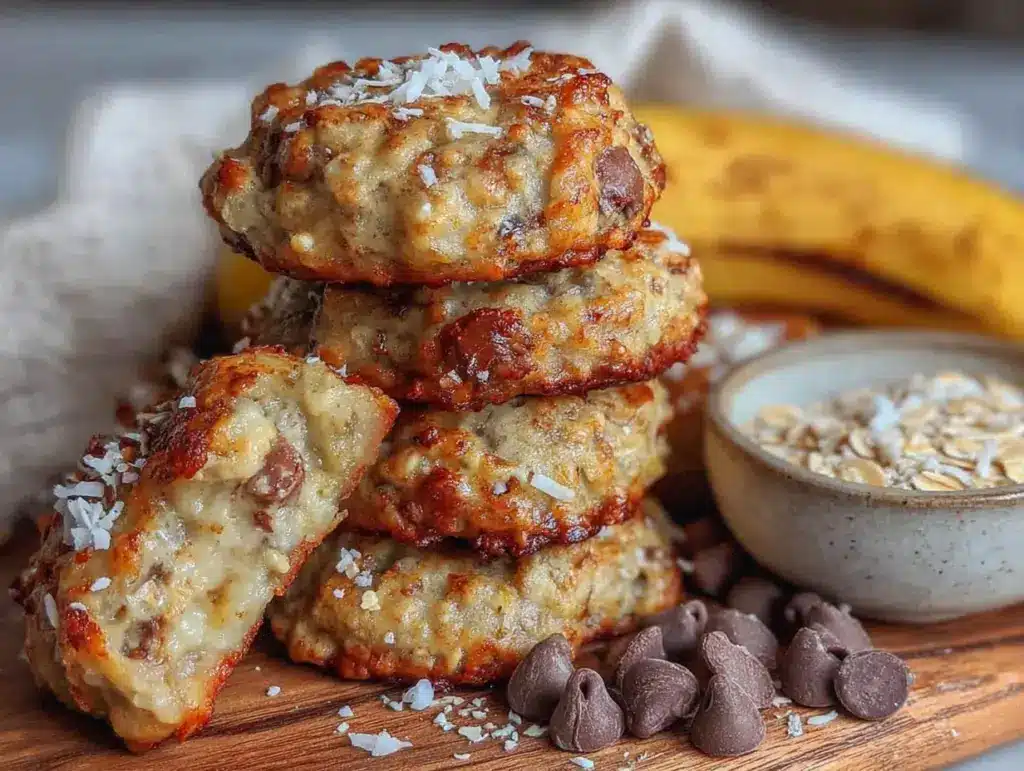
The faintly golden, slightly craggly top is what gets me every time. Not the sweetness, not the banana aroma that fills the kitchen—that specific, almost rustic surface that promises something sturdy but tender underneath. That’s the whole reason I started making these healthy banana oat breakfast cookies for lunchboxes in the first place.
It happened on a Tuesday, the kind of Tuesday where the lunchbox packing felt like a chore I was losing. My youngest had rejected yet another sandwich, and I was staring at a bunch of bananas that had crossed the line from spotty to practically pleading. They were soft, almost liquefying in their blackened skins. I couldn’t bake a loaf of banana bread—too much time, too much cleanup. But a cookie? That felt doable. That felt like a win.
I threw oats, the bananas, a splash of vanilla, and some pantry odds and ends into a bowl. The first batch came out looking a little sad, honestly. Too flat. Too wet. But I tweaked—more oats, a little patience with the mixing—and the second batch had that top. That golden, slightly craggly surface that told me I’d nailed it. They held together, they were naturally sweet, and they didn’t crumble into a million pieces inside a backpack.
These cookies aren’t fancy. They’re not trying to be a dessert masquerading as a health food. They’re just honest, portable, and good. The kind of thing that makes you feel like you’ve got it together, even on a chaotic morning. And honestly, that’s the best kind of recipe to have in your back pocket.
Why You’ll Love This Recipe
Let’s talk about why these healthy banana oat breakfast cookies for lunchboxes have become a non-negotiable in my weekly rotation. I’ve tested this recipe more times than I can count, tweaking the moisture level, the sweetness, the bake time, until everything clicked. Here’s what makes them stand out:
- Quick & Easy: From bowl to cooling rack in under 25 minutes. No stand mixer, no chilling time, no fuss.
- Simple Ingredients: You likely have everything in your pantry right now. No weird health food store finds required.
- Perfect for Lunchboxes: They hold their shape beautifully, don’t get soggy, and are naturally sweet enough to feel like a treat.
- Naturally Sweetened: The ripe bananas do the heavy lifting here. You can add a touch of maple syrup or honey, but honestly, you might not even need it.
- Crowd-Pleaser: My kids inhale these. My husband steals them from the lunchbox stash. They disappear fast.
What makes this version different from the countless banana oat cookie recipes out there? It’s the texture. I spent weeks getting the ratio just right so these cookies are soft and chewy, not dry and crumbly. The secret is mashing the bananas thoroughly and letting the oats absorb the moisture for a few minutes before baking. It makes all the difference between a cookie that feels like a compromise and one that feels like a genuine treat.
This is the recipe that turned my lunchbox packing from a chore into something I actually look forward to. It’s comfort food reimagined—healthier, faster, but with the same soul-soothing satisfaction. Perfect for busy mornings when you need a win.
What Ingredients You Will Need
This recipe uses simple, wholesome ingredients to deliver bold flavor and satisfying texture without the fuss. Most of these are pantry staples, which is exactly what you want for a recipe you’ll make on repeat.
- Ripe Bananas (3 medium, mashed): The riper, the better. Look for bananas with plenty of brown spots—they’re sweeter and easier to mash. About 1 to 1.25 cups mashed.
- Rolled Oats (2 cups / 180g): Old-fashioned rolled oats give the best texture. Quick oats work in a pinch, but the cookies will be softer and less chewy. I prefer Bob’s Red Mill or Quaker.
- Peanut Butter (1/3 cup / 80g, creamy): Adds richness and helps bind the cookies. Use natural peanut butter (stirred well) or your favorite nut butter. Almond butter or sunflower seed butter work great too.
- Maple Syrup or Honey (2-3 tablespoons): Optional, depending on how sweet your bananas are. I usually add 2 tablespoons for a gentle sweetness.
- Vanilla Extract (1 teaspoon): Pure vanilla extract adds warmth and depth. Imitation works in a pinch.
- Ground Cinnamon (1 teaspoon): A must for that cozy banana bread vibe.
- Baking Soda (1/2 teaspoon): Helps the cookies rise just a little, giving them a lighter texture.
- Salt (1/4 teaspoon): Balances the sweetness and enhances all the flavors.
- Mix-Ins (about 1/2 cup total): Chocolate chips, raisins, dried cranberries, chopped nuts, or shredded coconut. I’m partial to dark chocolate chips for that little hit of indulgence.
For the best results, use room-temperature ingredients if you can. Cold peanut butter is harder to mix evenly. And if your bananas aren’t quite ripe enough, you can speed things up by baking them at 300°F for 10-15 minutes until the skins darken. Let them cool before mashing.
Equipment Needed
You don’t need a lot of fancy gear for these healthy banana oat breakfast cookies for lunchboxes. Here’s what I use:
- Large Mixing Bowl: Any medium-to-large bowl will do. I use a ceramic one because it feels sturdy.
- Fork or Potato Masher: For mashing the bananas. A fork works perfectly, but a potato masher is faster.
- Measuring Cups and Spoons: Standard set for dry and wet ingredients.
- Baking Sheet: A standard half-sheet pan works great. Line it with parchment paper for easy cleanup.
- Parchment Paper or Silicone Baking Mat: Prevents sticking and makes removal a breeze.
- Cookie Scoop or Spoon: A 1.5-tablespoon cookie scoop gives uniform cookies. A regular spoon works fine too.
- Cooling Rack: Helps the cookies cool evenly and prevents soggy bottoms.
If you don’t have a cooling rack, you can let the cookies cool on the baking sheet for a few minutes, then transfer them to a plate. Not the end of the world, just a little slower. And if you’re like me and hate washing extra dishes, you can mix everything in one bowl—no need for a separate wet and dry bowl.
Preparation Method
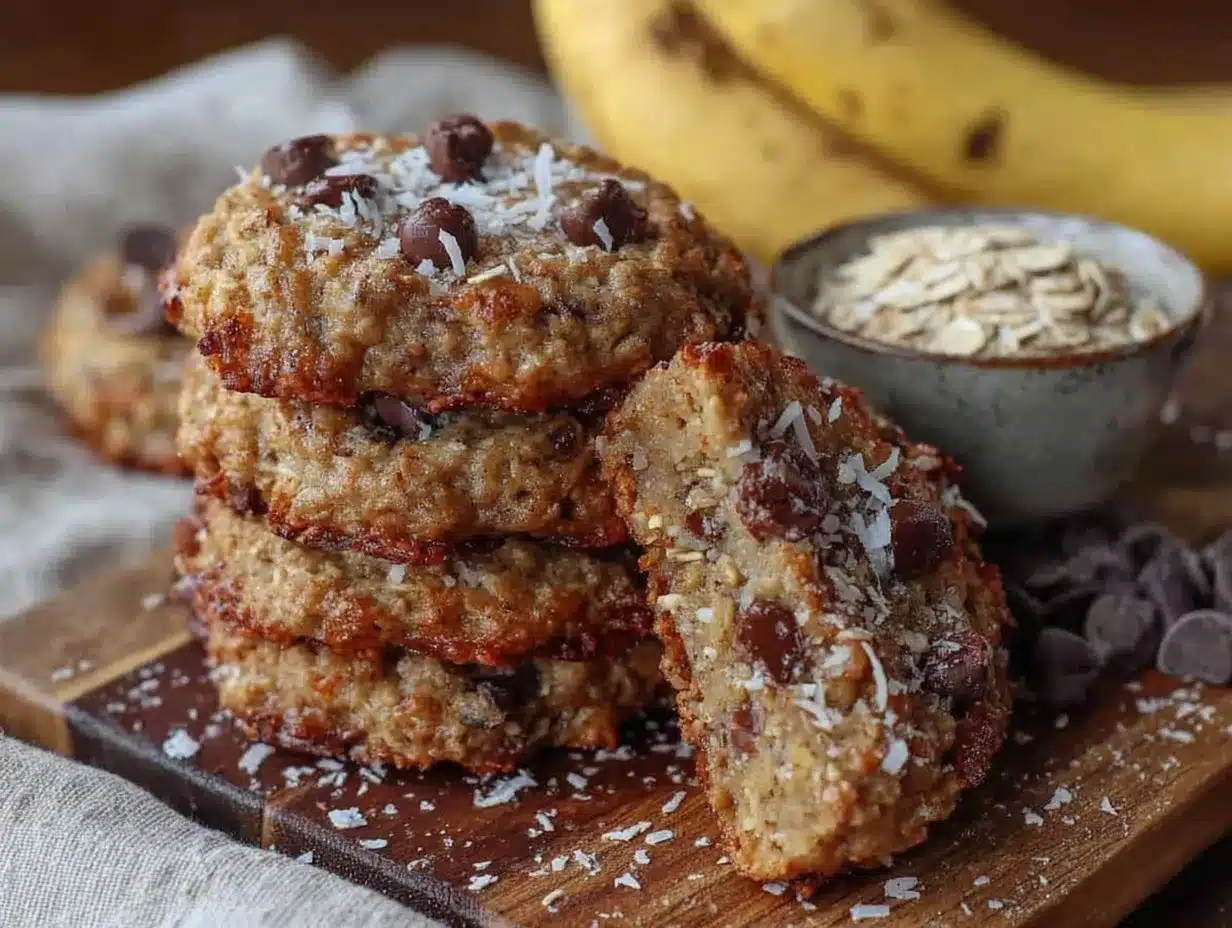
These healthy banana oat breakfast cookies for lunchboxes come together in one bowl and about 20 minutes. Here’s the step-by-step:
- Preheat your oven to 350°F (175°C). Line a baking sheet with parchment paper or a silicone mat.
- Mash the bananas. In a large bowl, mash the three ripe bananas with a fork until smooth. You want a mostly uniform consistency with just a few tiny lumps. This takes about 30 seconds of enthusiastic mashing.
- Add the wet ingredients. Stir in the peanut butter, maple syrup (if using), and vanilla extract. Mix until everything is well combined. The mixture should look creamy and slightly glossy.
- Mix the dry ingredients. Add the rolled oats, cinnamon, baking soda, and salt. Stir until the oats are evenly distributed and everything is moistened. The dough will look thick and slightly sticky—that’s perfect.
- Let the dough rest. This is the secret step. Let the dough sit for 5 minutes. This allows the oats to absorb some of the moisture, which makes the cookies hold together better and gives them that perfect chewy texture.
- Fold in the mix-ins. Gently fold in your chocolate chips, nuts, or dried fruit. Don’t overmix—you want them evenly distributed without breaking up the dough too much.
- Scoop and shape. Using a 1.5-tablespoon cookie scoop or a spoon, drop rounded scoops of dough onto the prepared baking sheet, spacing them about 2 inches apart. Gently flatten each scoop slightly with the back of a spoon or your fingers—these cookies don’t spread much, so shaping them helps them bake evenly.
- Bake for 10-12 minutes. The edges should be lightly golden and the tops should look set. They’ll still be soft to the touch—that’s okay. They firm up as they cool.
- Cool on the baking sheet for 5 minutes. This is crucial. Letting them sit on the hot sheet allows them to finish setting up. Then transfer to a wire rack to cool completely.
A quick note: if you’re using natural peanut butter that’s a little oily, your dough might be slightly wetter. That’s fine—just add an extra tablespoon of oats to balance it out. The dough should be scoopable but not runny.
Sensory cue: when they’re done, the kitchen smells like banana bread and cinnamon. The tops will be a warm golden brown, and if you tap one gently, it should feel firm but give slightly under pressure.
Cooking Tips & Techniques
I’ve made these healthy banana oat breakfast cookies for lunchboxes more times than I care to admit, and I’ve learned a few things along the way. Here are the tips that make a real difference:
Don’t skip the rest time. I know it’s tempting to rush, but letting the dough sit for 5 minutes is the difference between cookies that hold together and cookies that fall apart. The oats need that time to hydrate.
Flatten them slightly. These cookies don’t spread much on their own. If you leave them as round scoops, you’ll end up with little domes. A gentle press with the back of a spoon gives you a more cookie-like shape and helps them bake evenly.
Watch the bake time. Ovens vary, so start checking at 10 minutes. You want the edges golden and the tops set. Overbaking makes them dry, and nobody wants a dry breakfast cookie. I’ve definitely pulled a batch that looked perfect, only to realize I’d left them in two minutes too long. Learn from my mistakes.
Use a cookie scoop for even sizing. Uniform cookies bake more evenly. Plus, it makes the whole process faster. I use a 1.5-tablespoon scoop and get exactly 16 cookies every time.
Let them cool completely before storing. If you pack them away while they’re still warm, the steam will make them soft and almost soggy. Patience pays off here.
Double the batch. Seriously. These freeze beautifully, and having a stash in the freezer means you’re always five minutes away from lunchbox-ready cookies. I learned this the hard way after a batch disappeared in two days.
Variations & Adaptations
One of the best things about these healthy banana oat breakfast cookies for lunchboxes is how flexible they are. Here are some ways to switch things up:
Nut-Free Version: Swap the peanut butter for sunflower seed butter or WowButter. The texture stays the same, and they’re perfect for school lunchboxes with nut-free policies.
Gluten-Free Option: Use certified gluten-free rolled oats. That’s the only swap needed—everything else is naturally gluten-free.
Lower Sugar: If your bananas are very ripe and sweet, skip the maple syrup or honey entirely. The cookies will still be plenty sweet, especially with chocolate chips or dried fruit.
Flavor Twists: Add 1/4 teaspoon of nutmeg or cardamom along with the cinnamon. Or stir in a tablespoon of cocoa powder for a chocolate version. I once added a pinch of espresso powder, and it was surprisingly amazing—it just deepened the banana flavor.
Mix-In Ideas: Beyond chocolate chips, try white chocolate chips and dried cranberries, chopped pecans and coconut flakes, or raisins and a sprinkle of pumpkin pie spice. My personal favorite is dark chocolate chips and toasted walnuts—the crunch is perfect.
Pumpkin Version: Swap one banana for 1/3 cup of pumpkin puree. Add an extra tablespoon of oats to compensate for the extra moisture, and throw in some pumpkin pie spice. Fall lunchbox hero right there.
I once made a batch with chopped dried apricots and pistachios, and it felt like a fancy bakery cookie. Don’t be afraid to experiment—the base is forgiving enough to handle most additions.
Serving & Storage Suggestions
These healthy banana oat breakfast cookies for lunchboxes are best served at room temperature, straight from the lunchbox or the counter. They’re soft, chewy, and just sweet enough to feel like a treat without the sugar crash.
For a fun twist, serve them warm with a drizzle of peanut butter or a dollop of Greek yogurt. They’re also great crumbled over a bowl of yogurt and fresh fruit for a quick breakfast parfait.
Storage: Keep them in an airtight container at room temperature for up to 5 days. I layer them between sheets of parchment paper to prevent sticking. If your kitchen is humid, they might soften a bit—just pop them in a 300°F oven for 3-4 minutes to revive the texture.
Freezer: These cookies freeze like a dream. Place them in a single layer on a baking sheet and freeze until solid, then transfer to a freezer-safe bag or container. They’ll keep for up to 3 months. To thaw, just leave them at room temperature for 15 minutes, or pop one straight into a lunchbox—it’ll be thawed by lunchtime.
Reheating: If you like them warm, microwave a cookie for 10-15 seconds. Or toast them in a toaster oven at 300°F for 3-4 minutes. The edges get slightly crisp while the center stays soft. Perfection.
One thing I’ve noticed: the flavors actually get better after a day or two. The cinnamon and banana meld together, and the oats soften just a little more. They’re good on day one, but day three is where the magic happens.
If you’re looking for another great lunchbox-friendly option, try these monster cookie skillet for a fun weekend treat. And for something sweet and portable, these no-bake patriotic eclair cake squares are perfect for summer parties.
Nutritional Information & Benefits
Here’s the approximate nutritional breakdown for one cookie (based on 16 cookies, made with peanut butter and dark chocolate chips):
| Nutrient | Amount per Cookie |
|---|---|
| Calories | 120 |
| Total Fat | 4.5g |
| Saturated Fat | 1.5g |
| Carbohydrates | 18g |
| Fiber | 3g |
| Sugar | 7g |
| Protein | 3.5g |
These cookies are packed with fiber from the oats and bananas, which helps keep kids full and focused through the morning. The peanut butter adds healthy fats and a little protein, while the bananas provide potassium and natural sweetness. If you use dark chocolate chips, you’re even getting a small dose of antioxidants. Not bad for a lunchbox cookie, right?
They’re naturally dairy-free and can easily be made gluten-free and nut-free, making them a versatile option for most dietary needs. Always check your specific ingredient labels if you’re cooking for someone with allergies.
I love that I can feel good about sending these to school. They’re not a sugary treat disguised as healthy—they’re genuinely wholesome, and my kids don’t know the difference.
Conclusion
These healthy banana oat breakfast cookies for lunchboxes have genuinely changed my morning routine. They’re quick, forgiving, and made from ingredients I almost always have on hand. The fact that my kids actually look forward to finding them in their lunchbox? That’s the real win.
I hope you give them a try and make them your own. Add your favorite mix-ins, adjust the sweetness to your liking, and don’t be afraid to experiment. That’s the beauty of a simple recipe—it leaves room for your own touch.
I’d love to hear how they turn out for you. Drop a comment below and let me know what mix-ins you used, or tag me in your photos if you share them. And if you have a lunchbox hero recipe of your own, I’m always looking for new ideas. Happy baking!
Frequently Asked Questions
Can I use quick oats instead of rolled oats?
Yes, you can. Quick oats will give you a softer, more tender cookie. They absorb moisture faster, so you might not need the full 5-minute rest time. The texture will be slightly different—less chewy—but still delicious.
How do I make these cookies nut-free for school?
Simply swap the peanut butter for sunflower seed butter or a nut-free spread like WowButter. Make sure all your mix-ins (like chocolate chips) are also nut-free. The cookies will taste slightly different but will still be soft and satisfying.
Can I make these vegan?
Absolutely. Use maple syrup instead of honey, and make sure your chocolate chips are dairy-free. The recipe is naturally egg-free and dairy-free, so you’re already most of the way there.
Why did my cookies turn out dry?
Most likely, they were overbaked or your bananas weren’t ripe enough. Very ripe bananas are key—they provide moisture and natural sweetness. If your dough seems dry before baking, add an extra tablespoon of peanut butter or a splash of milk (dairy or non-dairy).
Can I freeze the cookie dough instead of baked cookies?
Yes! Scoop the dough into balls, place them on a parchment-lined baking sheet, and freeze until solid. Transfer to a freezer bag. When you’re ready to bake, place frozen dough balls on a baking sheet and add 2-3 minutes to the bake time. Fresh cookies on demand—genius.
Pin This Recipe!
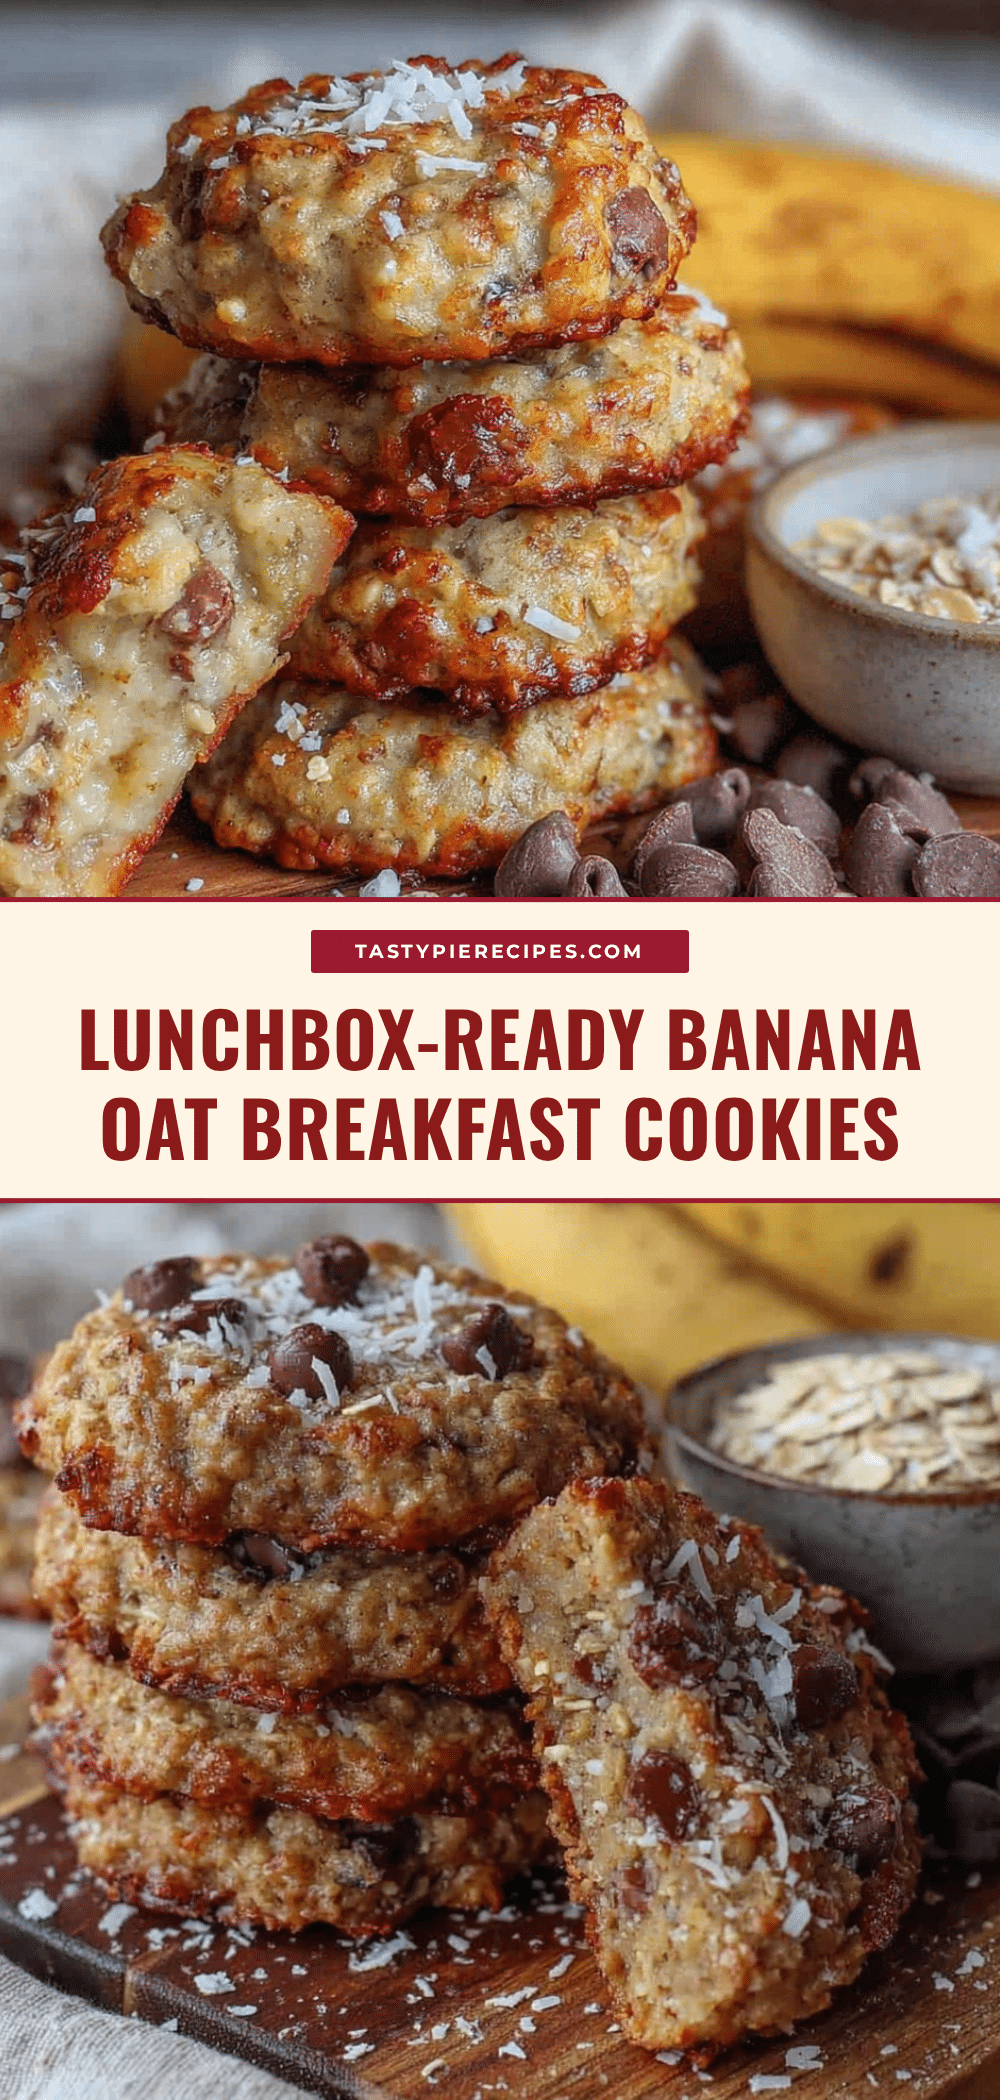
Healthy Banana Oat Breakfast Cookies: Best Lunchbox Treat

These healthy banana oat breakfast cookies are soft, chewy, and naturally sweetened with ripe bananas. Perfect for lunchboxes, they come together in one bowl and under 25 minutes for a wholesome treat kids and adults love.
- Prep Time: 10 minutes
- Cook Time: 12 minutes
- Total Time: 22 minutes
- Yield: 16 cookies 1x
- Category: Breakfast, Snack
- Cuisine: American
Ingredients
- 3 medium ripe bananas (mashed, about 1 to 1.25 cups)
- 2 cups rolled oats (180g)
- 1/3 cup creamy peanut butter (80g)
- 2–3 tablespoons maple syrup or honey (optional)
- 1 teaspoon vanilla extract
- 1 teaspoon ground cinnamon
- 1/2 teaspoon baking soda
- 1/4 teaspoon salt
- 1/2 cup mix-ins (chocolate chips, raisins, dried cranberries, chopped nuts, or shredded coconut)
Instructions
- Preheat your oven to 350°F (175°C). Line a baking sheet with parchment paper or a silicone mat.
- In a large bowl, mash the three ripe bananas with a fork until smooth with just a few tiny lumps.
- Stir in the peanut butter, maple syrup (if using), and vanilla extract until well combined and creamy.
- Add the rolled oats, cinnamon, baking soda, and salt. Stir until the oats are evenly distributed and the dough is thick and slightly sticky.
- Let the dough rest for 5 minutes to allow the oats to absorb moisture.
- Gently fold in the mix-ins (chocolate chips, nuts, or dried fruit) until evenly distributed.
- Using a 1.5-tablespoon cookie scoop or spoon, drop rounded scoops of dough onto the prepared baking sheet, spacing them about 2 inches apart. Gently flatten each scoop slightly with the back of a spoon.
- Bake for 10-12 minutes until the edges are lightly golden and the tops look set.
- Cool on the baking sheet for 5 minutes, then transfer to a wire rack to cool completely.
Notes
For best texture, use very ripe bananas with brown spots. Let the dough rest for 5 minutes to hydrate the oats. If using natural peanut butter that’s oily, add an extra tablespoon of oats. Cookies can be stored in an airtight container at room temperature for up to 5 days or frozen for up to 3 months. The flavors improve after a day or two.
Nutrition
- Serving Size: 1 cookie
- Calories: 120
- Sugar: 7
- Sodium: 85
- Fat: 4.5
- Saturated Fat: 1.5
- Carbohydrates: 18
- Fiber: 3
- Protein: 3.5
Keywords: banana oat cookies, healthy breakfast cookies, lunchbox cookies, no refined sugar, kid-friendly, easy cookie recipe