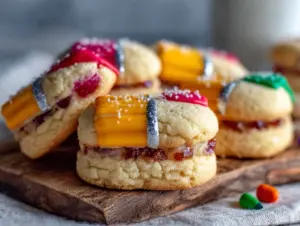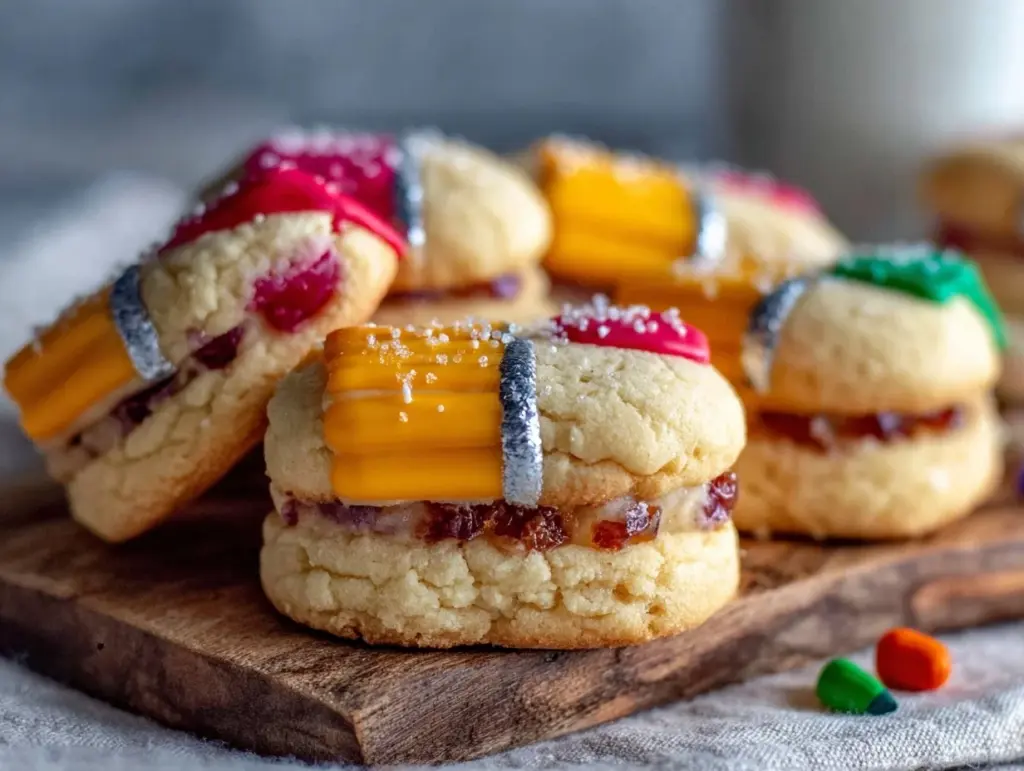
That gentle snap of royal icing drying on a soft sugar cookie—the kind you didn’t even realize you were craving until it’s right there on the plate—still takes me back to my kitchen table on an early September afternoon. The kind of afternoon where the light tilts just so, and the quiet hum of the school bus pulling away blends with the scent of vanilla and almond from the oven. I remember bending over my sheet pans, carefully piping the bright yellow pencil shapes, the red tips, and those tiny gray erasers, trying to get each cookie just right. It was more than just baking; it was a small celebration of routines restarting and little hands clutching new backpacks. Honestly, making these Perfect Soft-Baked Back to School Pencil Sugar Cookies with Royal Icing felt like a secret way to hold onto those fleeting moments before the chaos of the school year swept us all away.
I wasn’t aiming for perfection at first—more just a soft, tender cookie that could stand up to the glossy royal icing without cracking or losing that melt-in-your-mouth feel. Over time, this recipe became a quiet tradition, a sweet punctuation mark to the back-to-school rush. The soft-baked texture makes all the difference here, letting each bite dissolve gently while the icing adds that nostalgic pop of color and a bit of sugary snap. It’s the kind of treat that tastes like childhood memories baked fresh, the kind that makes you pause and smile before you dive into the day’s homework, activities, and endless hustle.
And it’s not just about the looks or the sweetness—there’s a calmness in the process too, the steady rhythm of mixing, rolling, cutting, and decorating. It’s a little moment of joy, quietly tucked into the busyness, that I keep coming back to year after year. This recipe stuck with me because it’s soft, simple, and full of the kind of comfort that feels just right for those back-to-school mornings. It’s a small tradition I trust will bring a little warmth and sweetness to your kitchen too.
Why You’ll Love This Recipe
There’s something honestly satisfying about baking these Soft-Baked Pencil Sugar Cookies. I’ve tested and tweaked this recipe through several back-to-school seasons, refining it to strike that perfect balance between tender crumb and sturdy icing base. Here’s why you’ll want to make this recipe your go-to come September:
- Quick & Easy: You can whip up the cookie dough and royal icing in under an hour, perfect for those busy mornings or last-minute after-school treats.
- Simple Ingredients: No need for specialty items—most of these ingredients are likely already hanging out in your pantry or fridge.
- Perfect for Back to School: These pencil-shaped cookies add a fun, thematic touch to lunchboxes, classroom parties, or even a quiet after-school snack.
- Crowd-Pleaser: Kids love the playful pencil shapes, and adults appreciate the soft, chewy texture contrasted by the sweet royal icing snap.
- Unbelievably Delicious: The soft-baked sugar cookie base melts in your mouth, while the royal icing adds a festive finish that’s just sweet enough.
What sets this recipe apart? The secret is in the dough’s texture and the icing’s consistency. I blend a touch of cornstarch into the flour for that tender softness, and the royal icing is just thick enough to pipe crisp lines without cracking or bleeding. Plus, I’ve found that chilling the dough before baking is key to keeping shapes sharp and colorful. This isn’t just another sugar cookie recipe—it’s a recipe that brings a little magic back to those hectic mornings. It’s comfort food with a playful twist, and honestly, it’s the kind of cookie that makes you close your eyes and savor that first bite.
What Ingredients You Will Need
This recipe uses simple, wholesome ingredients to create a soft sugar cookie that’s sturdy enough for royal icing but tender enough to melt in your mouth. Most are pantry staples, and you’ll find substitution tips sprinkled in to fit your needs.
- For the Sugar Cookies:
- All-purpose flour (2 ½ cups / 312g) – I prefer Gold Medal for consistent texture.
- Cornstarch (2 tablespoons / 16g) – adds extra tenderness and softness.
- Baking powder (1 teaspoon) – for gentle lift.
- Salt (½ teaspoon) – balances sweetness.
- Unsalted butter (1 cup / 227g), softened – use good quality like Kerrygold for richer flavor.
- Granulated sugar (1 cup / 200g) – regular white sugar is fine.
- Large egg (1), room temperature – helps bind the dough.
- Pure vanilla extract (1 teaspoon) – adds warmth.
- Almond extract (¼ teaspoon, optional) – a tiny touch for depth.
- For the Royal Icing:
- Powdered sugar (4 cups / 480g), sifted – for smooth icing.
- Pasteurized egg whites or meringue powder (3 tablespoons) – for stability and shine.
- Fresh lemon juice (1 tablespoon) – brightens flavor and thins icing.
- Water (as needed) – to adjust consistency.
- Gel food coloring (yellow, red, gray) – highly concentrated and perfect for vibrant pencil hues.
Substitutions: For a gluten-free twist, replace all-purpose flour with a 1:1 gluten-free blend that includes xanthan gum. If you prefer dairy-free, swap butter with a plant-based margarine or coconut oil, though texture will shift slightly. For royal icing, meringue powder is a safer choice if you’re avoiding raw eggs.
Equipment Needed
- Mixing bowls – a medium and a large one work well.
- Electric hand mixer or stand mixer – makes creaming butter and mixing icing easier.
- Measuring cups and spoons – precise measurements matter here.
- Rolling pin – for even dough thickness.
- Pencil-shaped cookie cutter – the star of the show; if unavailable, a small rectangle and triangle cutter can be combined.
- Baking sheets lined with parchment paper or silicone mats – prevents sticking and browning.
- Piping bags and small round piping tips (sizes #1 or #2) – essential for detailed royal icing work.
- Toothpicks or scribe tools – to help smooth icing edges or fix bubbles.
If you don’t have a stand mixer, a sturdy hand mixer will do just fine. For budget-friendly options, silicone baking mats are reusable and save on parchment paper waste. Taking care of your piping tips by cleaning immediately after use keeps them sharp for future decorating sessions.
Preparation Method
- Mix Dry Ingredients: In a medium bowl, whisk together 2 ½ cups (312g) all-purpose flour, 2 tablespoons (16g) cornstarch, 1 teaspoon baking powder, and ½ teaspoon salt. Set aside. This mix gives the cookies their soft texture and gentle rise. (5 minutes)
- Cream Butter and Sugar: Using an electric mixer, beat 1 cup (227g) softened unsalted butter and 1 cup (200g) granulated sugar until light and fluffy—about 3 to 5 minutes. You’ll know it’s ready when the mixture looks pale and almost whipped. This step is crucial for a tender crumb. (5 minutes)
- Add Egg and Extracts: Beat in one large room-temperature egg, 1 teaspoon vanilla extract, and ¼ teaspoon almond extract (if using) until fully incorporated. The dough will look smooth and glossy. (2 minutes)
- Combine Wet and Dry: Gradually add the dry ingredients to the wet mixture, mixing on low speed until just combined. Don’t overmix here or you’ll risk toughening the dough. The dough should be soft but slightly sticky. (3 minutes)
- Chill the Dough: Shape the dough into a flat disk, wrap tightly in plastic wrap, and chill for at least 1 hour or overnight. This step firms up the dough for easier rolling and keeps your pencil shapes sharp. (60+ minutes)
- Preheat Oven & Roll Out Dough: When ready, preheat the oven to 350°F (175°C). Roll the dough out on a lightly floured surface to about ¼ inch (6 mm) thickness. Use the pencil-shaped cookie cutter to cut out shapes, placing them 1 inch (2.5 cm) apart on parchment-lined baking sheets. (15 minutes)
- Bake: Bake cookies for 8-10 minutes or until edges just begin to turn golden. The centers should look set but soft. Let the cookies cool on the sheet for 5 minutes before transferring to wire racks to cool completely. (10 minutes baking + 10 minutes cooling)
- Prepare Royal Icing: Mix 4 cups (480g) sifted powdered sugar with 3 tablespoons pasteurized egg whites or meringue powder, 1 tablespoon fresh lemon juice, and water as needed to reach piping consistency. Divide and tint with gel food colors: yellow for pencil bodies, red for tips, and gray for erasers. (15 minutes)
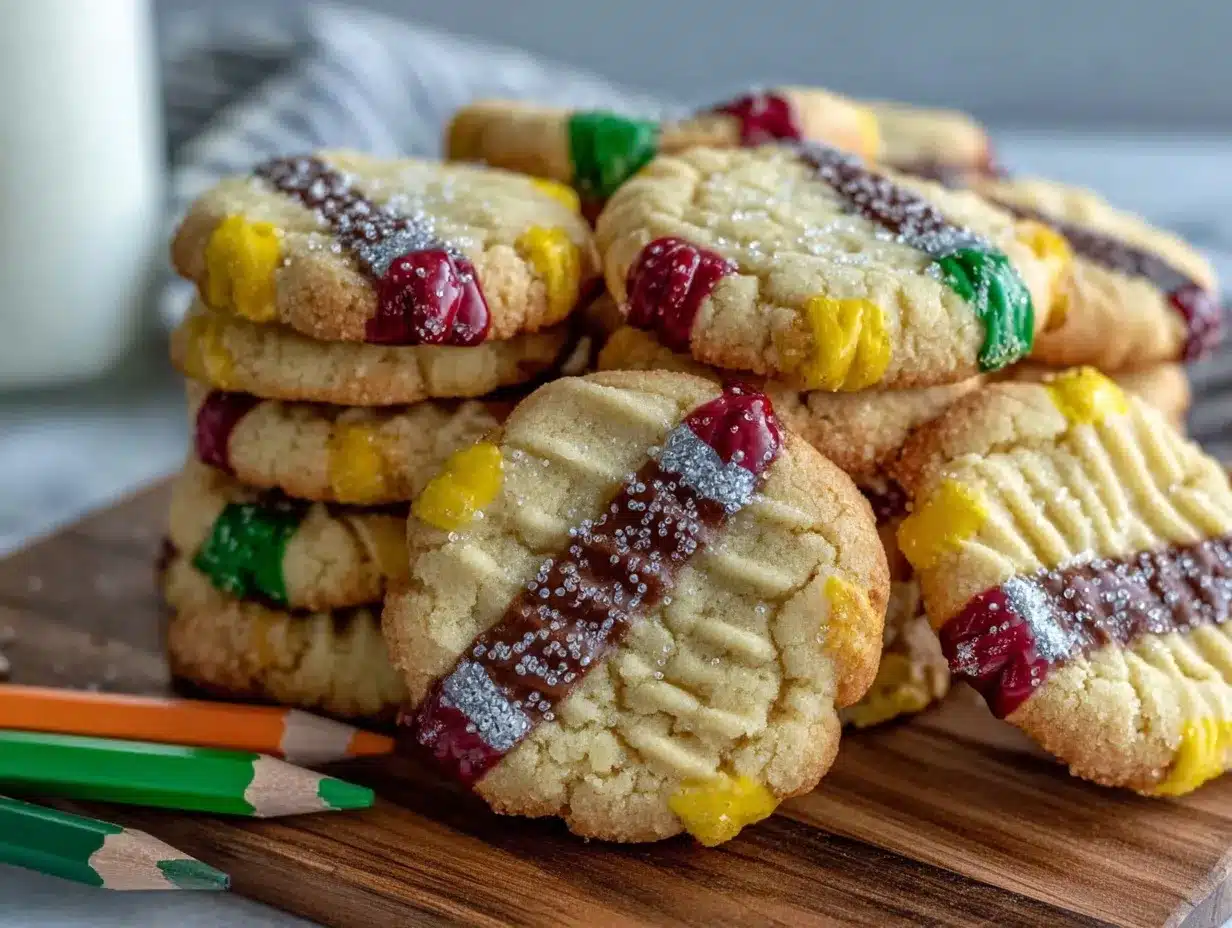
- Decorate: Using piping bags fitted with small round tips, outline and flood the pencil shapes with yellow icing. Let dry slightly before adding red tips and gray erasers. Use toothpicks to smooth details or fix bubbles. Allow icing to fully dry—overnight is best for a perfect finish. (30-45 minutes decorating + drying)
Cooking Tips & Techniques
Soft-baked sugar cookies can be tricky, but a few tricks make a world of difference. First, chilling the dough is non-negotiable — trust me, trying to roll warm dough leads to misshapen pencils and sticky messes. Use cornstarch in your dry ingredients; it’s a quiet hero that keeps cookies tender without spreading too much.
When it comes to royal icing, consistency is everything. Too thin, and colors bleed; too thick, and piping becomes a challenge. Start with a thicker outline consistency, then thin the flood icing just enough so it spreads smoothly but doesn’t run off the cookie edges. I’ve learned the hard way that adding lemon juice not only brightens flavor but also helps the icing dry with that classic glossy finish.
Keep your cookies on parchment or silicone mats to avoid uneven browning. Also, don’t overbake—the cookies should be pale with just the faintest golden edges. They’ll firm up as they cool, keeping that soft bite you want.
Finally, patience with drying is key. Rushing to stack or package before the icing sets leads to smudges. I like to decorate the night before a big school day for that satisfying morning reveal.
Variations & Adaptations
Feel free to tweak this recipe to fit your family’s tastes or dietary needs. Here are a few ideas I’ve tried or thought about:
- Gluten-Free Version: Use a gluten-free flour blend with xanthan gum instead of all-purpose flour. The texture shifts slightly but remains soft and delicious.
- Vegan Adaptation: Swap butter for coconut oil and replace the egg with a flax egg (1 tablespoon flaxseed meal + 3 tablespoons water, chilled). Use aquafaba in place of egg whites for royal icing.
- Flavor Variations: Add a teaspoon of lemon zest to the dough for a fresh twist or a pinch of cinnamon for warmth. For a fun back-to-school surprise, you can swap the pencil shapes for apple or book-shaped cookie cutters.
- Seasonal Colors: Customize royal icing colors for other occasions, such as pastel shades for spring or bright primary colors for birthday parties.
- Alternative Decorating: If royal icing feels intimidating, try a simple glaze made of powdered sugar and milk, then decorate with colored sugar sprinkles for a simpler finish.
Serving & Storage Suggestions
Serve these Soft-Baked Pencil Sugar Cookies at room temperature to fully enjoy their tender crumb and smooth icing. They make a charming addition to a back-to-school breakfast spread or as a sweet surprise tucked into lunchboxes. Pair with a cold glass of milk or a warm cup of cinnamon-spiced tea to round out the experience.
Store the cookies in an airtight container layered with parchment paper between them to keep icing intact. They stay fresh for up to 5 days at room temperature or up to 2 weeks in the refrigerator. For longer storage, freeze undecorated cookies in a single layer on a baking sheet, then transfer to a freezer-safe bag. Thaw completely before decorating.
Reheating isn’t necessary, but if you prefer a slightly warm cookie, microwave for 10-15 seconds—just be careful not to melt the royal icing. Over time, the flavors mellow and blend beautifully, making these cookies even more enjoyable the next day.
Nutritional Information & Benefits
Each sugar cookie (without icing) contains approximately 150 calories, 7g fat, 22g carbohydrates, and 1g protein. The royal icing adds about 50 calories per cookie depending on thickness.
The recipe includes wholesome ingredients like real butter and eggs, providing natural fats and protein. Cornstarch helps create a tender texture without extra fat. The small amount of almond extract contributes a subtle nutty aroma without added calories.
While this recipe isn’t low-carb or sugar-free, the portion sizes and use of quality ingredients make it a treat worth savoring. For gluten-free needs, swapping flour keeps it accessible. This recipe contains common allergens like dairy, eggs, and gluten, so please adjust accordingly for dietary restrictions.
From a wellness perspective, baking at home lets you control ingredients and avoid preservatives or artificial colors often found in store-bought cookies. Plus, the joy and calm of decorating add a little mental health boost during hectic back-to-school weeks.
Conclusion
These Perfect Soft-Baked Back to School Pencil Sugar Cookies with Royal Icing are more than a fun treat—they’re a gentle way to mark the start of a new school year with sweetness and care. The soft texture combined with colorful icing makes them a hit with kids and adults alike. I love how this recipe lets me slow down, focus on little details, and create something memorable without fuss.
Feel free to make this recipe your own by playing with colors, shapes, or flavors. Whether you’re prepping for a classroom party or just sneaking a cookie with your morning coffee, these pencil cookies bring a bit of joy and nostalgia to your kitchen. I’d love to hear how you customize them or what moments they become a part of in your home.
Why not try pairing them with the fresh fig and honey crostata for a grown-up twist at your next brunch? Or keep the fun going with the sparkling meringue kiss cookies in school colors. Happy baking, and here’s to a sweet school year ahead!
FAQs
Can I make the sugar cookie dough ahead of time?
Yes! The dough can be wrapped and refrigerated for up to 3 days or frozen for up to 3 months. Just thaw and roll before baking.
Why are my royal icing colors bleeding?
This usually happens when the icing is too thin or wet. Try thickening your icing slightly and allow the base layer to dry before adding details.
How do I store decorated sugar cookies without ruining the icing?
Store them in a single layer or separated with parchment paper in an airtight container at room temperature. Avoid stacking until icing is fully dry.
Can I use food coloring gel instead of liquid?
Gel food coloring is actually preferred for royal icing because it provides vibrant colors without thinning the icing.
Is there an egg-free option for royal icing?
Yes, meringue powder is a great egg-free alternative that still gives you a stable, glossy royal icing.
Pin This Recipe!
Soft-Baked Pencil Sugar Cookies Recipe

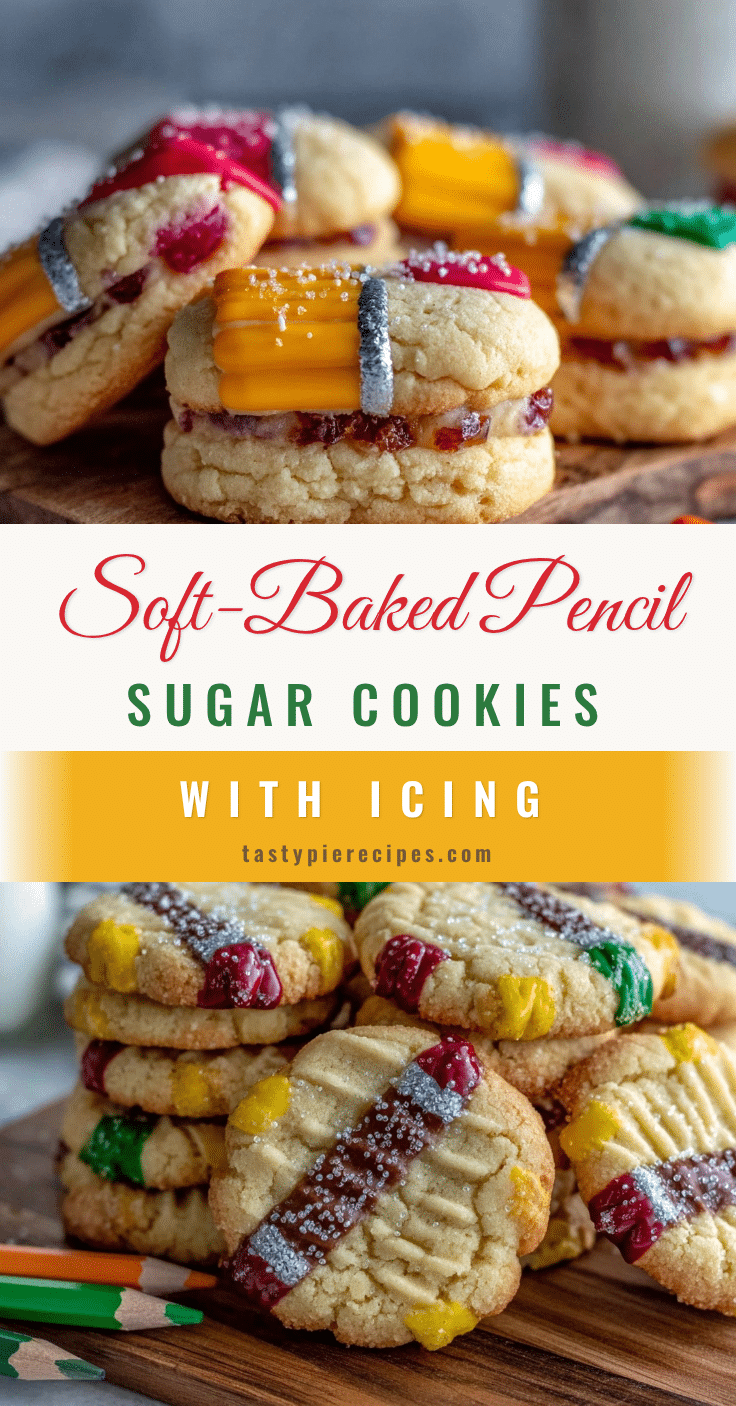
Soft-baked sugar cookies shaped like pencils, perfect for back-to-school treats, topped with colorful royal icing that adds a nostalgic snap and festive finish.
- Prep Time: 1 hour 30 minutes
- Cook Time: 10 minutes
- Total Time: 1 hour 40 minutes
- Yield: 24 cookies 1x
- Category: Dessert
- Cuisine: American
Ingredients
- 2 ½ cups (312g) all-purpose flour
- 2 tablespoons (16g) cornstarch
- 1 teaspoon baking powder
- ½ teaspoon salt
- 1 cup (227g) unsalted butter, softened
- 1 cup (200g) granulated sugar
- 1 large egg, room temperature
- 1 teaspoon pure vanilla extract
- ¼ teaspoon almond extract (optional)
- 4 cups (480g) powdered sugar, sifted
- 3 tablespoons pasteurized egg whites or meringue powder
- 1 tablespoon fresh lemon juice
- Water (as needed)
- Gel food coloring (yellow, red, gray)
Instructions
- In a medium bowl, whisk together 2 ½ cups (312g) all-purpose flour, 2 tablespoons (16g) cornstarch, 1 teaspoon baking powder, and ½ teaspoon salt. Set aside. (5 minutes)
- Using an electric mixer, beat 1 cup (227g) softened unsalted butter and 1 cup (200g) granulated sugar until light and fluffy—about 3 to 5 minutes. (5 minutes)
- Beat in one large room-temperature egg, 1 teaspoon vanilla extract, and ¼ teaspoon almond extract (if using) until fully incorporated. (2 minutes)
- Gradually add the dry ingredients to the wet mixture, mixing on low speed until just combined. The dough should be soft but slightly sticky. (3 minutes)
- Shape the dough into a flat disk, wrap tightly in plastic wrap, and chill for at least 1 hour or overnight. (60+ minutes)
- Preheat oven to 350°F (175°C). Roll dough out on a lightly floured surface to about ¼ inch (6 mm) thickness. Use pencil-shaped cookie cutter to cut shapes, placing 1 inch apart on parchment-lined baking sheets. (15 minutes)
- Bake cookies for 8-10 minutes or until edges just begin to turn golden. Let cool on sheet for 5 minutes, then transfer to wire racks to cool completely. (10 minutes baking + 10 minutes cooling)
- Prepare royal icing by mixing 4 cups (480g) sifted powdered sugar with 3 tablespoons pasteurized egg whites or meringue powder, 1 tablespoon fresh lemon juice, and water as needed to reach piping consistency. Divide and tint with gel food colors: yellow for pencil bodies, red for tips, and gray for erasers. (15 minutes)
- Using piping bags with small round tips, outline and flood pencil shapes with yellow icing. Let dry slightly before adding red tips and gray erasers. Use toothpicks to smooth details or fix bubbles. Allow icing to fully dry—overnight is best. (30-45 minutes decorating + drying)
Notes
Chilling the dough is essential for sharp shapes and easier rolling. Use cornstarch in dry ingredients for tenderness. Adjust royal icing consistency carefully to avoid bleeding colors. Let icing dry overnight for best results. Store cookies in airtight container with parchment paper between layers to protect icing.
Nutrition
- Serving Size: 1 cookie
- Calories: 200
- Sugar: 18
- Sodium: 90
- Fat: 7
- Saturated Fat: 4
- Carbohydrates: 27
- Protein: 2
Keywords: soft sugar cookies, pencil cookies, back to school cookies, royal icing cookies, easy sugar cookies, kid-friendly cookies