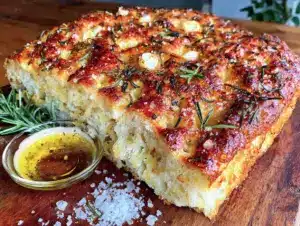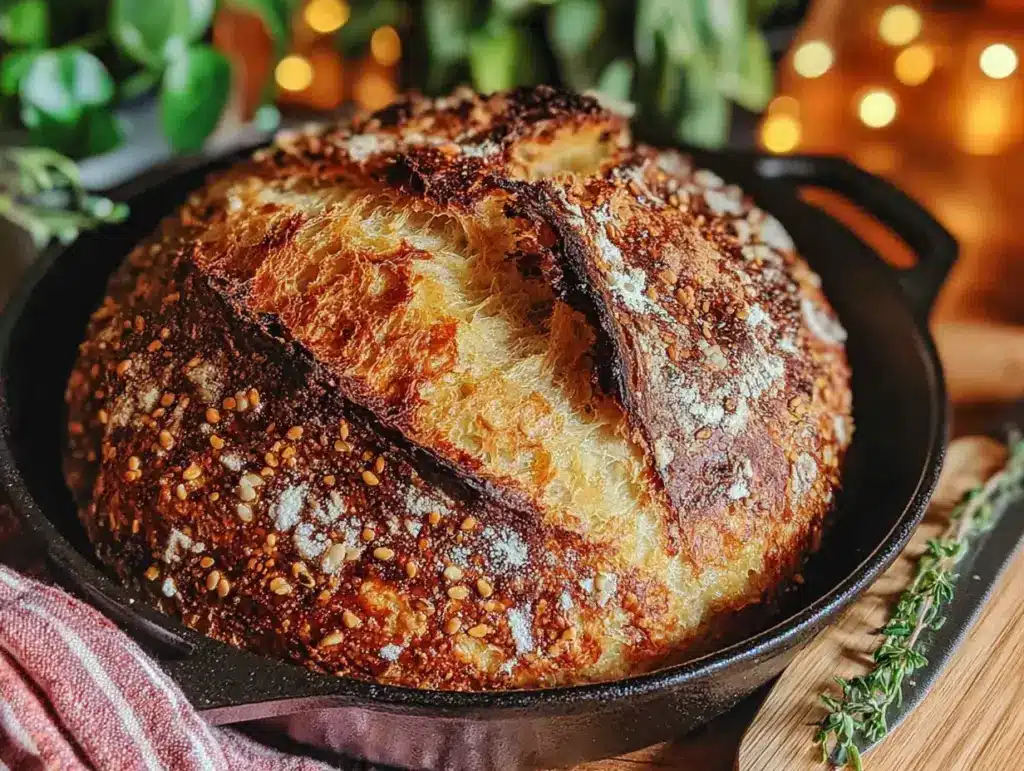
It was a rainy Tuesday afternoon in late October, the kind where the sky goes gray and you can hear the wind rattling the windows, and the only thing I wanted was to get my hands into some dough. Not for any grand reason. Not to impress anyone. Just because the quiet rhythm of mixing flour and water felt like the right thing to do. I’d been staring at my sourdough starter—the one I’d named Barnaby—sitting on the counter, bubbling away with that tangy, yeasty smell that fills your whole kitchen and makes you feel like you’re actually doing something important.
I didn’t have a plan. No fancy recipe pulled up on my phone. I just wanted bread. The kind with a crackling crust that shatters when you cut into it, and an interior so soft and airy you could cry a little. But I also didn’t want to spend the whole afternoon kneading. I mean, let’s be honest—who has the arm strength for that? So I did what any reasonable, slightly lazy home baker would do: I threw everything together in a bowl, gave it a few stirs, and walked away. That was the moment this easy no-knead sourdough boule was born, and honestly, it changed how I think about bread forever.
There’s something freeing about a recipe that doesn’t demand much from you. You don’t have to stand over it, coaxing it, worrying about it. You just mix, wait, and trust the process. And this sourdough boule? It rewards that trust with a golden, blistered crust and a crumb that’s practically singing with flavor. It’s the kind of bread that makes a simple bowl of soup feel like a feast, or a slab of butter feel like a celebration.
I’ve made this loaf more times than I can count, and it never gets old. It’s become my go-to for lazy weekends, for when I want the house to smell like a bakery, for when I need to prove to myself that I can still make something beautiful from scratch. And now, I’m sharing it with you—because everyone deserves to know the joy of pulling a perfect, crusty loaf out of a Dutch oven without breaking a sweat.
Why You’ll Love This Recipe
Let’s be real for a second. There are a million sourdough recipes out there, and some of them are downright intimidating. Long fermentation times, complicated folding schedules, and enough technical jargon to make your head spin. This one is not that. This is the recipe I turn to when I want great bread without the drama.
- No Kneading Required: Seriously. You don’t have to get your hands dirty. A few stirs with a spatula and you’re done. The gluten develops naturally over time, not through brute force.
- Minimal Active Time: You’ll spend maybe 15 minutes actively working on this loaf. The rest is just waiting—and that’s the easy part.
- Simple, Honest Ingredients: Flour, water, salt, and your sourdough starter. That’s it. No commercial yeast, no fancy additives, no trips to a specialty store.
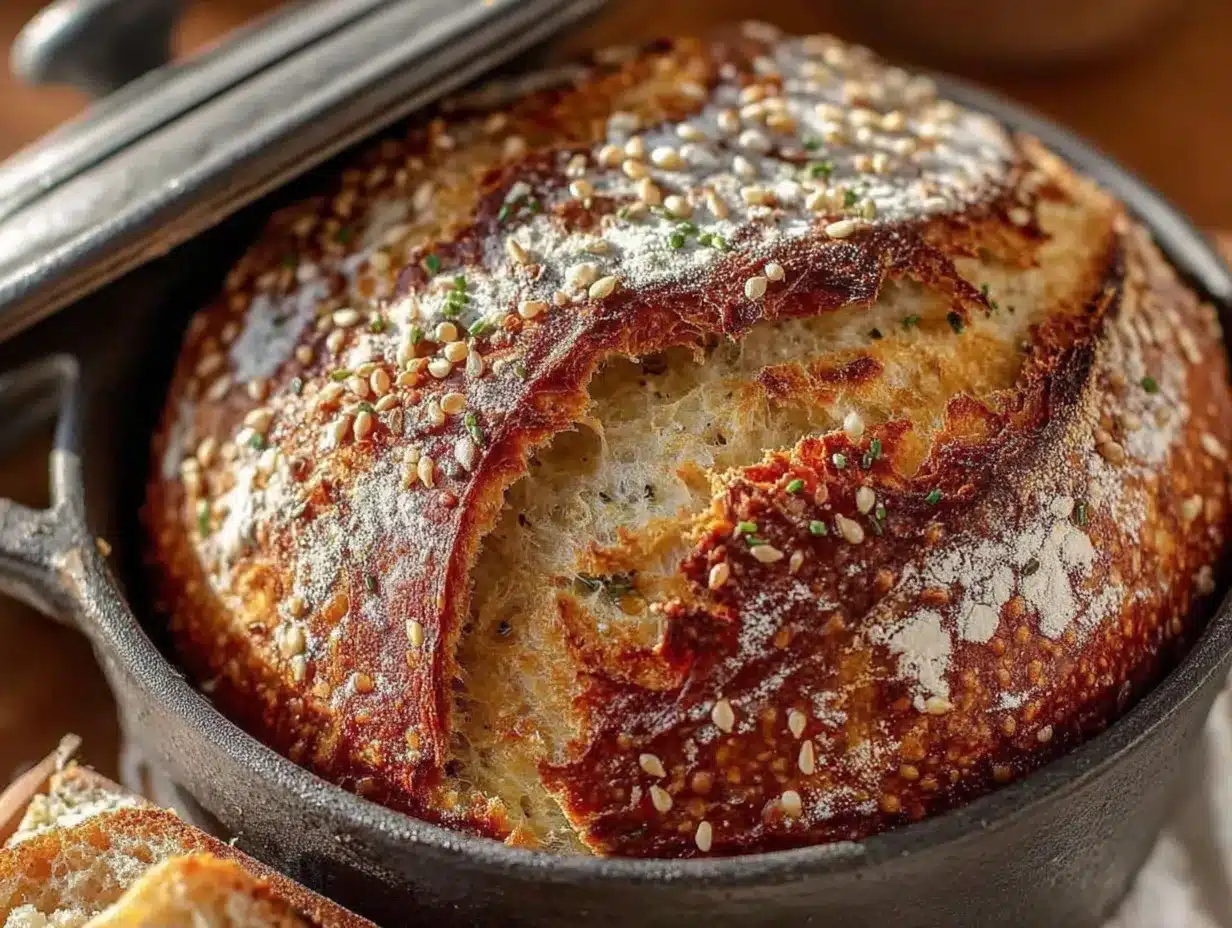
- Perfect Crust & Crumb: The Dutch oven creates the steamy environment needed for a crackling crust, while the long, slow rise builds a complex, tangy flavor and an open, airy interior.
- Beginner-Friendly: If you’ve never made sourdough before, this is the recipe to start with. It’s forgiving, flexible, and almost impossible to mess up.
- Deeply Satisfying: There’s nothing quite like slicing into a loaf you made with your own two hands. It’s a small victory that feels huge.
I’ve tested this recipe in every season—humid summers, dry winters—and it works every time. It’s the kind of bread that makes you look like a pro, even if you’re just a home cook who forgot to set a timer once or twice. (Guilty as charged.)
What Ingredients You Will Need
This recipe uses the simplest ingredients, but the quality matters. Here’s what you’ll need and why I choose what I do.
- Bread Flour (400g / about 3 cups): I prefer bread flour here because it has a higher protein content than all-purpose, which means more gluten development and a better structure. King Arthur Flour is my go-to brand for consistent results. If you only have all-purpose, it will still work—the crumb will just be a little tighter.
- Water (300g / about 1 ¼ cups), lukewarm: Use filtered or bottled water if your tap water is heavily chlorinated. Chlorine can slow down fermentation. The water should be warm to the touch, around 80-85°F (27-29°C), to wake up the starter.
- Active Sourdough Starter (100g / about ½ cup), bubbly and fed: This is the heart of the recipe. Your starter should be at its peak—doubled in size, full of bubbles, and smelling pleasantly sour. I feed mine about 4-6 hours before I plan to mix the dough. If your starter is sluggish, this is not the time to use it.
- Fine Sea Salt (10g / about 1 ½ teaspoons): Don’t skip the salt. It’s not just for flavor—it strengthens the gluten and controls fermentation. I use fine sea salt because it dissolves easily. Table salt works, but reduce the amount slightly since it’s more concentrated.
- Rice Flour or Semolina (for dusting, optional): These flours are non-stick and won’t absorb into the dough like all-purpose flour. I use rice flour to dust my banneton or proofing basket. It gives the loaf a beautiful, rustic look after baking.
Ingredient Tips from My Kitchen: If your starter has been in the fridge, bring it back to life with a couple of feedings before using it in this recipe. A hungry starter won’t give you the rise you need. Also, weigh your ingredients if you can. A kitchen scale is the best tool for consistent sourdough results. I learned that the hard way after a few too many flat loaves.
Equipment Needed
You don’t need a lot of fancy gear for this recipe, but a few key pieces make all the difference.
- Dutch Oven (5-6 quart, enameled or cast iron): This is non-negotiable for the perfect crust. The heavy lid traps steam, which mimics a professional bread oven. I use a Le Creuset, but any heavy pot with a tight-fitting lid works.
- Large Mixing Bowl: A big bowl gives you room to mix without flinging flour everywhere. I prefer glass or ceramic—they don’t react with the dough.
- Banneton or Proofing Basket (8-9 inch): This gives the loaf its shape while it rises. If you don’t have one, a colander lined with a clean kitchen towel works just as well. Just dust it well with rice flour.
- Bench Scraper: A cheap plastic or metal scraper is a lifesaver for handling sticky dough. It’s also great for cleaning your counter.
- Parchment Paper: You’ll use this to transfer the dough into the hot Dutch oven. It prevents sticking and makes cleanup a breeze.
- Kitchen Scale: I can’t recommend this enough. Measuring by weight is more accurate than cups, especially for sourdough.
- Sharp Lame or Razor Blade: For scoring the top of the loaf. A sharp knife works in a pinch, but a lame gives you cleaner cuts.
I started with a $30 Dutch oven from a discount store, and it worked beautifully. Don’t feel like you need the most expensive gear. The technique matters more than the price tag.
Preparation Method
This is where the magic happens. Follow these steps, and you’ll have a loaf you’re proud of.
- Mix the Dough (8:00 AM): In your large bowl, combine the bread flour and water. Use your hand or a spatula to mix until no dry bits remain. This is called the autolyse. Let it rest for 30 minutes. This step hydrates the flour and starts gluten development without any work.
- Add Starter and Salt (8:30 AM): Sprinkle the salt over the dough, then add the bubbly starter. Wet your hand slightly to prevent sticking, then squeeze and fold the dough until everything is evenly incorporated. It will be shaggy and sticky—that’s normal. Cover the bowl with a damp towel or plastic wrap.
- Bulk Fermentation with Stretch and Folds (8:30 AM to 1:00 PM): Over the next 4-5 hours, you’ll perform a series of stretch and folds. Every 30 minutes for the first 2 hours, wet your hand, grab one side of the dough, stretch it up, and fold it over the top. Rotate the bowl and repeat on all four sides. This builds strength without kneading. After 4 folds, let the dough rest undisturbed for the remaining time. The dough should be puffy, jiggly, and dotted with bubbles on the surface. It should have grown by about 50% in volume.
- Shape the Dough (1:00 PM): Lightly flour your work surface. Turn the dough out gently—try not to deflate it too much. Fold the top edge toward the center, then the bottom edge, then the sides, creating a rough ball. Flip it seam-side down. Using your hands, cup the dough and drag it toward you in a circular motion to create tension on the surface. It should form a tight, smooth ball.
- Proof in the Basket (1:15 PM): Place the shaped dough seam-side up into your floured banneton. Cover it with a clean kitchen towel or plastic wrap. Let it proof at room temperature for 1-2 hours, or until it has puffed up and passes the poke test (a gently pressed finger leaves a slow-springing indent). For deeper flavor, place the basket in the fridge overnight (8-12 hours). Cold proofing is my favorite—it makes the dough easier to score and the flavor more complex.
- Preheat the Dutch Oven (The Next Morning, 7:30 AM): Place your Dutch oven (with the lid on) in the cold oven. Preheat to 475°F (245°C) for at least 45 minutes. The pot needs to be screaming hot.
- Score and Bake (8:15 AM): Carefully remove the hot Dutch oven. Place a piece of parchment paper over the proofed dough, then invert the basket to release it. Use a lame or razor to score the top with a single deep slash (about ½ inch deep) or a decorative pattern. This lets the bread expand. Carefully lower the dough into the hot pot using the parchment as a sling. Put the lid on.
- Bake Covered (8:20 AM): Bake for 30 minutes with the lid on. The steam trapped inside will create a beautiful, shiny crust.
- Bake Uncovered (8:50 AM): Remove the lid carefully—watch out for steam. Bake for another 15-20 minutes, until the crust is deep golden brown and the internal temperature reaches 200-210°F (93-99°C) on an instant-read thermometer.
- Cool Completely (9:10 AM): Transfer the loaf to a wire rack. I know it’s tempting, but don’t cut into it for at least 1 hour. The interior is still setting, and cutting too early will give you a gummy crumb.
Cooking Tips & Techniques
I’ve made this loaf more times than I can count, and I’ve learned a few things along the way—mostly from my own mistakes.
Don’t rush the bulk fermentation. This is the most important step. If your dough isn’t bubbly and jiggly after 4 hours, give it more time. Temperature matters. In a cold kitchen (65°F/18°C), it might take 6-8 hours. In a warm one (78°F/26°C), it might be ready in 3. Trust the dough, not the clock. I once rushed it on a cold winter day and ended up with a dense, flat pancake. Never again.
Use the poke test for proofing. Gently press your finger into the dough. If it springs back quickly, it needs more time. If it springs back slowly and leaves a small indent, it’s ready. If it doesn’t spring back at all, it’s overproofed. Overproofed dough is sticky and hard to shape, but it still bakes into edible bread—just flatter.
Handle the dough gently. When you shape it, don’t punch it down. You want to preserve the gas bubbles that create an open crumb. Treat it like it’s precious, because it is.
Get the Dutch oven hot. A full 45-minute preheat ensures the pot is evenly heated. If you rush this, the bottom of your loaf might not get that satisfying crackle. I learned this after a few sad, pale-bottomed loaves.
Steam is your friend. The lid traps steam, which keeps the crust soft during the first phase of baking, allowing the bread to rise fully. When you remove the lid, the crust dries out and crisps up. If you want an extra-shiny crust, spritz the inside of the Dutch oven with a little water before adding the dough.
Variations & Adaptations
This recipe is a fantastic base, and you can tweak it to suit your mood or pantry.
- Whole Wheat Version: Replace 100g of the bread flour with whole wheat flour. The loaf will be denser and more rustic, with a nuttier flavor. You might need to add an extra tablespoon of water, as whole wheat absorbs more liquid.
- Seeded Loaf: Add ¼ cup of mixed seeds (sesame, sunflower, flax, poppy) during the stretch and fold stage. Sprinkle more seeds on the outside before baking for a crunchy crust.
- Cheese and Herb: Fold in ½ cup of grated sharp cheddar or Parmesan and 1 tablespoon of dried rosemary or thyme during the final stretch and fold. The cheese melts into the dough, creating savory pockets of flavor.
- Garlic and Rosemary: Add 2 cloves of finely minced garlic and 1 tablespoon of fresh chopped rosemary to the dough along with the starter. It’s incredible with a bowl of tomato soup.
- Gluten-Free Adaptation: This is tricky with sourdough, but you can use a gluten-free bread flour blend and a gluten-free sourdough starter. The texture will be different—more cake-like—but still delicious. Expect a shorter bulk fermentation time.
- No Dutch Oven? You can bake this on a preheated baking stone or inverted sheet pan. Place a metal pan on the rack below and add 1 cup of boiling water when you put the bread in to create steam. The crust won’t be quite as spectacular, but it will still be good.
I love adding a handful of chopped kalamata olives and sun-dried tomatoes during the folds for a Mediterranean twist. It’s my go-to for brunch with friends.
Serving & Storage Suggestions
This bread is at its absolute best on the day it’s baked. The crust is shatteringly crisp, and the interior is soft and pillowy.
Serving: Let the loaf cool completely before slicing. Use a serrated bread knife and a gentle sawing motion to avoid squishing the crumb. Serve at room temperature. It’s perfect with a generous smear of salted butter, a drizzle of olive oil and balsamic vinegar, or alongside a hearty bowl of soup or stew. For breakfast, toast a slice and top it with avocado and a sprinkle of flaky salt. It’s also amazing as the base for a bruschetta or a fancy grilled cheese. If you’re looking for a sweet treat, try it with a dollop of creamy strawberry basil lemonade panna cotta for a surprising flavor combination.
Storage: Store the bread cut-side down on a wooden cutting board at room temperature, wrapped loosely in a clean kitchen towel. Do not store it in a plastic bag—the crust will become soggy and rubbery. It will keep for 2-3 days this way.
Freezing: This bread freezes beautifully. Slice the cooled loaf, place the slices in a single layer on a baking sheet, and freeze until solid. Transfer the frozen slices to a zip-top bag. Toast directly from frozen—no need to thaw. The flavor actually concentrates as it freezes, so it’s a great way to have artisan bread on hand.
Reheating: To revive a day-old loaf, place it in a 350°F (175°C) oven for 5-10 minutes. The crust will crisp right back up. For individual slices, a toaster works perfectly.
Flavor Development: The tangy flavor of sourdough actually deepens after a day or two. Some bakers swear day-old sourdough is even better than fresh. I’m not sure I agree—I love the fresh-baked warmth—but it’s definitely still delicious.
Nutritional Information & Benefits
This is real, wholesome bread, made with simple ingredients and a long fermentation process that makes it easier to digest than commercial bread.
Per Slice (based on 12 slices per loaf):
- Calories: ~180
- Carbohydrates: 35g
- Protein: 6g
- Fat: 1g
- Fiber: 1g
- Sodium: 390mg
Health Benefits: The long fermentation process breaks down phytic acid, a compound found in grains that can inhibit mineral absorption. This makes the nutrients in the bread—like iron, zinc, and magnesium—more available to your body. Sourdough also has a lower glycemic index than bread made with commercial yeast, meaning it won’t spike your blood sugar as dramatically. The natural lactic acid bacteria in the starter can also support gut health.
Dietary Considerations: This recipe is dairy-free and egg-free. It is not gluten-free as written, but can be adapted with a gluten-free flour blend and starter. It’s also naturally low in fat and contains no added sugars.
I love knowing that the bread I’m eating isn’t just delicious—it’s actually doing something good for my body. That’s the beauty of real, fermented food.
Frequently Asked Questions
Why didn’t my sourdough boule rise in the oven?
This is usually a sign of underproofing or overproofing. If the dough didn’t have enough time to ferment, the yeast wasn’t active enough to create the gas needed for oven spring. If it proofed too long, the gluten structure weakened and couldn’t hold the gas. Make sure your starter is active and bubbly, and use the poke test to check for doneness.
Can I use all-purpose flour instead of bread flour?
Yes, you can. The loaf will still be delicious, but the crumb will be a bit tighter and less airy. Bread flour has more protein, which creates a stronger gluten network and a more open crumb. If you use all-purpose, you might want to add an extra stretch and fold to build strength.
My crust turned out too hard. What did I do wrong?
A hard crust is actually a good thing for many sourdough lovers—it’s part of the appeal. But if it’s too hard for your liking, try baking the loaf uncovered for a shorter time (10-12 minutes instead of 15-20). You can also place a small pan of water in the oven during the uncovered bake to add a bit of steam, which softens the crust slightly.
How do I know if my starter is ready to use?
Your starter is ready when it has doubled in size, is full of bubbles (both large and small), and has a pleasant, tangy aroma—like yogurt or ripe fruit. It should pass the float test: drop a small spoonful into a glass of water; if it floats, it’s ready. If it sinks, give it more time to ferment.
Can I make this recipe without a Dutch oven?
Absolutely. You can bake the loaf on a preheated baking stone or an inverted sheet pan. To create steam, place a metal baking pan on the lowest oven rack and pour 1 cup of boiling water into it right after you put the bread in. Close the oven door quickly to trap the steam. The crust won’t be as crackling, but the bread will still be wonderful.
Conclusion
This easy no-knead sourdough boule is proof that you don’t need to be a professional baker to make incredible bread at home. It’s patient, forgiving, and deeply rewarding. The first time you pull a golden, crackling loaf out of the Dutch oven, you’ll feel like you’ve accomplished something real—and you have. You’ve created food from flour, water, and time.
I hope you make this recipe your own. Add your favorite seeds, experiment with different flours, or just enjoy it plain with a pat of butter. And when you do, I’d love to hear about it. Leave a comment below, tag me in your photos, or share your own twists on the recipe. That’s what makes cooking so beautiful—it’s always evolving, always personal.
So go ahead. Mix that dough. Walk away. Trust the process. And when the timer goes off and your kitchen smells like heaven, you’ll know it was worth every minute of the wait. Happy baking, friend.
Pin This Recipe!
Best No-Knead Sourdough Boule Recipe (Easy Dutch Oven)

This easy no-knead sourdough boule requires minimal active time and delivers a crackling crust with a soft, airy interior. Perfect for beginners and seasoned bakers alike, it’s made with simple ingredients and baked in a Dutch oven for a professional result.
- Prep Time: 15 minutes
- Cook Time: 45 minutes
- Total Time: 14 hours (including fermentation and proofing)
- Yield: 12 servings 1x
- Category: Bread
- Cuisine: American
Ingredients
- 400g bread flour (about 3 cups)
- 300g lukewarm water (about 1 ¼ cups)
- 100g active sourdough starter, bubbly and fed (about ½ cup)
- 10g fine sea salt (about 1 ½ teaspoons)
- Rice flour or semolina for dusting (optional)
Instructions
- Mix the Dough (8:00 AM): In a large bowl, combine bread flour and water. Mix until no dry bits remain. Let rest for 30 minutes (autolyse).
- Add Starter and Salt (8:30 AM): Sprinkle salt over dough, add bubbly starter. Wet your hand, then squeeze and fold until evenly incorporated. Cover with a damp towel or plastic wrap.
- Bulk Fermentation with Stretch and Folds (8:30 AM to 1:00 PM): Over 4-5 hours, perform stretch and folds every 30 minutes for the first 2 hours. After 4 folds, let rest undisturbed. Dough should be puffy, jiggly, and about 50% larger.
- Shape the Dough (1:00 PM): Lightly flour work surface. Turn dough out gently. Fold top edge toward center, then bottom, then sides to form a rough ball. Flip seam-side down, cup dough and drag in circular motion to create tension.
- Proof in the Basket (1:15 PM): Place shaped dough seam-side up in floured banneton. Cover and proof at room temperature for 1-2 hours, or until it passes the poke test. For deeper flavor, refrigerate overnight (8-12 hours).
- Preheat the Dutch Oven (Next Morning, 7:30 AM): Place Dutch oven with lid in cold oven. Preheat to 475°F (245°C) for at least 45 minutes.
- Score and Bake (8:15 AM): Carefully remove hot Dutch oven. Place parchment over proofed dough, invert basket to release. Score top with a deep slash (about ½ inch deep). Lower dough into pot using parchment as sling. Put lid on.
- Bake Covered (8:20 AM): Bake for 30 minutes with lid on.
- Bake Uncovered (8:50 AM): Remove lid carefully. Bake for another 15-20 minutes until deep golden brown and internal temperature reaches 200-210°F (93-99°C).
- Cool Completely (9:10 AM): Transfer loaf to wire rack. Cool for at least 1 hour before slicing.
Notes
Don’t rush bulk fermentation; temperature affects timing. Use the poke test for proofing. Handle dough gently to preserve gas bubbles. Preheat Dutch oven fully for best crust. For extra-shiny crust, spritz inside of Dutch oven with water before adding dough.
Nutrition
- Serving Size: 1 slice
- Calories: 180
- Sodium: 390
- Fat: 1
- Carbohydrates: 35
- Fiber: 1
- Protein: 6
Keywords: sourdough, no-knead bread, Dutch oven bread, artisan bread, homemade bread, easy sourdough recipe