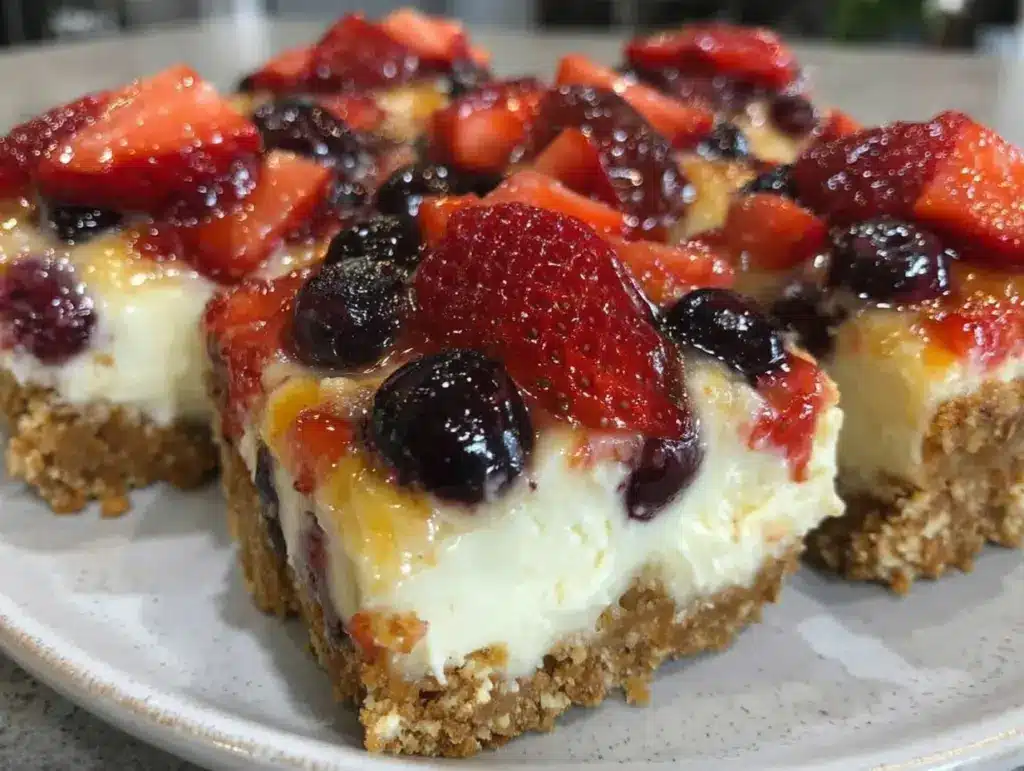
The kitchen smelled like summer itself—fresh berries, a hint of vanilla, and the buttery scent of a perfectly baked crust. I remember the moment I stumbled on this red white and blue berry cheesecake bars recipe almost by accident. Honestly, it was one of those rare days when I had only a handful of berries left in the fridge and a craving for something sweet but easy. I was skeptical at first about how the berries would hold up in a cheesecake bar, especially since I usually associate cheesecake with smooth, creamy textures and not a burst of fruity colors. But curiosity won over, and after a few tweaks, I ended up with a dessert that became my go-to for every summer picnic or last-minute get-together.
It wasn’t just the stunning patriotic colors that caught my attention; it was the way the flavors blended together—the tangy cream cheese paired with the natural sweetness of strawberries, blueberries, and raspberries. I still remember the quiet moment when a friend took a bite and said, “You’ve got to make these for every Fourth of July from now on.” That stuck with me. Somehow, these bars became more than just a dessert; they’re a little celebration on a plate, a reminder that simple ingredients can create something genuinely special and inviting.
What’s funny is how this recipe fits perfectly into my sometimes chaotic kitchen routine. I’m not much of a baker, but these bars come together with a mix of ease and flair. Plus, they’re a hit whether I’m hosting or just craving a sweet snack without the fuss. If you’re looking for a summer dessert that’s both eye-catching and comforting, these red white and blue berry cheesecake bars might just become your favorite too.
Why You’ll Love This Recipe
After making these red white and blue berry cheesecake bars multiple times in a week (no exaggeration), I can say this recipe is a keeper for a few solid reasons:
- Quick & Easy: Ready in under an hour, which means you can whip these up even if you decide last minute that a summer party needs a festive dessert.
- Simple Ingredients: This recipe calls for everyday groceries—cream cheese, fresh berries, sugar, and a buttery crust—no specialty shopping required.
- Perfect for Summer Gatherings: Whether it’s a backyard BBQ, a picnic, or a casual brunch, these bars bring a seasonal vibe that’s hard to beat.
- Crowd-Pleaser: Kids love the colorful berries, and adults appreciate the creamy texture and just-right sweetness. Everyone asks for seconds.
- Unbelievably Delicious: The balance between the creamy cheesecake, crumbly crust, and juicy berries is honestly next-level comfort food.
What sets this cheesecake bars recipe apart is the layering technique I use to keep the berries from sinking or bleeding into the cream cheese base. Plus, I add a dash of lemon zest in the filling, which brightens the flavor and keeps it fresh-tasting without overwhelming the berries. It’s not just another berry cheesecake; it’s a thoughtfully balanced recipe that feels festive but never overdone.
On a personal note, this recipe stuck with me because it manages to feel both indulgent and approachable. It’s a dessert that you can enjoy casually but that also impresses without the stress. It’s a bit like the mini patriotic cheesecake bites I adore for parties but scaled up for sharing and slicing.
What Ingredients You Will Need
This recipe uses simple, wholesome ingredients to deliver bold flavor and a satisfying texture without fuss. Most of these are pantry staples, while the berries bring in the seasonal freshness that makes this dessert shine.
- For the Crust:
- 1 ½ cups graham cracker crumbs (about 10 full sheets, finely crushed)
- 6 tbsp unsalted butter, melted (adds richness and helps bind the crust)
- ¼ cup granulated sugar (balances the buttery crust)
- For the Cheesecake Filling:
- 16 oz (450g) cream cheese, softened (I prefer Philadelphia brand for smooth texture)
- ⅔ cup granulated sugar
- 2 large eggs, room temperature (helps with creamy consistency)
- 1 tsp pure vanilla extract (quality vanilla makes a difference)
- 1 tsp lemon zest (brightens the flavor)
- 2 tbsp all-purpose flour (helps set the filling without heaviness)
- For the Berry Topping:
- ½ cup fresh strawberries, sliced (use firm, ripe berries)
- ½ cup fresh blueberries
- ½ cup fresh raspberries
- Optional:
- Powdered sugar for dusting (adds a delicate finish)
- Fresh mint leaves for garnish (adds a fresh note)
- 9×9-inch (23×23 cm) square baking pan – perfect size for these bars and easy to slice.
- Mixing bowls – one large for the crust and one medium for the cheesecake filling.
- Electric mixer or hand mixer – for smooth, lump-free cream cheese blending.
- Measuring cups and spoons – precise measurements help keep the texture just right.
- Spatula – for mixing and scraping the bowl.
- Knife – for slicing the bars cleanly.
- Parchment paper (optional) – lining the pan helps with easy removal and cleanup.
- Preheat your oven to 325°F (163°C). Line the 9×9-inch baking pan with parchment paper, leaving some overhang on the sides for easy lifting later.
- Make the crust: In a medium bowl, combine 1 ½ cups graham cracker crumbs, 6 tablespoons melted butter, and ¼ cup sugar. Stir together until the mixture resembles wet sand.
- Press the crust mixture firmly into the bottom of the prepared pan. Use the bottom of a glass or measuring cup to get an even, compact layer. Bake for 8-10 minutes until slightly golden and fragrant. Remove from oven and set aside to cool slightly.
- Prepare the cheesecake filling: In a large bowl, beat 16 oz softened cream cheese with ⅔ cup sugar using an electric mixer until smooth and creamy—no lumps! This usually takes about 2-3 minutes.
- Add 2 eggs one at a time, mixing well after each addition. Stir in 1 teaspoon vanilla extract and 1 teaspoon lemon zest.
- Sprinkle 2 tablespoons flour over the mixture and fold in gently. This helps the filling hold together without being too dense.
- Pour the cheesecake filling evenly over the warm crust. Smooth the top with a spatula to create an even layer.
- Arrange the berries on top: Distribute the strawberries, blueberries, and raspberries evenly over the filling. Gently press them down just a bit so they stick but don’t sink.
- Bake the bars: Place the pan in the oven and bake for 35-40 minutes. The edges should be set, and the center should slightly jiggle when you gently shake the pan.
- Cool completely: Remove from the oven and let cool at room temperature for about 30 minutes. Then refrigerate for at least 3-4 hours or overnight to fully set.
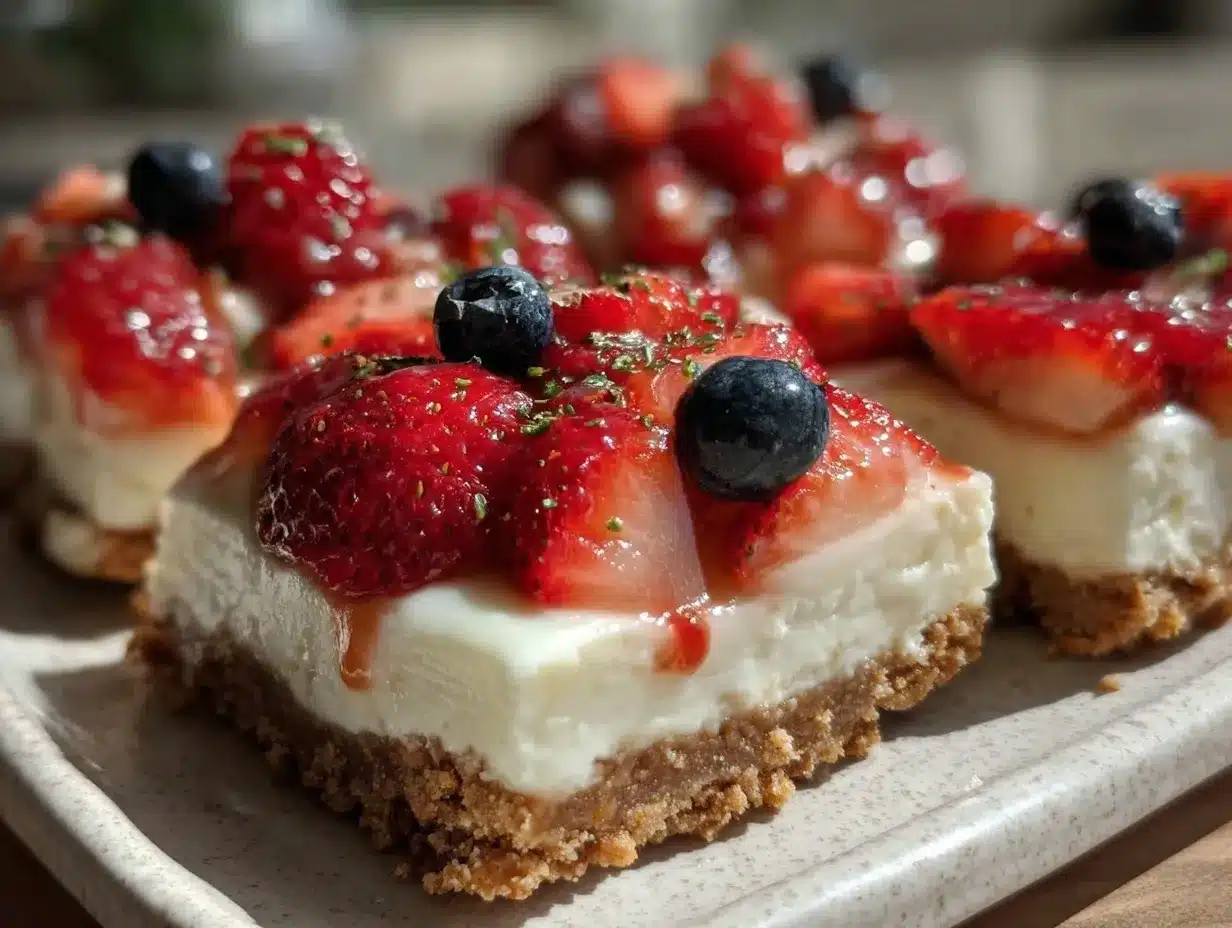
- Slice and serve: Use the parchment paper overhang to lift the cheesecake bars out of the pan. Cut into 12 squares with a sharp knife. Dust with powdered sugar and garnish with fresh mint if desired.
- Berry Swaps: Use blackberries or cherries if you want a different flavor profile or if your local market has better picks. Frozen berries can work too, just thaw and drain excess juice before topping.
- Gluten-Free Crust: Substitute the graham cracker crumbs with almond flour or gluten-free cookie crumbs. Add a pinch of cinnamon for a warm twist.
- Flavor Twists: Add a swirl of blueberry jam or raspberry preserves into the cheesecake filling before baking for extra fruity layers.
- Dairy-Free Option: Use plant-based cream cheese and vegan butter substitutes. The texture will be a bit different but still tasty.
- Mini Cheesecake Bars: Try this recipe in mini muffin tins for bite-sized treats—perfect for parties or easier portion control. A technique similar to my mini patriotic cheesecake bites.
Ingredient tips: If you want a gluten-free version, swap the graham cracker crumbs for gluten-free crackers or almond flour. For a dairy-free option, try cream cheese alternatives made from cashews or coconut, but keep in mind the texture will change slightly.
Equipment Needed
I’ve used metal pans and glass pans for this recipe, and honestly, both work well. Glass tends to cook a little slower, so watch the baking time closely. Also, if you don’t have a mixer, whisking by hand is doable but takes a bit more elbow grease to get that creamy filling.
Preparation Method
Pro tip: If the berries release too much juice after baking, blot with a paper towel before dusting with powdered sugar to keep the bars looking neat.
Cooking Tips & Techniques
One trick I learned the hard way is not to overmix the cream cheese filling. Overbeating can trap too much air, causing cracks or a crumbly texture. Mix just until smooth and combined for that creamy, luscious bite.
Another thing: the crust should be warm (not hot) when you pour the filling in. Pouring onto a super-hot crust can cause the cream cheese to curdle or bubble unevenly. Let it cool slightly — it’s a subtle step, but it makes a real difference.
When arranging the berries, gently pressing them into the filling helps them stay put during baking. Otherwise, they tend to float to the top, which messes with the clean red-white-blue look.
Keep an eye on your oven temperature. Every oven heats a bit differently, so if you notice the edges browning too fast, tent the pan loosely with foil halfway through baking.
Also, patience is key. This recipe really shines after chilling. The flavors meld and the texture firms up perfectly. If you’re like me and sometimes impatient, try to plan ahead so you can enjoy the bars at their best.
Variations & Adaptations
Personally, I once added a sprinkle of toasted coconut on top before baking for a tropical summer vibe. It was a nice surprise and added a little crunch.
Serving & Storage Suggestions
These cheesecake bars are best served chilled straight from the fridge. The coolness complements the creamy texture and fresh berries beautifully. I like to plate them with a sprig of fresh mint or a light dusting of powdered sugar for a pretty finish.
Pair the bars with a cold glass of sparkling lemonade or iced tea for a refreshing summer combo. They also go great alongside lighter dishes like grilled chicken or fresh salads, making them a great dessert for warm-weather meals.
For storage, keep the bars in an airtight container in the refrigerator for up to 4 days. If you want to keep them longer, wrap individual bars tightly and freeze for up to 2 months. To thaw, place them in the fridge overnight.
Reheating isn’t really necessary, but if you want to take the chill off, let them sit at room temperature for about 15 minutes before serving—this helps the flavors open up.
Over time, the berry juices may soften the topping, so I recommend enjoying these bars within a couple of days for the best texture and vibrant color.
Nutritional Information & Benefits
Each serving of these red white and blue berry cheesecake bars contains roughly 280 calories, with 16g fat, 26g carbohydrates, and 4g protein. The fresh berries add a boost of dietary fiber, vitamin C, and antioxidants—great perks for a summer dessert.
Key ingredients like cream cheese provide calcium and protein, while the lemon zest adds a subtle dose of vitamin C and bright flavor without extra calories.
These bars are naturally gluten-free if made with gluten-free graham crackers and are low in added artificial ingredients compared to store-bought desserts.
While they do contain dairy and eggs, making them unsuitable for vegans, the recipe is adaptable for those with dietary restrictions as noted above.
From a wellness perspective, I appreciate this dessert’s balance of indulgence and fresh fruit, which makes it feel like a treat that isn’t completely off-limits during summer celebrations.
Conclusion
The perfect red white and blue berry cheesecake bars are one of those recipes I keep coming back to—not just because they look festive, but because they genuinely satisfy that craving for something sweet, fresh, and creamy all at once. They’re approachable for anyone who’s not really a baker but wants to impress without stress.
Feel free to tweak the berries, swap crusts, or add your own twist to make these bars fit your summer vibe. I love how they bring a little slice of celebration to the everyday, and I hope you’ll find that same joy in them.
If you make them, I’d love to hear how you customized your bars or what occasion you served them for. Sharing those stories always makes this kitchen feel a little less lonely and a lot more tasty.
Frequently Asked Questions about Perfect Red White and Blue Berry Cheesecake Bars
Can I use frozen berries instead of fresh for the topping?
Yes, but thaw and drain the frozen berries well to avoid excess moisture that can make the bars soggy.
How do I prevent the cheesecake bars from cracking?
Mix the filling just until smooth and avoid overbaking. Also, baking at a moderate temperature (325°F/163°C) helps prevent cracks.
Can I make the crust without graham crackers?
Absolutely. Use crushed digestive biscuits, gluten-free cookies, or even finely ground nuts for different flavors and textures.
How long can I store the cheesecake bars in the fridge?
Store in an airtight container for up to 4 days. For longer storage, freeze them wrapped tightly and thaw in the fridge before serving.
Is there a way to make these bars vegan?
Yes, by substituting dairy cream cheese with vegan alternatives and using flax eggs instead of regular eggs, though texture may vary slightly.
For more summer-inspired desserts with fresh fruit and easy preparation, you might enjoy the creamy patriotic strawberry tres leches poke cake or the stars and stripes edible cookie dough dip. Both bring the festive spirit with a twist!
Pin This Recipe!
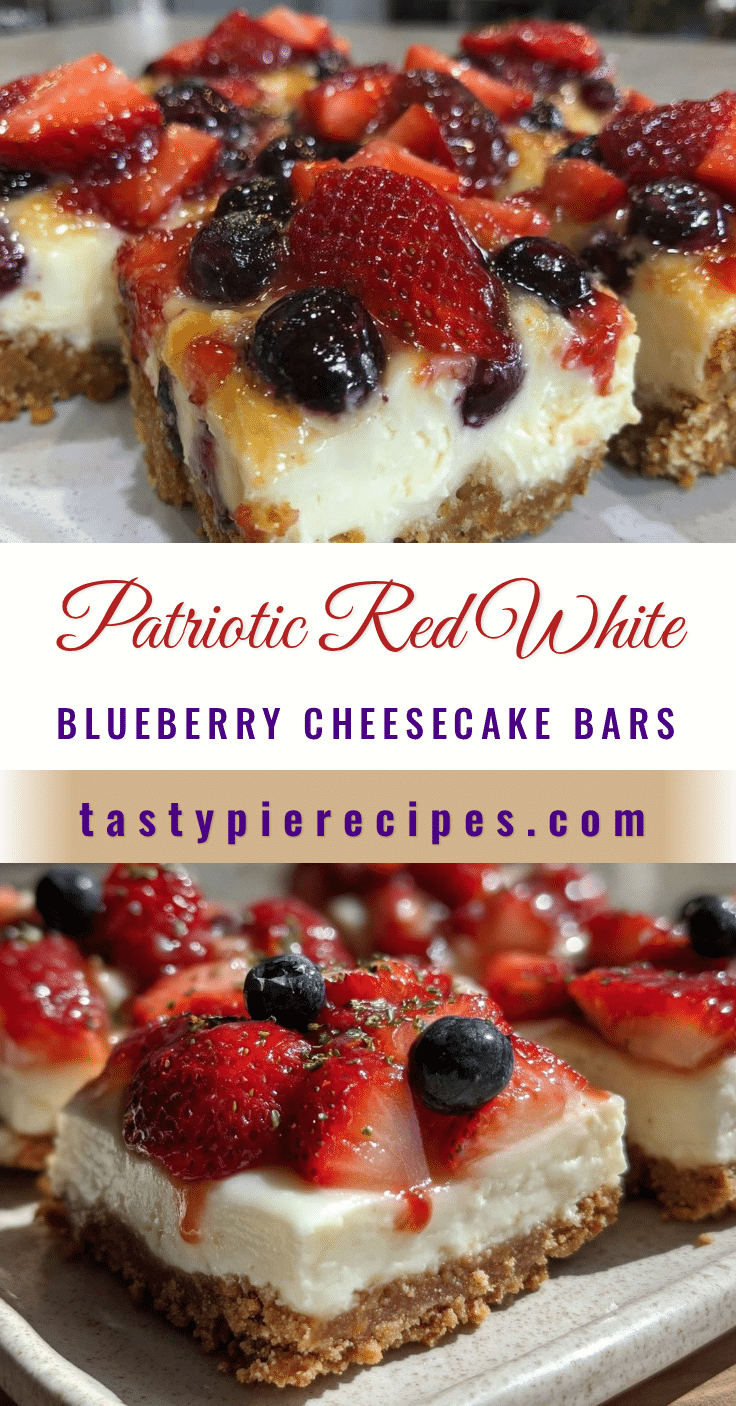
Perfect Red White and Blue Berry Cheesecake Bars Easy Summer Recipe

These red white and blue berry cheesecake bars combine a buttery graham cracker crust, creamy cheesecake filling, and fresh patriotic berries for a festive and delicious summer dessert perfect for gatherings.
- Prep Time: 15 minutes
- Cook Time: 45 minutes
- Total Time: 4 hours 45 minutes
- Yield: 12 servings 1x
- Category: Dessert
- Cuisine: American
Ingredients
- 1 ½ cups graham cracker crumbs (about 10 full sheets, finely crushed)
- 6 tbsp unsalted butter, melted
- ¼ cup granulated sugar
- 16 oz (450g) cream cheese, softened
- ⅔ cup granulated sugar
- 2 large eggs, room temperature
- 1 tsp pure vanilla extract
- 1 tsp lemon zest
- 2 tbsp all-purpose flour
- ½ cup fresh strawberries, sliced
- ½ cup fresh blueberries
- ½ cup fresh raspberries
- Powdered sugar for dusting (optional)
- Fresh mint leaves for garnish (optional)
Instructions
- Preheat your oven to 325°F (163°C). Line a 9×9-inch baking pan with parchment paper, leaving some overhang on the sides for easy lifting later.
- In a medium bowl, combine graham cracker crumbs, melted butter, and granulated sugar. Stir until the mixture resembles wet sand.
- Press the crust mixture firmly into the bottom of the prepared pan using the bottom of a glass or measuring cup to get an even, compact layer. Bake for 8-10 minutes until slightly golden and fragrant. Remove from oven and set aside to cool slightly.
- In a large bowl, beat softened cream cheese with sugar using an electric mixer until smooth and creamy, about 2-3 minutes.
- Add eggs one at a time, mixing well after each addition. Stir in vanilla extract and lemon zest.
- Sprinkle flour over the mixture and fold in gently to help the filling hold together.
- Pour the cheesecake filling evenly over the warm crust and smooth the top with a spatula.
- Arrange the strawberries, blueberries, and raspberries evenly over the filling, gently pressing them down slightly so they stick but don’t sink.
- Bake the bars for 35-40 minutes. The edges should be set, and the center should slightly jiggle when gently shaken.
- Remove from oven and let cool at room temperature for about 30 minutes. Then refrigerate for at least 3-4 hours or overnight to fully set.
- Use the parchment paper overhang to lift the cheesecake bars out of the pan. Cut into 12 squares with a sharp knife.
- Dust with powdered sugar and garnish with fresh mint if desired.
Notes
Do not overmix the cream cheese filling to avoid cracks or crumbly texture. Let the crust cool slightly before pouring in the filling to prevent curdling. Gently press berries into the filling to keep them from sinking. Tent with foil if edges brown too quickly. Chill bars for best texture and flavor. If berries release too much juice after baking, blot with paper towel before dusting with powdered sugar.
Nutrition
- Serving Size: 1 bar (1 of 12 squar
- Calories: 280
- Fat: 16
- Carbohydrates: 26
- Protein: 4
Keywords: cheesecake bars, summer dessert, red white and blue, patriotic dessert, berry cheesecake, easy cheesecake bars, summer recipe


