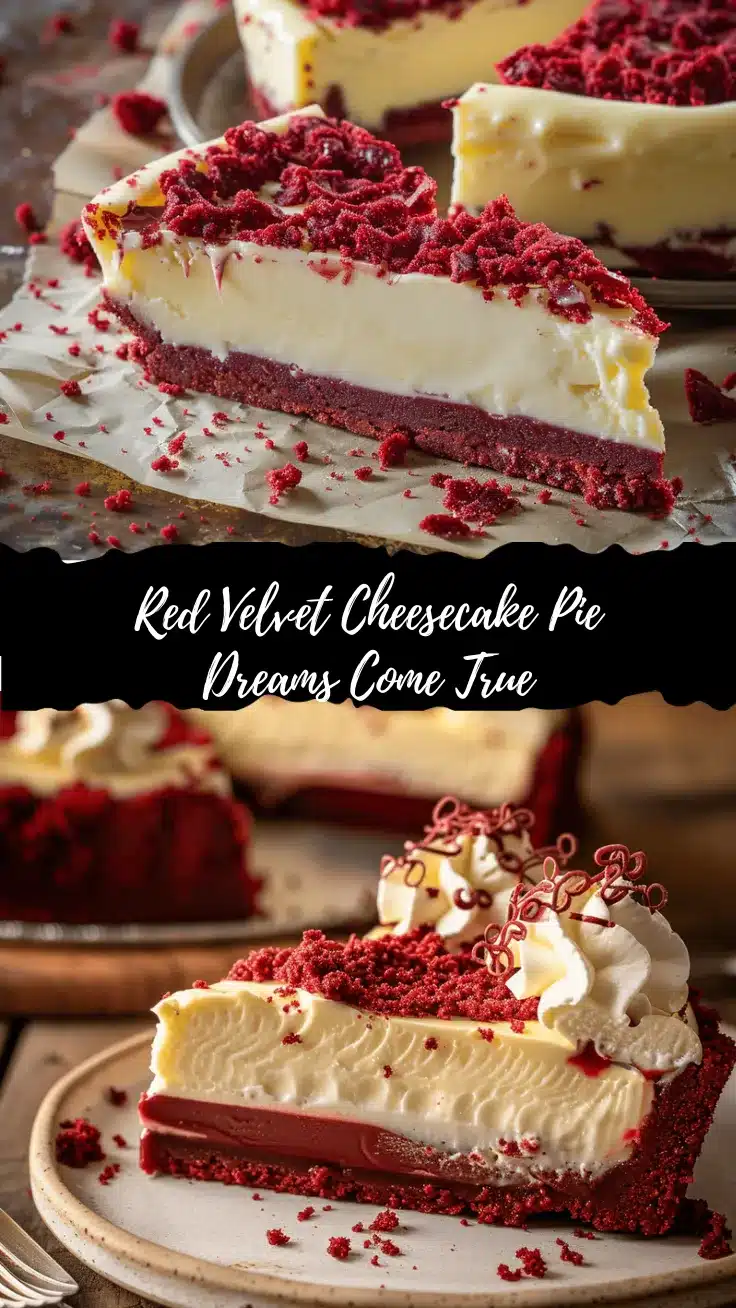
The swirl of velvety red, the creamy cheesecake filling, and the buttery pie crust—this Ultimate Red Velvet Cheesecake Pie isn’t just a dessert; it’s a show-stopping centerpiece. The first time I baked this pie, I was skeptical it could live up to the hype. But let me tell you, one bite and I was hooked. It’s the perfect combination of rich red velvet flavor and tangy cheesecake, all nestled in a flaky pie crust. Whether you’re baking for a party, a holiday gathering, or just because, this dessert is bound to impress (and disappear quickly!).
What I love most about this recipe is how it brings two beloved desserts—red velvet cake and cheesecake—together in one irresistible creation. It’s indulgent yet surprisingly simple to make. Plus, it’s as gorgeous as it is delicious, making it ideal for any Pinterest-worthy dessert spread. Trust me, this recipe is about to become your go-to for every special occasion.
Why You’ll Love This Recipe
If you’re wondering why this red velvet cheesecake pie should be on your baking list, let me count the ways! This dessert is a little bit fancy, a lot decadent, and 100% worth the effort. Here’s why:
- Double the Dessert: You get the best of two worlds—red velvet cake and creamy cheesecake—all in one bite.
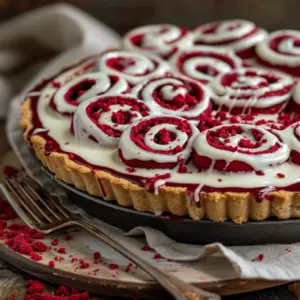
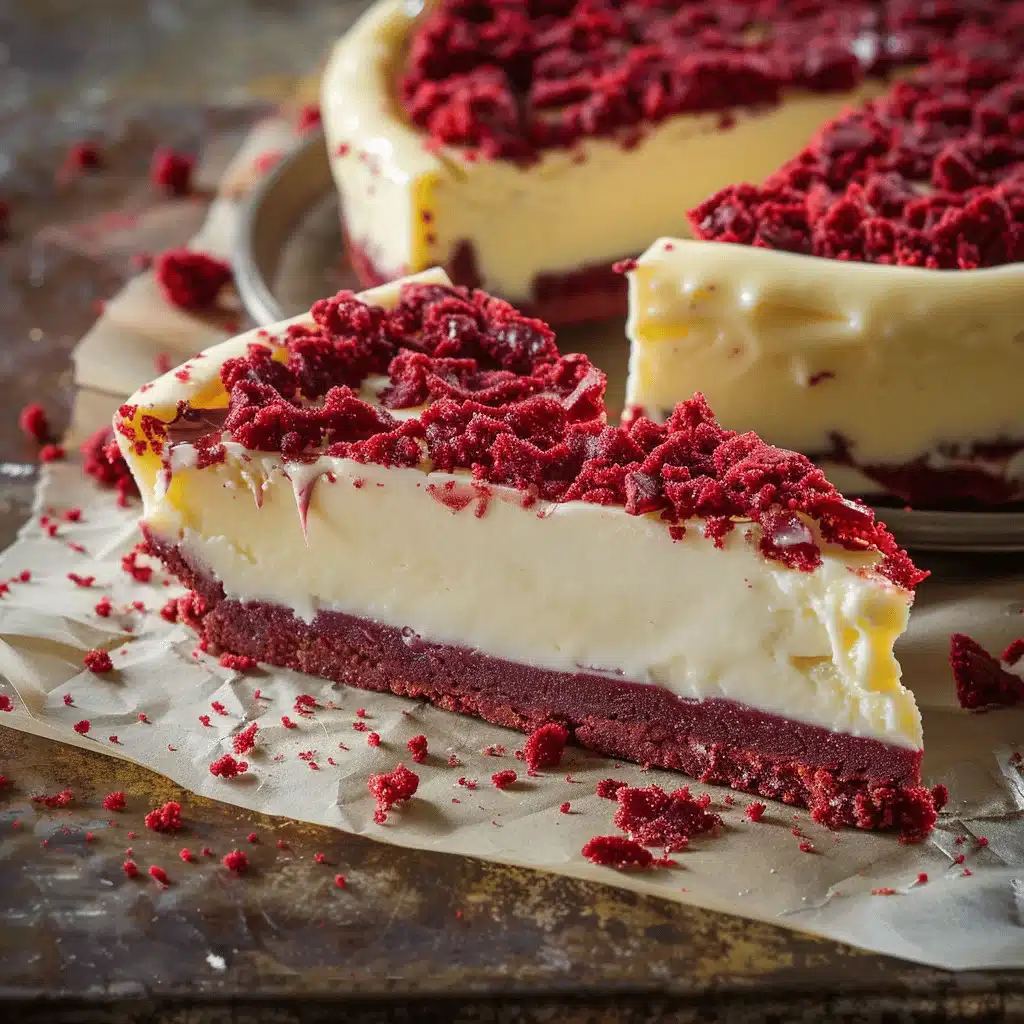
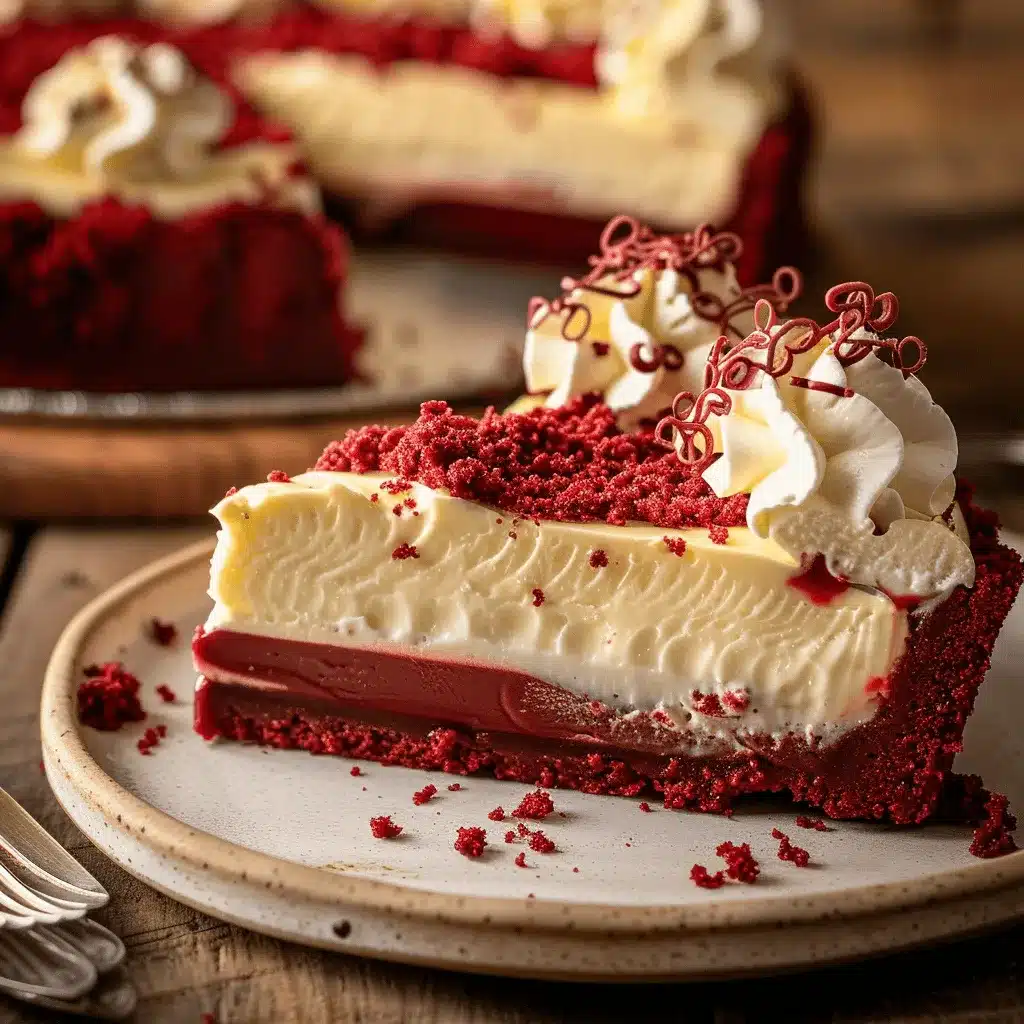
- Visually Stunning: The vibrant red filling against the pale cheesecake swirls and golden crust is a feast for the eyes.
- Perfect for Parties: This pie serves beautifully and will have your guests asking for the recipe.
- Make-Ahead Friendly: It stores well, so you can make it the day before and save yourself some stress.
- Customizable: You can tweak the flavors, decorations, or crust to suit your taste or dietary needs.
- Unbelievably Delicious: The combination of tangy cream cheese, cocoa, and a hint of vanilla is nothing short of magical.
It’s not just a dessert; it’s an experience. Each slice feels like a little bit of indulgence, perfect for savoring or sharing.
What Ingredients You Will Need
This recipe uses simple ingredients, but every one of them plays an important role in creating that decadent flavor and flawless texture. Here’s what you’ll need:
For the Pie Crust
- 1 pre-made or homemade pie crust (store-bought works great in a pinch!)
- 1 egg white (for brushing, optional)
For the Red Velvet Filling
- 1 cup granulated sugar
- 2 large eggs
- 1/2 cup vegetable oil
- 1/4 cup buttermilk (adds that signature red velvet tang)
- 1 teaspoon vanilla extract
- 1 tablespoon red food coloring (gel works best for vibrant color)
- 1 and 1/4 cups all-purpose flour
- 2 tablespoons unsweetened cocoa powder
- 1/2 teaspoon baking soda
- 1/4 teaspoon salt
For the Cheesecake Swirl
- 8 ounces cream cheese, softened
- 1/3 cup granulated sugar
- 1 large egg
- 1 teaspoon vanilla extract
Most of these are pantry staples, so you likely already have everything you need!
Equipment Needed
Before diving in, make sure you have these tools handy:
- 9-inch pie pan: A standard pie dish works perfectly for this recipe.
- Mixing bowls: You’ll need a few for the crust, red velvet filling, and cheesecake mixture.
- Electric mixer: A hand or stand mixer will make the cheesecake filling super smooth.
- Whisk and spatula: Essential for mixing and scraping every last drop of batter.
- Cooling rack: Helps the pie cool evenly before serving.
No fancy tools needed—just the basics and a bit of love!
Preparation Method
Now, let’s get baking! Follow these simple steps for a pie that’s as beautiful as it is delicious:
- Prepare the crust: Roll out your pie crust and fit it into a 9-inch pie pan. Trim and crimp the edges, then prick the bottom with a fork. Chill in the fridge for 15 minutes.
- Pre-bake the crust: Preheat your oven to 350°F (175°C). Line the crust with parchment paper and fill with pie weights. Bake for 10 minutes, then remove the weights and bake for another 5 minutes. Let it cool.
- Make the red velvet filling: In a large bowl, whisk together sugar, eggs, oil, buttermilk, vanilla, and food coloring until smooth. In a separate bowl, sift together the flour, cocoa powder, baking soda, and salt. Gradually add the dry ingredients to the wet, mixing until just combined.
- Make the cheesecake swirl: In another bowl, beat softened cream cheese, sugar, egg, and vanilla until smooth and creamy.
- Assemble the pie: Pour the red velvet filling into the cooled pie crust. Drop spoonfuls of the cheesecake mixture on top. Use a knife or skewer to gently swirl the two together for a marbled effect.
- Bake: Bake the pie at 350°F (175°C) for 40-45 minutes, or until the filling is set but slightly jiggly in the center.
- Cool and serve: Let the pie cool completely on a wire rack, then chill in the fridge for at least 2 hours before slicing.
There you have it—a stunning pie that’s ready to steal the show!
Cooking Tips & Techniques
- Don’t overmix: Overmixing the red velvet batter or cheesecake can cause cracks or a dense texture.
- Chill the crust: Chilling prevents shrinking during baking.
- Use gel food coloring: It creates a vibrant red hue without affecting the texture.
- Test for doneness: The pie should be slightly wobbly in the center when you pull it out of the oven—it will firm up as it cools.
Variations & Adaptations
Want to tweak this recipe? Here are some fun ideas:
- Gluten-Free: Use a gluten-free pie crust and substitute the flour with a gluten-free blend.
- Dairy-Free: Swap cream cheese with a dairy-free alternative and use almond milk instead of buttermilk.
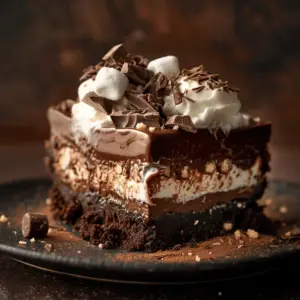
- Chocolate Crust: Replace the traditional crust with a cookie crust made from crushed chocolate sandwich cookies.
- Extra Toppings: Add whipped cream, chocolate shavings, or a drizzle of cream cheese glaze for more flair.
Serving & Storage Suggestions
For the best experience, serve your red velvet cheesecake pie chilled, with a dollop of whipped cream or a sprinkle of powdered sugar. It pairs wonderfully with coffee or a glass of cold milk.
Leftovers? Wrap the pie tightly and store in the fridge for up to 5 days. You can also freeze individual slices for up to 3 months—just thaw overnight in the fridge before serving.
Nutritional Information & Benefits
This dessert is definitely an indulgence, but it’s worth every bite. Here’s a rough estimate of the nutritional breakdown per slice (based on 10 slices):
- Calories: ~350
- Fat: ~20g
- Protein: ~4g
- Carbs: ~40g
Key ingredients like cocoa powder and cream cheese provide antioxidants and calcium, so you can feel a little less guilty about indulging!
Conclusion
This Ultimate Red Velvet Cheesecake Pie is everything you could want in a dessert—rich, creamy, and utterly irresistible. It’s the kind of recipe that turns simple moments into memories. Whether you’re making it for a party, a holiday, or just because, it’s bound to wow your taste buds and your guests.
I can’t wait for you to try this recipe! If you do, please leave a comment below and let me know how it turned out for you. And if you have any creative variations, I’d love to hear about them. Happy baking, friends!
FAQs
Can I use a store-bought pie crust?
Absolutely! A pre-made crust works perfectly and saves time.
What’s the best way to achieve a vibrant red color?
Gel food coloring is your best bet for a bright, bold red without altering the batter’s texture.
Can I make this pie ahead of time?
Yes! This pie tastes even better the next day, so feel free to bake it a day in advance.
How do I prevent cracks in the cheesecake swirl?
Don’t overmix the cheesecake filling, and avoid overbaking. A little jiggle in the center is perfect!
Can I freeze the pie?
Yes, you can freeze it for up to 3 months. Just thaw it in the fridge overnight before serving.
Pin This Recipe!