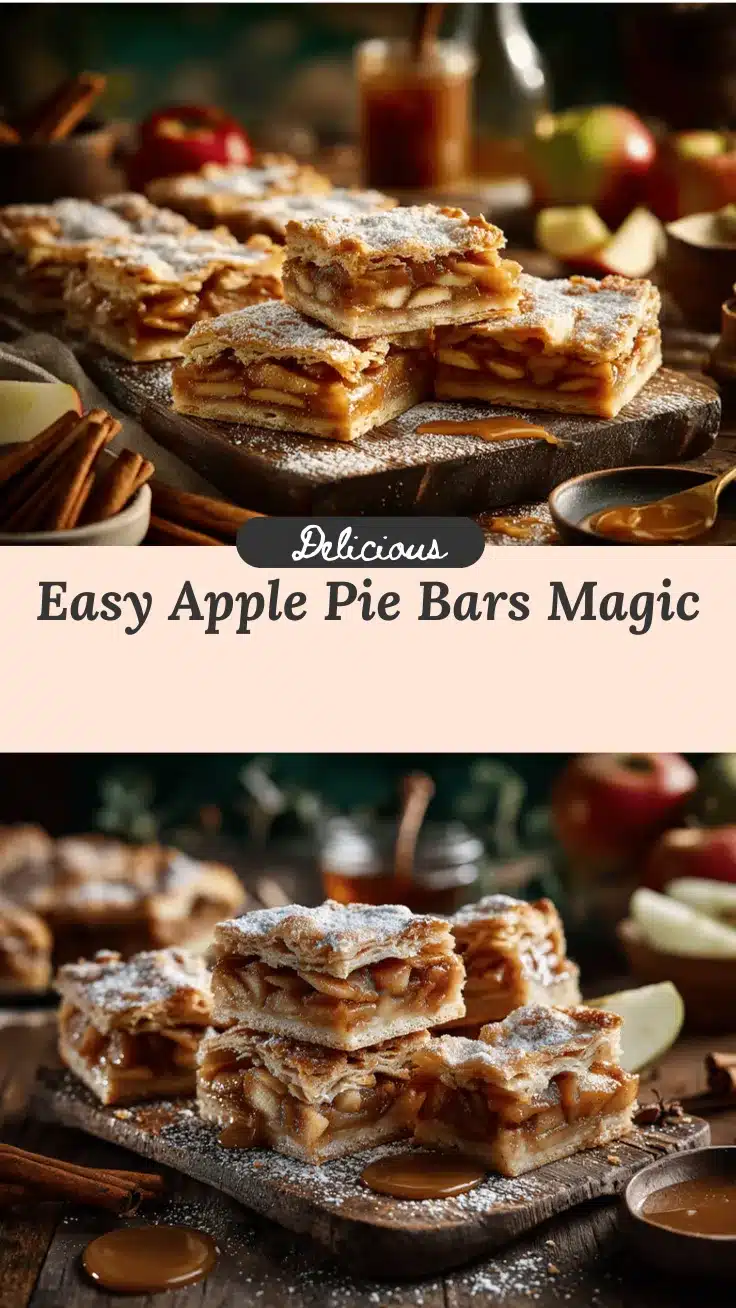
The aroma of baked apples, cinnamon, and buttery crust filling your kitchen is enough to make anyone’s mouth water. These Apple Pie Bars are a game-changer when it comes to dessert. Forget about rolling out dough—this recipe simplifies the process without sacrificing any of the classic apple pie flavor we adore. It’s the perfect fall treat, and honestly, you’ll want to make these year-round!
I first whipped up these Apple Pie Bars on a chilly autumn afternoon, craving the cozy sweetness of apple pie but dreading the hassle of rolling out pastry dough. The result? A dessert that’s just as comforting and delicious but ten times easier to make. Whether you’re hosting a family gathering or simply indulging in dessert after dinner, this recipe is bound to become your new favorite.
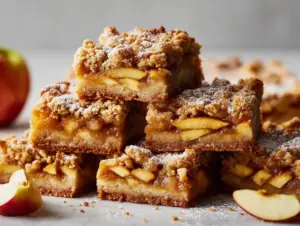
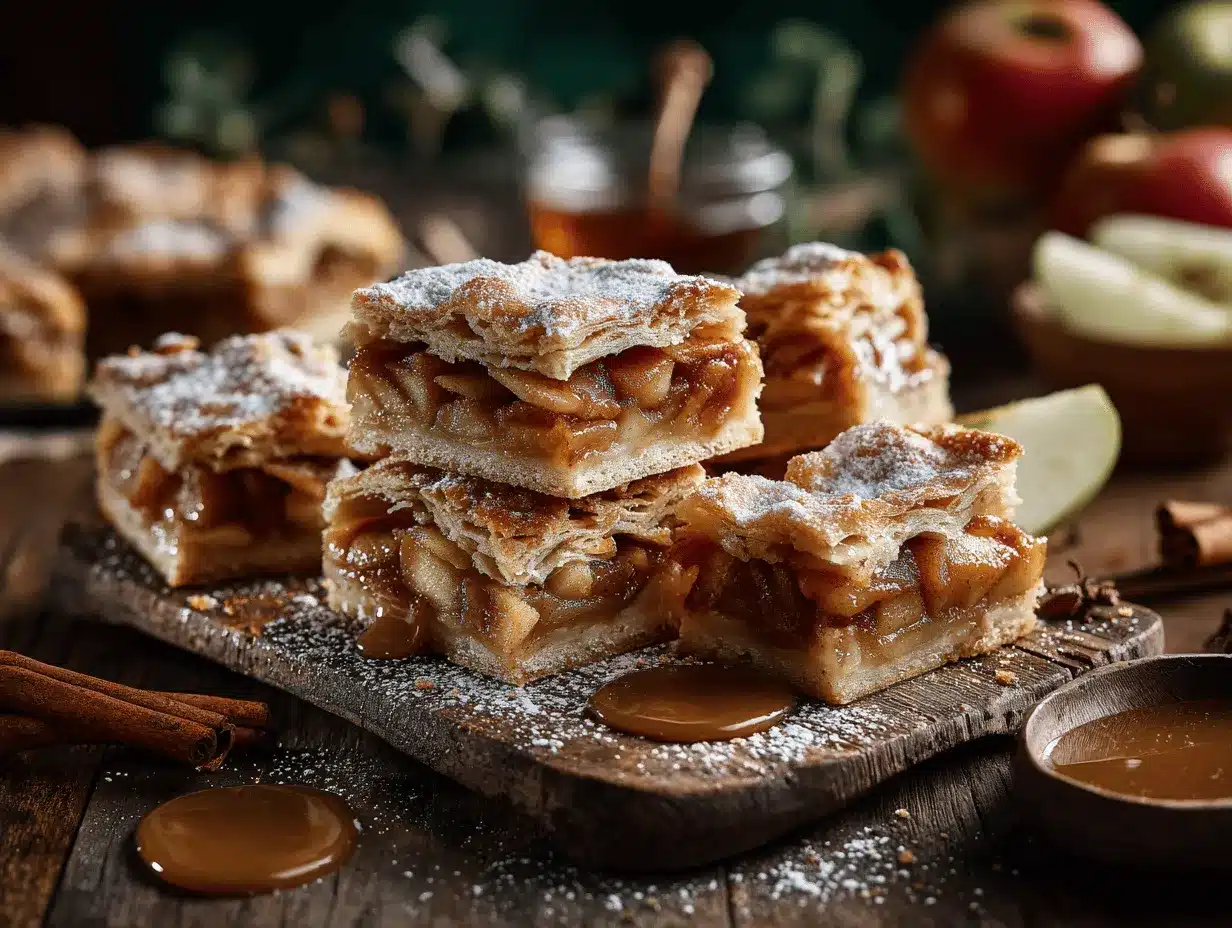
With a buttery shortbread-like crust, a spiced apple filling, and a crumbly topping, these bars are the ultimate combination of textures and flavors. Plus, they’re super portable, making them ideal for potlucks, picnics, or just snacking on the go. Let’s dive into what makes these Apple Pie Bars so irresistible!
Why You’ll Love This Recipe
- No Rolling Required: Unlike traditional apple pie, you can skip the hassle of rolling out pie dough. This recipe uses a press-in crust that’s quick and foolproof.
- Perfect Fall Dessert: With cinnamon-spiced apples nestled between buttery goodness, these bars are like autumn in every bite.
- Simple Ingredients: You probably already have most of these ingredients in your pantry—no fancy shopping list required.
- Crowd-Pleaser: Whether you’re serving kids or adults, these bars always get rave reviews.
- Portable & Shareable: Unlike a traditional apple pie that needs slicing and serving, these bars are already portioned and ready to go.
- Customizable: You can tweak this recipe for dietary needs or flavor preferences—more on that later!
What sets these Apple Pie Bars apart is their simplicity paired with unforgettable flavor. The crust is buttery and slightly sweet, the apple filling is perfectly spiced, and the crumb topping adds just the right amount of crunch. Trust me—this recipe is about to earn a permanent spot in your dessert rotation.
What Ingredients You Will Need
This recipe uses simple, wholesome ingredients that come together beautifully. Here’s what you’ll need:
For the Crust:
- 1 cup (125g) all-purpose flour
- 1/4 cup (50g) granulated sugar
- 1/2 cup (115g) unsalted butter, melted
For the Apple Filling:
- 4 cups (about 500g) peeled and thinly sliced apples (I recommend Granny Smith or Honeycrisp)
- 1/4 cup (50g) granulated sugar
- 1/4 cup (50g) brown sugar
- 1 tsp ground cinnamon
- 1/4 tsp ground nutmeg
- 1 tbsp (15g) all-purpose flour
- 1 tsp vanilla extract
- 1 tbsp lemon juice (optional, for extra brightness)
For the Crumb Topping:
- 3/4 cup (95g) all-purpose flour
- 1/2 cup (100g) brown sugar
- 1/4 cup (50g) granulated sugar
- 1/2 cup (115g) unsalted butter, melted
If you want to make this recipe gluten-free, you can substitute almond flour for the crust and topping. It works beautifully!
Equipment Needed
Here’s everything you’ll need to make Apple Pie Bars:
- 9×13-inch baking pan: A basic glass or metal pan works perfectly.
- Mixing bowls: At least three for separating the crust, filling, and topping mixtures.
- Whisk or fork: For mixing ingredients.
- Peeler: To quickly peel the apples.
- Knife: For slicing apples thinly and evenly.
- Spatula: Makes spreading the crust and filling a breeze.
Don’t have a 9×13-inch pan? You can use two smaller pans or even a square 8×8-inch pan for thicker bars—just adjust the baking time accordingly.
Preparation Method
- Prepare the crust: Preheat your oven to 350°F (175°C). Grease your 9×13-inch baking pan lightly. In a mixing bowl, combine the flour, sugar, and melted butter for the crust. Stir until it forms a dough-like consistency. Press the mixture evenly into the bottom of your prepared pan. Bake for 10-12 minutes until lightly golden. Remove from the oven and let it cool.
- Make the apple filling: In a large bowl, toss the sliced apples with granulated sugar, brown sugar, cinnamon, nutmeg, flour, vanilla extract, and lemon juice. Make sure the apples are evenly coated with the mixture.
- Prepare the crumb topping: In another bowl, combine the flour, brown sugar, granulated sugar, and melted butter. Mix until crumbly—don’t overmix, as you want that crumbly texture.
- Assemble the bars: Spread the apple filling evenly over the cooled crust. Sprinkle the crumb topping over the apples until fully covered.
- Bake: Bake the Apple Pie Bars in your preheated oven for 35-40 minutes, or until the topping is golden brown and the apples are tender.
- Cool and serve: Let the bars cool completely in the pan before slicing into squares. Serve warm, at room temperature, or even chilled!
These bars are best enjoyed fresh, but they’re still fantastic the next day. Pro tip: Pair them with a scoop of vanilla ice cream for the ultimate dessert experience.
Cooking Tips & Techniques
- Choose the right apples: Granny Smith apples are tart and hold their shape well, while Honeycrisp adds a touch of sweetness. Feel free to mix and match!
- Don’t skip the lemon juice: It enhances the apple flavor and prevents browning while prepping.
- Keep the topping crumbly: Mix the ingredients just until they form crumbles. Overmixing will turn it into a paste.
- Watch the baking time: The edges should be golden, but don’t let the topping burn. If needed, cover with foil mid-baking.
- Cool completely: It’s tempting to dive in right away, but letting them cool ensures cleaner slices.
I’ve learned these tips through trial and error, and trust me—they make all the difference in achieving bakery-quality bars!
Variations & Adaptations
- Gluten-Free Version: Swap all-purpose flour with almond flour or a gluten-free blend for both the crust and topping.
- Vegan Option: Use dairy-free butter and skip the egg wash (if you add one). Coconut oil can also work for the crust and topping.
- Seasonal Twist: Replace apples with pears or even peaches during the summer for a fresh take.
- Extra Crunch: Add chopped pecans or walnuts to the crumb topping for a nutty flavor.
- Spice It Up: Add a pinch of cardamom or ginger to the apple filling for a unique flavor profile.
I’ve tried the nutty variation with pecans for Thanksgiving, and it was a huge hit. Don’t be afraid to play around with ingredients to make this recipe your own!
Serving & Storage Suggestions
Apple Pie Bars are best served at room temperature or slightly warm. Here are some ideas:
- Serving: Pair with vanilla ice cream or whipped cream for a classic dessert combo. For extra flair, drizzle with caramel sauce.
- Storage: Store leftovers in an airtight container at room temperature for up to 3 days. For longer storage, refrigerate for up to 5 days.
- Freezing: Wrap individual bars in plastic wrap and freeze for up to 3 months. Thaw at room temperature or reheat in the oven.
Over time, the flavors deepen, making them even more delicious. Honestly, the bars taste just as good cold as they do warm!
Nutritional Information & Benefits
Here’s an approximate breakdown per bar (based on 12 bars):
- Calories: 230
- Fat: 12g
- Carbohydrates: 30g
- Protein: 2g
- Fiber: 2g
The apples provide a dose of vitamin C and fiber, while baking them with minimal sugar maintains a balance of indulgence and health. If you opt for almond flour or nuts, you’ll add healthy fats, perfect for a wholesome treat.
Conclusion
If you’re looking for an easy, crowd-pleasing dessert that delivers all the comforting flavors of apple pie without the hassle, these Apple Pie Bars are your answer. They’re customizable, portable, and downright irresistible. Whether you’re a seasoned baker or new to the kitchen, this recipe is one you’ll return to again and again.
I love how versatile this recipe is—you can tweak it to suit your tastes or dietary needs, yet it always turns out delicious. Don’t wait for fall to enjoy them; they’re perfect any time of year!
Give this recipe a try and let me know how it turns out! Leave a comment below, share your adaptations, and tag me on social media so I can see your creations. Happy baking!
FAQs
Can I use store-bought apple pie filling?
You can, but homemade apple filling gives these bars a fresher, more flavorful result. If using store-bought, reduce the sugar in the recipe to avoid over-sweetening.
What’s the best way to slice the bars?
Use a sharp knife and wipe it clean between cuts for neat slices. Cooling the bars completely also helps them hold their shape.
Can I make these ahead of time?
Absolutely! You can bake the bars a day in advance and store them covered at room temperature. They taste even better the next day!
Do I need to peel the apples?
Peeling is recommended for a smoother texture, but you can leave the skins on for a rustic feel and added fiber. Just slice the apples thinly.
Can I double the recipe?
Yes, simply use a larger pan (like a sheet pan) and adjust the baking time. Keep an eye on the topping to ensure it doesn’t burn.
Pin This Recipe!