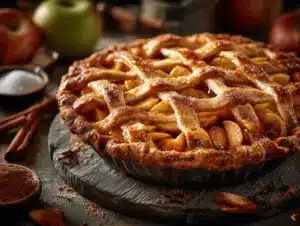
The first time I baked this no-peel apple pie, my entire kitchen smelled like a cozy autumn orchard—warm apples, cinnamon, and buttery pastry mingling in the air. There’s something magical about a dessert that’s both rustic and refined, isn’t there? I’ll admit, I used to dread peeling apples for pies (so tedious, and let’s face it, I always lost half the fruit in the process). One day, out of pure impatience and a little laziness, I skipped peeling altogether. The result? A pie that’s quicker, easier, and—honestly—bursting with even more flavor and texture.
This no-peel apple pie recipe has become my go-to for busy weeknights, spontaneous gatherings, and even those chilly Sunday afternoons when you just need a little comfort food. The skins add a subtle chewiness and extra nutrients, and I swear, they help the apples hold their shape better. Plus, you save so much time! It’s a win-win for anyone who loves homemade pie but doesn’t want to spend hours in the kitchen.
I’ve tweaked and tested this recipe for years, making sure it’s as foolproof as possible. My kids love it, my neighbors request it every fall, and every time I make it for friends, someone asks for the recipe. Whether you’re a seasoned baker or just craving something sweet and simple, this rustic no-peel apple pie is about to become your new favorite. Trust me, you won’t miss the peeling step at all!
Why You’ll Love This No-Peel Apple Pie Recipe
- Super Quick and Easy: This is the ultimate shortcut pie—no apple peeling, and the whole thing comes together in about an hour. Perfect for those “oh, I need dessert now!” moments.
- Minimal Cleanup: Fewer prep steps mean less mess. You don’t have to deal with slippery peels clogging your sink or sticking to your fingers. I always breathe a sigh of relief when I skip that part.
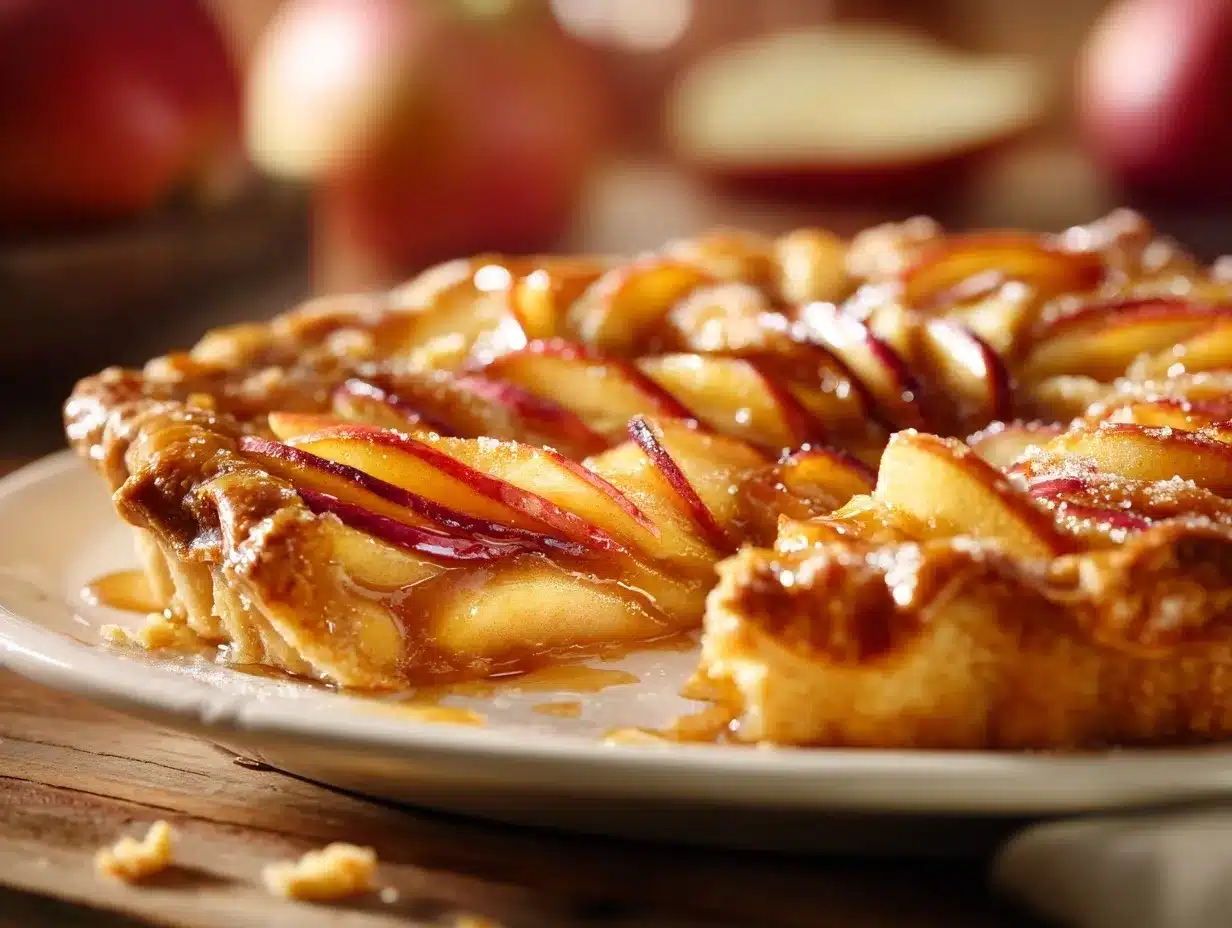
- Wholesome and Rustic: The apple skins give the pie a gorgeous, homey look and add a bit of extra fiber and nutrients. Plus, the color is just beautiful—think deep reds and golds peeking through the crust.
- Perfect for Any Occasion: This pie is a crowd-pleaser at fall gatherings, cozy family dinners, or as a sweet finish to a weeknight meal. I’ve even served it for breakfast with a dollop of Greek yogurt. No judgment!
- Customizable and Forgiving: Don’t have the “right” apples? No worries. This recipe works with whatever you have on hand—Gala, Honeycrisp, Granny Smith, or a mix. It’s hard to mess up.
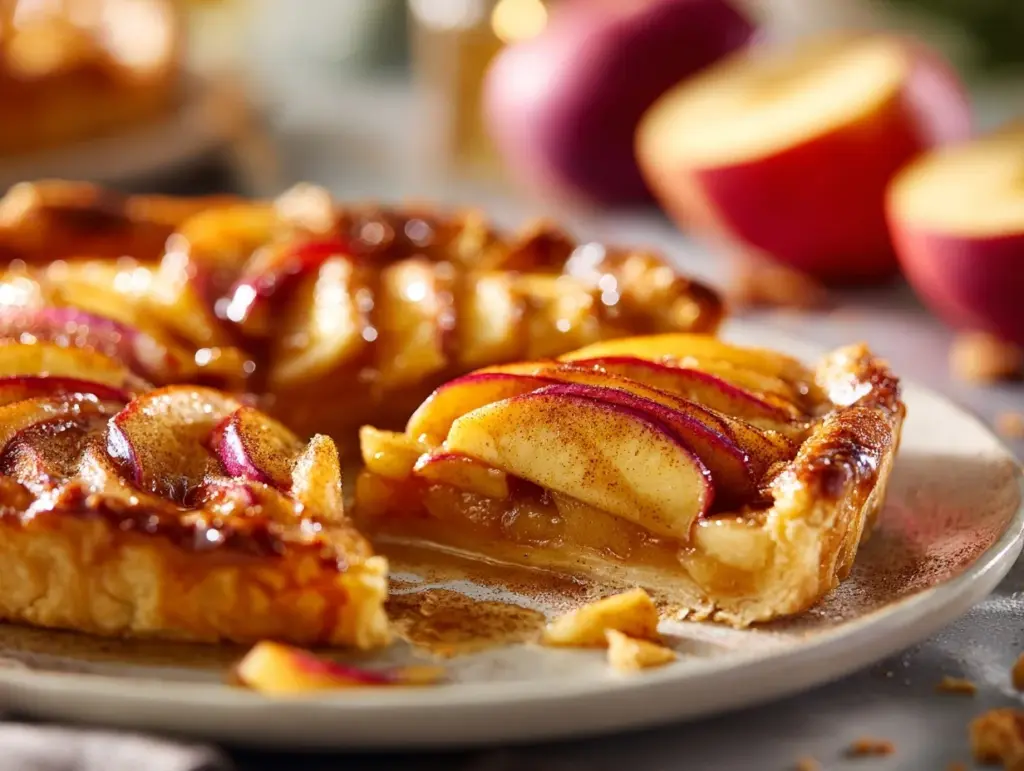
- Unbeatable Flavor and Texture: Leaving the skins on gives the filling a slightly chewy, almost caramelized edge (in the best way). It’s got that nostalgic, homemade taste but with a little extra character.
What sets this no-peel apple pie apart is how approachable it is. I’ve made it with my kids, with friends who claim they “can’t bake,” and for potlucks where I needed something fuss-free but impressive. The rustic look is part of the charm—no need for a picture-perfect lattice, just a golden, bubbling pie that begs you to grab a fork. If you love simple bakes that still feel special, this is the recipe you’ll reach for again and again.
What Ingredients You Will Need
This recipe uses a handful of classic, pantry-friendly ingredients to deliver that old-fashioned apple pie flavor—no complicated shopping list, and plenty of room for swaps if you’re short on something.
- Fresh apples, unpeeled (about 6 medium, 2 1/2 lbs / 1.1 kg) – Choose crisp, tart-sweet apples like Honeycrisp, Gala, or Granny Smith. I like mixing a couple of types for a more complex flavor. The skins add texture and color.
- Granulated sugar (3/4 cup / 150g) – Gives the filling sweetness and helps draw out the apple juices.
- Light brown sugar (1/4 cup / 50g) – Adds a hint of caramel flavor and moisture. You can use all granulated if you’re out of brown sugar, but the combo is lovely.
- Ground cinnamon (1 1/2 teaspoons) – Classic apple pie warmth. Sometimes I add a pinch of nutmeg or allspice if I’m feeling fancy.
- All-purpose flour (2 tablespoons / 16g) – Thickens the filling just enough so it’s not runny. You can swap in cornstarch (1 tablespoon) for a gluten-free option.
- Lemon juice (2 teaspoons) – Brightens up the filling and keeps the apples from browning. Bottled works in a pinch, but fresh is best.
- Salt (1/4 teaspoon) – Just a bit to balance the sweetness and enhance flavors.
- Unsalted butter (2 tablespoons / 28g, cut into small pieces) – Dotting on top before baking gives richness and that old-fashioned glossy finish.
- Premade pie crusts (2 rounds, 9-inch / 23cm) – Store-bought crusts keep things quick and easy, but you can use your favorite homemade dough if you like. I often use Pillsbury or Trader Joe’s for convenience.
- Egg wash (1 egg beaten with 1 tablespoon water) – For brushing the crust to get that shiny, golden finish. Skip if you need an egg-free pie—just brush with a little milk or cream instead.
- Coarse sugar (optional, for sprinkling) – Adds sparkle and a gentle crunch to the crust. Turbinado or Demerara is my go-to, but regular sugar works too.
If you’re short on time, go ahead and use whatever apples you have on the counter—they don’t all have to be perfect. And if you’re dairy-free, just leave off the butter or use a plant-based substitute. The beauty of this effortless apple pie recipe is that it’s flexible and forgiving—just the way homemade desserts should be.
Equipment Needed
- 9-inch pie pan (23cm) – Glass, ceramic, or metal all work. I use a Pyrex dish, but any standard pie plate will do the trick.
- Mixing bowls – One large for tossing the apples, one small for sugar and spices.
- Sharp knife or mandoline – For slicing the apples thinly. If you have a food processor with a slicing blade, that speeds things up even more.
- Cutting board – I like a wooden board for stability, but anything sturdy is fine.
- Pasty brush – For the egg wash. If you don’t have one, just use a clean paper towel or even your fingers (done it plenty of times!).
- Measuring cups and spoons – Accuracy makes for a better pie.
- Aluminum foil or pie shield – Super helpful for covering the edges if they’re browning too quickly. I’ve made quick shields out of folded foil more times than I can count.
- Cooling rack – Optional, but helps the pie cool evenly so the filling sets nicely.
You don’t need any fancy gadgets for this no-peel apple pie recipe. A basic pie pan and a trusty knife are really all you need. If you’re just starting out, dollar store measuring cups work just fine, and if your pastry brush has seen better days, a clean basting brush or even your fingers can get the job done in a pinch. Just don’t forget to keep your knives sharp—it makes slicing those apples (skins and all) so much easier and safer!
How to Make No-Peel Apple Pie – Step-by-Step
- Preheat your oven: Set it to 400°F (200°C). Position a rack in the lower third of the oven to help prevent a soggy bottom crust.
- Prepare the apples: Wash and dry about 6 medium apples (2 1/2 lbs / 1.1 kg). Don’t peel! Cut each apple into quarters, remove the cores, and slice thinly (about 1/8-inch / 3mm thick). Thinner slices bake more evenly and the skins soften nicely.
- Toss the filling: In a large mixing bowl, combine the sliced apples, 3/4 cup (150g) granulated sugar, 1/4 cup (50g) brown sugar, 1 1/2 teaspoons cinnamon, 2 tablespoons (16g) flour, 2 teaspoons lemon juice, and 1/4 teaspoon salt. Toss everything together until the apples are well coated and glossy. If the apples seem extra juicy, add a pinch more flour to soak it up.
- Roll out the crust: Lay one pie crust into your 9-inch (23cm) pie pan. Press gently into the sides and trim any overhang, leaving about 1/2 inch (1.2cm) extra around the rim. If your crust cracks, just patch it with your fingers—no big deal!
- Fill the pie: Pour the apple mixture into the crust, spreading evenly. Dot the top with 2 tablespoons (28g) butter, cut into small pieces. The butter melts into the filling for extra richness.
- Top and seal: Place the second crust over the apples. Trim and pinch the edges to seal—go rustic with a simple crimp or use a fork for a classic look. Cut a few slits in the top for steam to escape.
- Egg wash and sugar: Brush the top crust with egg wash (1 egg beaten with 1 tablespoon water). Sprinkle with coarse sugar if you like that bakery-style sparkle.
- Bake: Place the pie on a baking sheet (to catch any drips). Bake for 20 minutes at 400°F (200°C), then reduce the heat to 350°F (175°C) and bake for another 30–35 minutes, until the crust is deep golden and the filling is bubbly. If the edges brown too quickly, cover them with foil.
- Cool: Let the pie cool on a rack for at least 2 hours. This sets the filling so you get nice, clean slices (I know, waiting is the hardest part!).
- Serve: Slice, serve warm or at room temp, and enjoy! Add a scoop of vanilla ice cream or a drizzle of caramel if you’re feeling extra indulgent.
Prep tips: If your apples are super juicy, toss them with the sugars and lemon juice first, then let them sit for 10 minutes and drain off a bit of liquid before adding the flour and mixing into the crust. Don’t stress if your crust tears—a rustic look is part of the charm. If your pie bubbles over, that’s a good sign it’s juicy and flavorful!
Cooking Tips & Techniques for the Perfect Rustic Apple Pie
- Don’t worry about picture-perfect apple slices. The skins will soften as they bake, and a little variety in size adds to the rustic charm. I’ve even tossed in the odd chunkier slice when in a rush—still delicious.
- Mix up your apples. Using a combo of tart and sweet apples gives the pie more depth. Too many Granny Smiths can make it a bit tangy, so I like at least half Honeycrisp or Gala for balance.
- Keep the filling thick, not soupy. If your apples are extra juicy, add an extra teaspoon of flour or a sprinkle of instant tapioca. The filling should be glossy but not runny when you spoon it into the crust.
- Chill your pie before baking (if you have time). Even 15 minutes in the fridge helps the crust stay flaky. I’ve skipped this when pressed for time, and the pie still turned out, but the crust is even better when chilled.
- Watch the oven closely in the last 15 minutes. Every oven is a bit different, and the sugar on the crust can brown fast. If the edges look dark, cover them with foil.
- Let it cool for at least 2 hours. This is tough, but it really lets the filling set. If you cut too soon, it’ll be more like apple cobbler (which isn’t a bad thing, honestly, but not classic pie slices).
- Don’t overthink the crust design. Rustic pies are forgiving—patch cracks, crimp edges with your fingers, and let the steam vents be a little wonky. It all tastes amazing in the end!
I’ve definitely had pies where the filling bubbled over or the crust split—still delicious! Each bake is a little different, and that’s the fun of homemade pie. Just keep an eye on things, use your senses (look for bubbling edges and a deep golden crust), and trust that a rustic pie is supposed to look a little rough around the edges. That’s what makes it so inviting.
Variations & Adaptations
- Gluten-Free No-Peel Apple Pie: Simply swap the all-purpose flour with a 1:1 gluten-free blend, and use a gluten-free pie crust (like Wholly Wholesome or a homemade almond flour crust). I’ve done this for friends with celiac, and no one could tell the difference!
- Vegan or Dairy-Free Version: Use a plant-based butter for dotting the apples, and go with a vegan pie crust (many store-bought brands are accidentally vegan—just double-check). For the egg wash, brush with oat milk or almond milk instead.
- Spiced Autumn Pie: Add a pinch of ground ginger, nutmeg, or allspice to the filling for extra cozy flavor. Sometimes I toss in a handful of dried cranberries or chopped walnuts for fun.
- Summer Twist: In late summer, swap half the apples for ripe peaches or plums—still no peeling required. The skins add color and a juicy tang.
- Low Sugar Option: Reduce the sugar by half or use a sugar substitute like Swerve or coconut sugar. The apples themselves are plenty sweet if you use a sweeter variety.
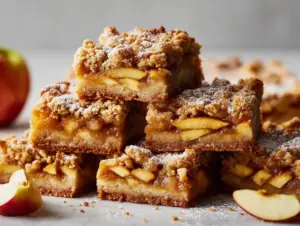
- Personal Touch: I once made this with a crumble topping instead of a second crust—just mix 1/2 cup oats, 1/3 cup brown sugar, 1/4 cup butter, and a pinch of cinnamon, and sprinkle over the apples before baking. It was a hit at a neighborhood potluck.
Don’t be afraid to experiment! Whether you’re baking for dietary needs or just want a new spin, this easy apple pie recipe is endlessly adaptable. The only rule? No peeling!
Serving & Storage Suggestions
This no-peel apple pie is best served slightly warm or at room temperature. I love it just as it is, but if you’re feeling decadent, a scoop of vanilla ice cream or a drizzle of caramel sauce takes it over the top. For a brunch twist, serve with a dollop of tangy Greek yogurt or whipped cream and a hot cup of coffee.
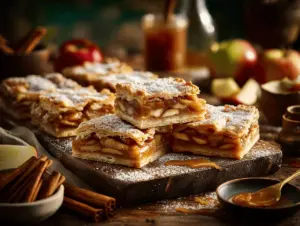
If you’re entertaining, slice the pie into wedges and arrange them on a rustic wooden board for that farmhouse-chic look. It’s also lovely with a sprinkle of powdered sugar or a handful of toasted nuts on top.
To store leftovers, wrap the cooled pie loosely in foil or plastic wrap and keep in the refrigerator for up to 4 days. The flavors deepen over time, and a quick reheat in a 325°F (160°C) oven for 10–15 minutes brings back that just-baked texture. For longer storage, wrap slices individually and freeze for up to 2 months—just thaw and warm as needed.
Honestly, this pie rarely lasts more than a day in my house, but it holds up beautifully for make-ahead treats and lunchbox desserts the next day!
Nutritional Information & Benefits
Each slice of this no-peel apple pie (1/8 of a 9-inch pie) has roughly 300 calories, 4g fiber, 4g protein, and 14g fat. The apple skins boost the fiber and micronutrient content, and you’re getting a good dose of vitamin C, potassium, and antioxidants from those unpeeled apples.
This recipe is naturally nut-free (unless you add some as a variation) and can be made gluten-free or dairy-free with easy swaps. Just be mindful if you’re serving folks with wheat or dairy allergies—double-check your pie crust and filling ingredients.
From a wellness perspective, I love that you’re getting real fruit and less processing by leaving the skins on. It’s a treat that feels just a little bit wholesome, and hey—that counts for something in my book.
Conclusion
If you’re craving a homemade dessert but don’t want to spend forever prepping, this no-peel apple pie recipe is your answer. It’s quick, rustic, and packed with cozy apple flavor—no peeling, no fuss, just pure comfort. I love how forgiving it is, and honestly, it’s the kind of pie that makes people feel right at home.
Don’t be afraid to tweak it to fit your tastes or needs—add your favorite spices, try a crumble top, or toss in some extra fruit. The best recipes are the ones you make your own. I hope you give this a try and that it becomes as much of a staple in your kitchen as it is in mine.
If you make this no-peel apple pie, I’d love to hear how it turned out! Leave a comment, share your tweaks, or tag your creation on Pinterest so we can all get inspired. Happy baking, and remember—rustic pies are the best kind of pies!
FAQs About No-Peel Apple Pie
Can I use any type of apple for this no-peel apple pie?
Absolutely! Any firm, crisp apple works—Honeycrisp, Gala, Granny Smith, or a mix. Softer varieties like Red Delicious can get mushy, so I recommend sticking with baking apples for the best texture.
Will the apple skins be tough or chewy?
Nope! The skins soften as the pie bakes and blend right into the filling. Slicing the apples thinly helps, and honestly, most folks never notice the difference (except for the pretty color).
Can I make this pie ahead of time?
Yes! You can bake the pie a day ahead and store it covered at room temp or in the fridge. Reheat in a low oven before serving to revive that fresh-baked taste.
What if I want to use homemade pie crust?
Go for it! Use your favorite double-crust recipe. Just be sure to chill the dough before rolling and transferring to the pan for the flakiest results.
How do I freeze leftovers?
Let the pie cool completely, then wrap slices individually in plastic wrap and foil. Freeze for up to 2 months. Thaw overnight in the fridge and reheat in the oven for best texture.
PrintNo-Peel Apple Pie

This easy, rustic apple pie skips the peeling step for a quicker, more flavorful dessert. With crisp apple slices, warm cinnamon, and a buttery crust, it comes together in about an hour and is perfect for any occasion.
- Prep Time: 20 minutes
- Cook Time: 55 minutes
- Total Time: 1 hour 15 minutes
- Yield: 8 servings 1x
- Category: Dessert
- Cuisine: American
Ingredients
- 6 medium fresh apples, unpeeled (about 2 1/2 lbs)
- 3/4 cup granulated sugar
- 1/4 cup light brown sugar
- 1 1/2 teaspoons ground cinnamon
- 2 tablespoons all-purpose flour (or 1 tablespoon cornstarch for gluten-free)
- 2 teaspoons lemon juice
- 1/4 teaspoon salt
- 2 tablespoons unsalted butter, cut into small pieces
- 2 premade pie crusts (9-inch rounds)
- 1 egg (for egg wash, beaten with 1 tablespoon water)
- Coarse sugar (optional, for sprinkling)
Instructions
- Preheat oven to 400°F (200°C) and position a rack in the lower third.
- Wash and dry apples. Cut into quarters, core, and slice thinly (about 1/8-inch thick).
- In a large mixing bowl, toss sliced apples with granulated sugar, brown sugar, cinnamon, flour, lemon juice, and salt until well coated.
- Lay one pie crust into a 9-inch pie pan, pressing gently and trimming excess, leaving about 1/2 inch overhang.
- Pour apple mixture into the crust and dot with butter pieces.
- Place the second crust over the apples. Trim and pinch edges to seal. Cut a few slits in the top for steam.
- Brush top crust with egg wash and sprinkle with coarse sugar if desired.
- Place pie on a baking sheet. Bake for 20 minutes at 400°F, then reduce heat to 350°F (175°C) and bake for another 30–35 minutes, until crust is golden and filling is bubbly. Cover edges with foil if browning too quickly.
- Cool on a rack for at least 2 hours before slicing.
- Serve warm or at room temperature, optionally with ice cream or caramel sauce.
Notes
Mix apple varieties for best flavor. If apples are very juicy, let them sit with sugar and lemon juice for 10 minutes and drain excess liquid before adding flour. For gluten-free, use cornstarch and a gluten-free crust. For vegan, use plant-based butter and milk for the wash. Chill assembled pie before baking for a flakier crust. Let cool fully before slicing for clean pieces.
Nutrition
- Serving Size: 1 slice (1/8 of pie)
- Calories: 300
- Sugar: 25
- Sodium: 220
- Fat: 14
- Saturated Fat: 7
- Carbohydrates: 45
- Fiber: 4
- Protein: 4
Keywords: no-peel apple pie, easy apple pie, rustic apple pie, quick apple pie, unpeeled apple dessert, fall dessert, homemade apple pie, apple pie with skins, one hour apple pie