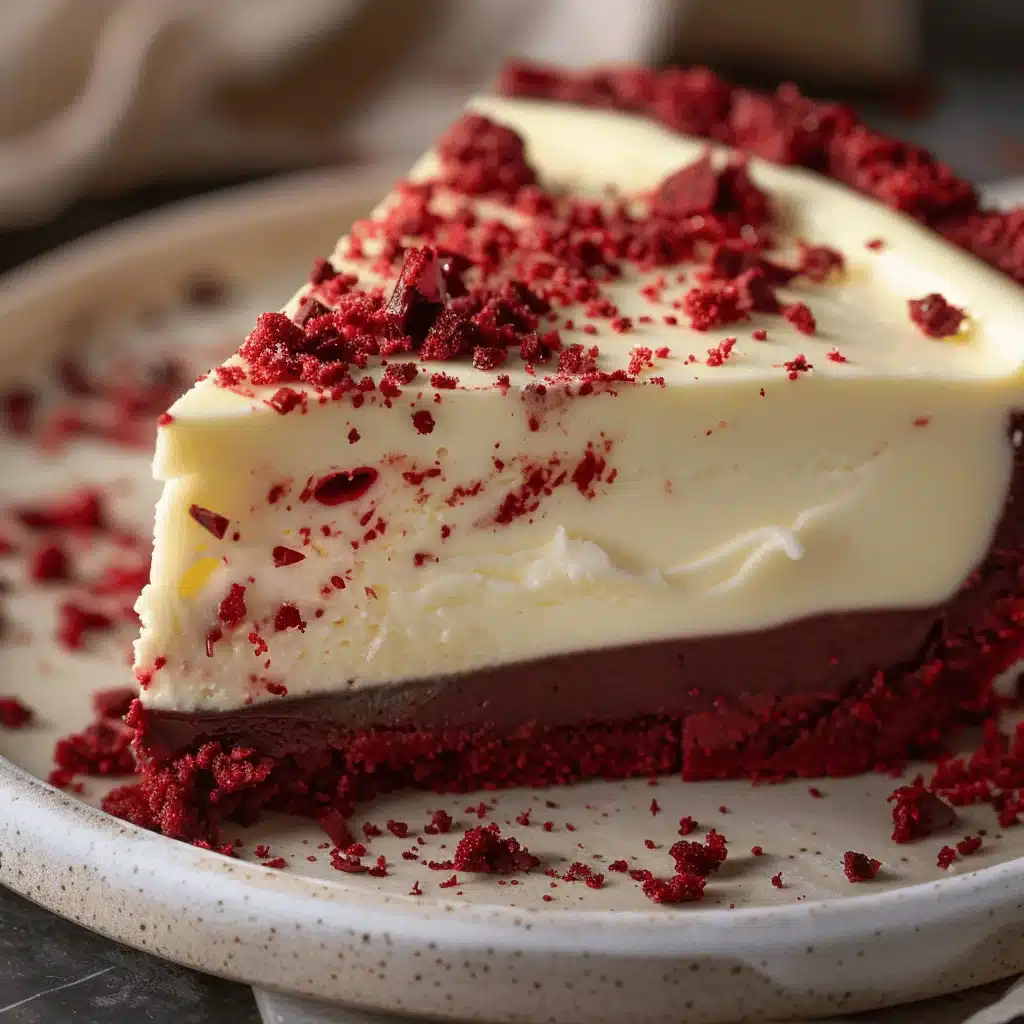
The first time I made this red velvet cheesecake pie, I couldn’t believe how quickly it disappeared. Imagine the silky smoothness of a cheesecake combined with the rich, chocolatey flavor of red velvet, all nestled in a buttery pie crust. It’s indulgent, creamy, and just the right amount of sweet. Perfect for holidays, birthdays, or when you just want to treat yourself to something spectacular!
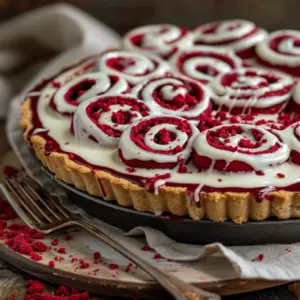
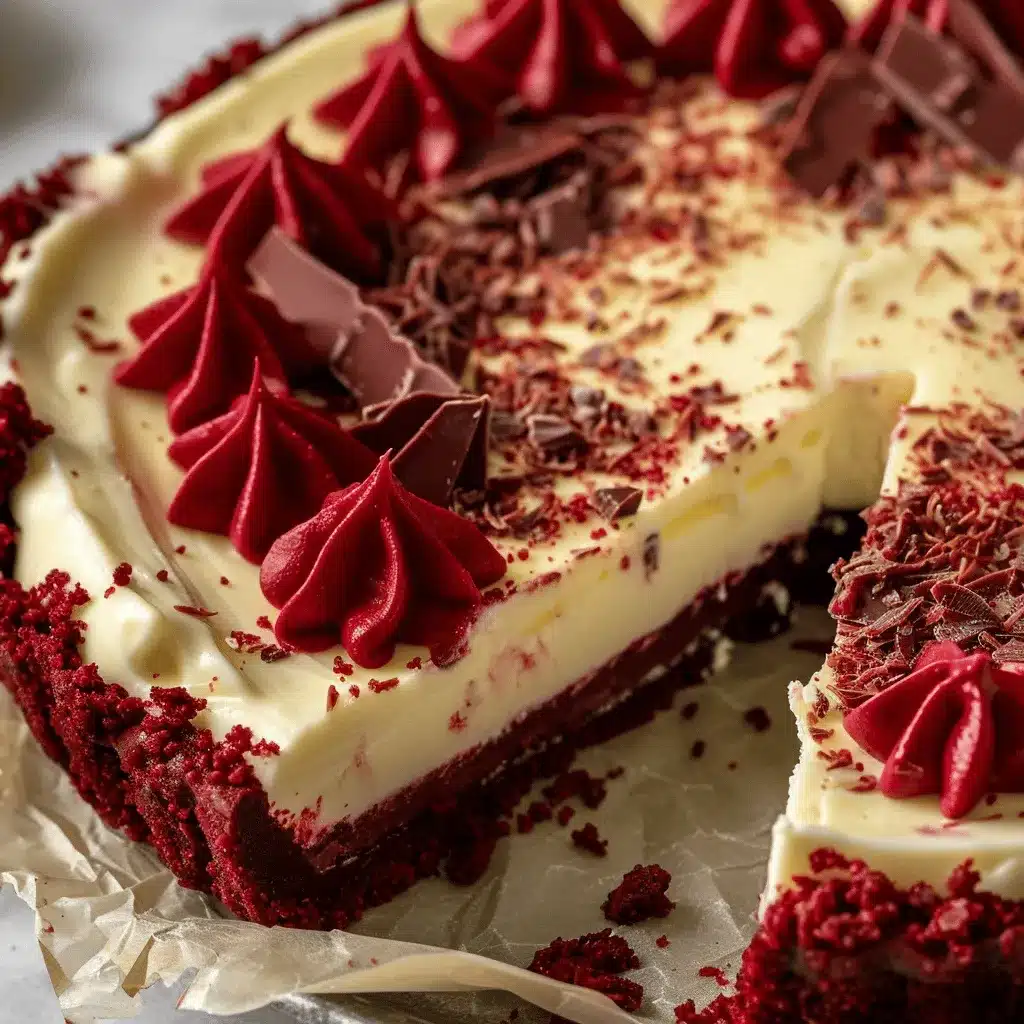
This dessert is a showstopper. The vibrant red color of the cheesecake layer contrasts beautifully with the golden crust, making it a feast for the eyes before it even hits your taste buds. And the best part? It’s easier to make than you might think! Whether you’re a seasoned baker or a beginner, this recipe will guide you step-by-step to create a red velvet cheesecake pie that feels (and tastes) like a professional bakery masterpiece.
So grab your apron, and let’s whip up the ultimate red velvet cheesecake pie that’ll have everyone asking for seconds!
Why You’ll Love This Recipe
- Decadent Flavor Combination: The rich cocoa-infused red velvet cheesecake filling pairs perfectly with the buttery pie crust. It’s like two desserts in one!
- Visually Stunning: With its vibrant red hue and creamy white topping, this pie is a centerpiece-worthy dessert for any occasion.
- Perfect Texture: Smooth, creamy, and velvety with just the right hint of crunch from the crust.
- Simple Ingredients: No need for fancy or hard-to-find items. Everything you need is likely already in your pantry or fridge.
- Great for Any Occasion: Whether it’s a holiday feast, a romantic dinner, or a casual family gathering, this pie fits right in.
- Make-Ahead Friendly: This pie tastes even better the next day, making it ideal for prepping ahead of time.
What sets this recipe apart is the balance of flavors and textures. The tangy cream cheese filling complements the subtle cocoa notes of the red velvet, while the crust adds that perfect buttery crunch. Trust me, this isn’t just another red velvet dessert—it’s the ultimate red velvet cheesecake pie!
What Ingredients You Will Need
This red velvet cheesecake pie is made with simple ingredients that come together to create a luxurious dessert. Here’s what you’ll need:
For the Crust:
- 1 ½ cups (180g) graham cracker crumbs
- ¼ cup (50g) granulated sugar
- 6 tbsp (85g) unsalted butter, melted
For the Red Velvet Cheesecake Layer:
- 16 oz (450g) cream cheese, softened
- ¾ cup (150g) granulated sugar
- 2 large eggs
- ¼ cup (60ml) sour cream
- ¼ cup (60ml) heavy cream
- 2 tbsp (15g) unsweetened cocoa powder
- 1 tsp vanilla extract
- 1 tbsp red food coloring (gel works best)
- Pinch of salt
For the Topping (Optional):
- 1 cup (240ml) heavy whipping cream
- 2 tbsp (25g) powdered sugar
- 1 tsp vanilla extract
- Chocolate shavings or red velvet crumbs for garnish
If you want to simplify, you can use a store-bought graham cracker crust, but making your own adds a personal touch and extra flavor!
Equipment Needed
Here’s what you’ll need to make this red velvet cheesecake pie:
- 9-inch pie dish
- Mixing bowls
- Hand or stand mixer
- Rubber spatula
- Measuring cups and spoons
- Whisk
- Cooling rack
If you don’t have a pie dish, a springform pan can work in a pinch. Just make sure to adjust the baking time slightly as the cheesecake layer may take longer to set.
Preparation Method
- Preheat the oven: Set your oven to 350°F (175°C). Lightly grease your pie dish with nonstick spray.
- Make the crust: In a bowl, combine graham cracker crumbs, sugar, and melted butter. Mix until evenly moistened. Press the mixture firmly into the bottom and up the sides of the pie dish. Bake for 8-10 minutes, then let cool.
- Prepare the filling: In a large mixing bowl, beat the softened cream cheese until smooth. Add sugar and mix until fluffy. Beat in eggs one at a time, ensuring each is fully incorporated.
- Add the remaining ingredients: Mix in sour cream, heavy cream, cocoa powder, vanilla extract, red food coloring, and a pinch of salt. Blend until smooth and vibrant.
- Assemble the pie: Pour the red velvet cheesecake filling into the cooled crust. Smooth the top with a spatula.
- Bake: Place the pie in the oven and bake for 35-40 minutes, or until the edges are set, and the center has a slight jiggle.
- Cool and chill: Let the pie cool to room temperature, then refrigerate for at least 4 hours (overnight is best).
- Make the topping (optional): Whip heavy cream, powdered sugar, and vanilla extract until stiff peaks form. Spread or pipe over the chilled pie. Garnish with chocolate shavings or red velvet crumbs.
Cooking Tips & Techniques
- Room temperature ingredients: Ensure your cream cheese, eggs, and other dairy are at room temperature to avoid lumps in the filling.
- Don’t overmix: Overmixing the batter can cause cracks, so mix just until combined.
- Baking tip: Place a pan of water on the bottom rack of the oven to create steam, which helps prevent cracks in the cheesecake layer.
- Chilling is key: For the best texture and flavor, don’t skip the chilling time. The pie needs to set properly.
Variations & Adaptations
- Gluten-free: Use gluten-free graham crackers for the crust.
- Mini pies: Divide the crust and filling into muffin tins for individual servings.
- Chocolate crust: Swap the graham crackers for chocolate cookie crumbs for extra chocolatey flavor.
- Allergy-friendly: Substitute dairy-free cream cheese and coconut cream for a lactose-free version.
Serving & Storage Suggestions
Serve this pie chilled for the best texture and flavor. It pairs beautifully with a cup of coffee or a cold glass of milk. For extra indulgence, drizzle with chocolate sauce or add fresh berries on the side.
Store leftovers (if there are any!) in the refrigerator for up to 5 days. To freeze, wrap slices in plastic wrap and store in an airtight container for up to 2 months. Thaw overnight in the fridge before serving.
Nutritional Information & Benefits
Each slice of this red velvet cheesecake pie is approximately:
- Calories: 350
- Fat: 24g
- Carbohydrates: 30g
- Protein: 6g
While it’s definitely a treat, the cream cheese provides a nice protein boost, and you can make it lighter by using reduced-fat cream cheese and less sugar.
Conclusion
If you’re looking for a dessert that’s decadent, beautiful, and surprisingly easy to make, this ultimate red velvet cheesecake pie is the one. It’s a recipe I keep coming back to, and I know you will too.
Feel free to customize it, share your creations, and let me know how it turns out! Don’t forget to save this recipe for your next special occasion (or your next craving!). Happy baking!
FAQs
Can I make this pie ahead of time?
Yes! This pie is perfect for making ahead. In fact, it tastes even better the next day after the flavors have melded together.
What can I use if I don’t have red food coloring?
You can skip the food coloring, and it will still taste amazing! It just won’t have the signature red velvet color.
How do I prevent cracks in the cheesecake layer?
Make sure not to overmix your batter, and bake the pie with a pan of water in the oven to add moisture.
Can I use a store-bought crust?
Absolutely! A pre-made graham cracker crust works just fine if you’re short on time.
How long does this pie need to chill?
At least 4 hours, but overnight is ideal for the best texture and flavor.
PrintUltimate Red Velvet Cheesecake Pie

This red velvet cheesecake pie combines the silky smoothness of cheesecake with the rich, chocolatey flavor of red velvet, all nestled in a buttery pie crust. Perfect for holidays, birthdays, or any special occasion!
- Prep Time: 20 minutes
- Cook Time: 40 minutes
- Total Time: 5 hours (including chilling time)
- Yield: 8 servings 1x
- Category: Dessert
- Cuisine: American
Ingredients
- 1 ½ cups (180g) graham cracker crumbs
- ¼ cup (50g) granulated sugar
- 6 tbsp (85g) unsalted butter, melted
- 16 oz (450g) cream cheese, softened
- ¾ cup (150g) granulated sugar
- 2 large eggs
- ¼ cup (60ml) sour cream
- ¼ cup (60ml) heavy cream
- 2 tbsp (15g) unsweetened cocoa powder
- 1 tsp vanilla extract
- 1 tbsp red food coloring (gel works best)
- Pinch of salt
- 1 cup (240ml) heavy whipping cream (optional)
- 2 tbsp (25g) powdered sugar (optional)
- 1 tsp vanilla extract (optional)
- Chocolate shavings or red velvet crumbs for garnish (optional)
Instructions
- Preheat the oven to 350°F (175°C). Lightly grease your pie dish with nonstick spray.
- In a bowl, combine graham cracker crumbs, sugar, and melted butter. Mix until evenly moistened. Press the mixture firmly into the bottom and up the sides of the pie dish. Bake for 8-10 minutes, then let cool.
- In a large mixing bowl, beat the softened cream cheese until smooth. Add sugar and mix until fluffy. Beat in eggs one at a time, ensuring each is fully incorporated.
- Mix in sour cream, heavy cream, cocoa powder, vanilla extract, red food coloring, and a pinch of salt. Blend until smooth and vibrant.
- Pour the red velvet cheesecake filling into the cooled crust. Smooth the top with a spatula.
- Place the pie in the oven and bake for 35-40 minutes, or until the edges are set, and the center has a slight jiggle.
- Let the pie cool to room temperature, then refrigerate for at least 4 hours (overnight is best).
- Whip heavy cream, powdered sugar, and vanilla extract until stiff peaks form (optional). Spread or pipe over the chilled pie. Garnish with chocolate shavings or red velvet crumbs (optional).
Notes
Ensure all dairy ingredients are at room temperature to avoid lumps. Avoid overmixing the batter to prevent cracks. Chill the pie for at least 4 hours for the best texture and flavor.
Nutrition
- Serving Size: 1 slice
- Calories: 350
- Sugar: 22
- Sodium: 220
- Fat: 24
- Saturated Fat: 14
- Carbohydrates: 30
- Fiber: 1
- Protein: 6
Keywords: red velvet cheesecake pie, red velvet dessert, cheesecake pie, holiday dessert, easy dessert recipe