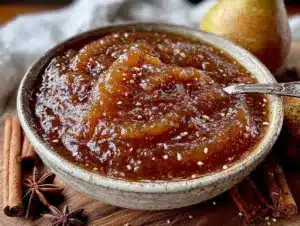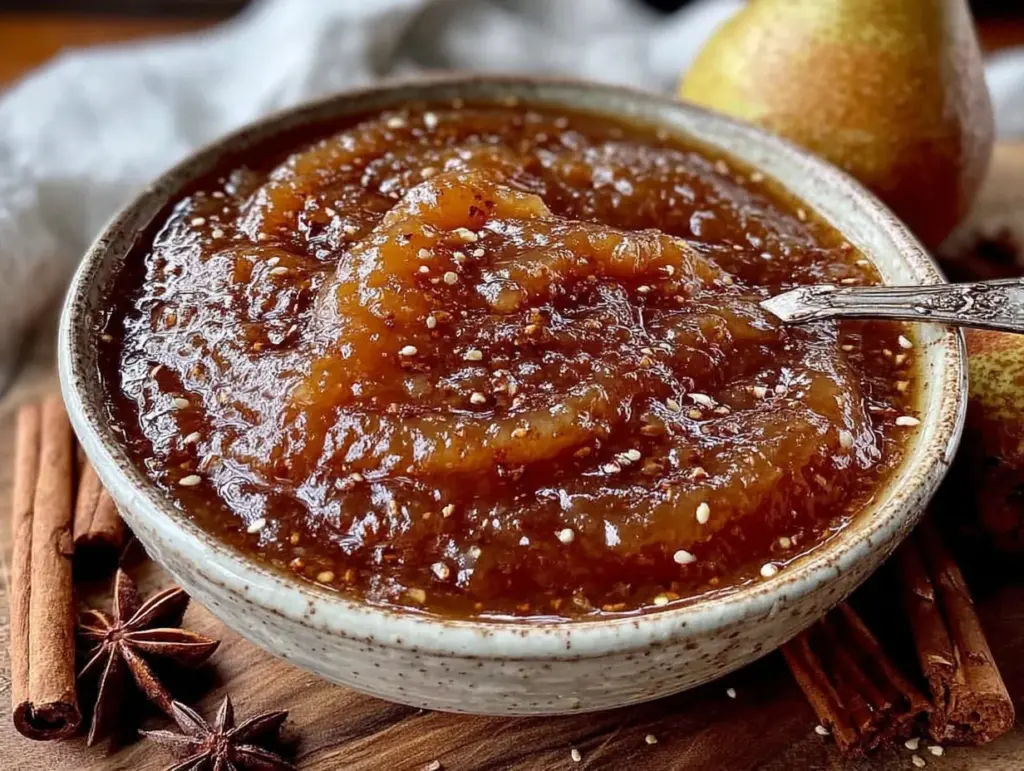
I had been looking for a way to capture that particular feeling of a late autumn afternoon—the kind where the sun is low and golden, and the air smells like woodsmoke and fallen leaves—in a jar. Not in a poetic, metaphorical way, but literally. I wanted something I could spread on a piece of toast in the middle of January and taste that warmth again. Store-bought pear butter was always too sweet, too thin, missing the deep, almost caramelized richness I remembered from a farmers’ market sample years ago. That single spoonful had haunted me.
For a while, I just accepted that homemade pear butter was one of those things that required a bushel of fruit and a massive canning pot. I don’t have room for that. My kitchen counters are small, my storage space is limited, and I wasn’t about to commit to peeling twenty pounds of pears on a Tuesday night. So I started tinkering with smaller batches. Four pears. A single heavy-bottomed pot. No special equipment beyond a jar lifter. It took a few tries to get the spicing right—too much clove and it tasted like a holiday candle, not enough and it was just sweet mush—but when I finally opened that first jar, the smell alone made me close my eyes. It was exactly that afternoon, captured.
This is that recipe. It’s not complicated, and it doesn’t ask for much. Just a little patience and a few ripe pears. The kind of small project that feels satisfying without taking over your whole weekend.
Why You’ll Love This Recipe
This small batch spiced pear butter isn’t just another fruit spread. After testing this recipe about five times (my neighbors were happy recipients of the early, overly-cinnamoned versions), I can tell you exactly why it works.
- Small Batch, Big Flavor: This recipe uses just 2 pounds of pears. That’s roughly 4 to 5 medium pears. No need to hunt down a bushel or spend hours peeling. You can make this on a random Tuesday evening with fruit from the grocery store.
- Simple Ingredients: You probably have everything except the pears in your pantry right now. Brown sugar, lemon juice, cinnamon, ginger, cloves, and a vanilla bean (or extract). That’s it. No pectin, no commercial thickeners, no weird additives.
- Perfect for Gifting: A single half-pint jar of this stuff, tied with a bit of kitchen twine, makes a better hostess gift than anything you can buy. It’s personal, it’s homemade, and it’s genuinely useful.
- No Special Equipment Required: You don’t need a water bath canner the size of a small car. A deep stockpot works perfectly for processing two or three jars. I use my regular pasta pot.
- Unbelievably Versatile: Spread it on toast, swirl it into yogurt, spoon it over vanilla ice cream, or use it as a filling for a fresh fig and honey crostata—it works everywhere you want a hit of concentrated autumn flavor.
The texture is what gets me every time. It’s not jammy or jiggly. It’s thick and spreadable, almost like a fruit paste, with a deep, slow-cooked sweetness that doesn’t hit you all at once. The spices are warm but not aggressive. It’s the kind of thing you eat straight off the spoon when no one’s looking.
What Ingredients You Will Need
This recipe uses simple, wholesome ingredients to deliver that deep, spiced flavor and silky texture without any fuss. The list is short, and each component pulls its weight.
- Ripe Pears (2 pounds, about 4-5 medium): Bartlett or Bosc pears work beautifully here. They should be ripe—yielding slightly to pressure at the stem—but not mushy or bruised. Underripe pears won’t break down as smoothly and will taste less sweet. I’ve also used Anjou pears successfully, though they tend to be a bit firmer and may need a few extra minutes of cooking. Bartletts give the deepest, most honeyed flavor.
- Brown Sugar (1/2 cup, lightly packed): Light or dark brown sugar works. Dark brown sugar adds a deeper, molasses-like note that pairs wonderfully with the spices. If you’re watching your sugar intake, you can reduce this to 1/3 cup, but the texture will be slightly looser and the flavor less intense.
- Fresh Lemon Juice (2 tablespoons): This isn’t just for brightness—the acid helps balance the sweetness and preserves the pear butter’s color. Freshly squeezed is noticeably better than bottled here. One medium lemon usually yields just enough.
- Ground Cinnamon (1 teaspoon): The backbone of the spice blend. I prefer Ceylon cinnamon for its milder, more floral notes, but Cassia cinnamon works perfectly fine and is more common.
- Ground Ginger (1/2 teaspoon): Adds a gentle warmth and a little zing. Don’t skip it—it keeps the flavor from being one-dimensional.
- Ground Cloves (1/4 teaspoon): A little goes a long way. Cloves can easily overwhelm the delicate pear flavor if you’re heavy-handed. Trust the measurement.
- Vanilla Bean (1/2 bean, or 1 teaspoon vanilla extract): If you have a vanilla bean, split it and scrape the seeds into the pot, then toss the pod in as well. It infuses the butter with a subtle floral richness. If you’re using extract, stir it in after you remove the pot from the heat to preserve its volatile oils.
- Pinch of Salt (about 1/8 teaspoon): Salt sharpens all the other flavors and keeps the sweetness from tasting flat. Use fine sea salt or table salt.
That’s the whole list. No pectin, no commercial thickeners, no corn syrup. Just fruit, sugar, warm spices, and a little patience. I usually buy my pears a few days ahead of time and let them ripen on the counter until they’re just right. If you’re short on time, you can speed things up by placing them in a paper bag with a ripe banana.
Equipment Needed
You don’t need a fancy kitchen setup for this. Here’s what you’ll actually use.
- Heavy-bottomed pot or Dutch oven (4 to 5 quarts): A wide pot is ideal because it exposes more surface area to the heat, helping the pear butter cook down faster and more evenly. My go-to is a 5-quart enameled cast iron Dutch oven. It distributes heat beautifully and doesn’t scorch easily.
- Immersion blender (or regular blender): After the pears soften, you’ll need to puree them until smooth. An immersion blender lets you do this right in the pot, which saves a step and a messy transfer. If you’re using a regular blender, work in batches and leave the lid slightly ajar to let steam escape.
- Half-pint (8 oz) canning jars with lids and bands: This recipe yields about 2 to 3 half-pint jars. Make sure your jars are clean and free of cracks or nicks. I like using wide-mouth jars for easier filling and cleaning.
- Water bath canner or large stockpot: You need a pot deep enough to cover the jars with at least 1 to 2 inches of water. A rack at the bottom is helpful to keep jars from rattling against each other, but you can also use a folded kitchen towel as a makeshift rack.
- Jar lifter: This is one piece of equipment I wouldn’t skip. Trying to fish hot jars out of boiling water with tongs is a recipe for disaster. A proper jar lifter costs about ten dollars and is worth every penny.
- Small ladle and wide-mouth funnel: A canning funnel makes filling jars much less messy. A regular ladle works fine if you pour carefully.
- Clean kitchen towel: For wiping jar rims before sealing. A damp paper towel works in a pinch.
If you don’t have a water bath canner, don’t let that stop you. You can store this pear butter in the refrigerator for up to three weeks, or freeze it in small containers for several months. The canning step is optional—it just gives you shelf-stable jars that don’t need refrigeration.
Preparation Method
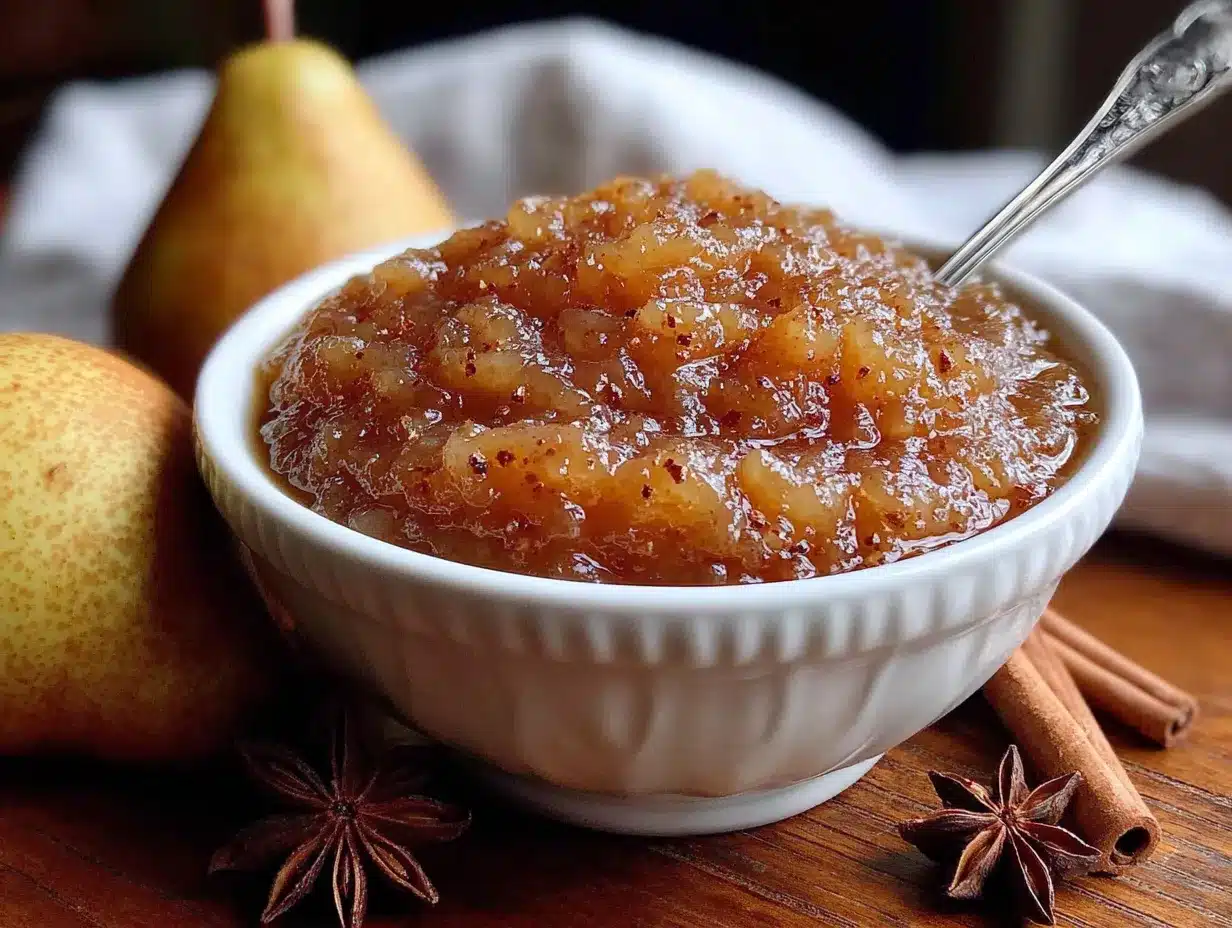
This process is straightforward, but it does require some patience. The pear butter needs time to cook down and concentrate its flavor. Plan for about 2 to 2.5 hours total, though most of that is hands-off simmering.
- Prepare the pears. Wash and dry your pears. Peel them with a vegetable peeler or a paring knife. Cut each pear in half lengthwise, then use a melon baller or small spoon to scoop out the core and seeds. Cut the pears into roughly 1-inch chunks. Don’t stress about uniformity—they’ll be pureed later. You should have about 5 to 6 cups of chopped fruit.
- Combine ingredients in the pot. Place the pear chunks in your Dutch oven or heavy-bottomed pot. Add the brown sugar, lemon juice, cinnamon, ginger, cloves, and salt. If you’re using a vanilla bean, split it lengthwise with a sharp knife, scrape the seeds into the pot, and drop the pod in as well. Stir everything together until the pears are evenly coated.
- Cook the pears. Set the pot over medium heat. As the pears warm up, they’ll release their natural juices. Bring the mixture to a gentle simmer—you should see small bubbles breaking the surface, not a vigorous boil. Reduce the heat to medium-low. Cook, stirring occasionally, for 20 to 25 minutes, until the pears are completely soft and falling apart when pressed with a spoon. The liquid should look syrupy and slightly thickened.
- Puree until smooth. Remove the pot from the heat. Fish out the vanilla bean pod (rinse it off and save it for another use—you can dry it and bury it in a jar of sugar to make vanilla sugar). Use an immersion blender to puree the mixture until it’s completely smooth. If you’re using a regular blender, let the mixture cool for 10 minutes first, then blend in batches, filling the blender no more than halfway each time. Hold the lid down with a kitchen towel to prevent hot liquid from splashing.
- Simmer to thicken. Return the pot to the stove over low heat. This is where the magic happens. Let the puree simmer gently, stirring every 5 to 10 minutes, for 45 to 60 minutes. The mixture will darken and thicken considerably. You’ll know it’s ready when a spoonful dropped onto a cold plate doesn’t release a ring of liquid around the edge. The texture should be thick and spreadable—think apple butter consistency. Don’t rush this step. If you take it off the heat too early, the pear butter will be runny and won’t store as well.
- Prepare your jars while the pear butter cooks. Wash your jars, lids, and bands in hot, soapy water, then rinse thoroughly. Place the jars in your water bath canner or stockpot, cover them with water, and bring to a boil. Boil for 10 minutes to sterilize. Turn off the heat and leave the jars in the hot water until you’re ready to fill them. Place the lids in a small saucepan, cover with water, and bring to a gentle simmer (not a boil). Keep them hot.
- Fill the jars. When the pear butter has reached the right consistency, remove the pot from the heat. Using your jar lifter, remove a hot jar from the canner, shaking off excess water. Place it on a clean kitchen towel. Set your wide-mouth funnel in the jar and ladle the hot pear butter into the jar, leaving about 1/4 inch of headspace at the top. Run a clean chopstick or butter knife around the inside of the jar to release any trapped air bubbles. Wipe the rim of the jar with a clean, damp towel to remove any residue. Center a lid on the jar, then screw on the band until it’s fingertip-tight—not too tight, just snug.
- Process the jars. Using your jar lifter, carefully lower the filled jars into the canner. Make sure they’re covered by at least 1 to 2 inches of water. Bring the water to a rolling boil, then start your timer. Process half-pint jars for 10 minutes at altitudes up to 1,000 feet (adjust processing time if you’re at a higher elevation—add 5 minutes for every 3,000 feet above sea level).
- Cool and check seals. After 10 minutes, turn off the heat and let the jars sit in the water for 5 minutes. Use your jar lifter to remove them and place them on a clean kitchen towel. Leave them undisturbed for 12 to 24 hours. As they cool, you should hear the satisfying “pop” of the lids sealing. After 24 hours, press the center of each lid—if it doesn’t flex up and down, the jar is sealed. If a jar didn’t seal, store it in the refrigerator and use it within 3 weeks.
The first time I made this, I pulled the pot off the heat too early because I was impatient. The pear butter was delicious but thin—more of a sauce than a spread. Don’t make that mistake. Let it cook down until it’s genuinely thick. Your patience will be rewarded.
Cooking Tips & Techniques
After making this recipe more times than I care to count, here are the things I wish someone had told me from the start.
Don’t skimp on the cooking time. The biggest mistake people make with fruit butters is pulling them off the heat too soon. The mixture will look thinner than you expect while it’s hot—it thickens significantly as it cools. But if it’s still watery when it’s hot, it will be watery when it’s cold. The spoon test on a cold plate is your best friend. Drop a small dollop on a plate you’ve chilled in the freezer, wait 30 seconds, and tilt the plate. If liquid runs off, keep cooking.
Stir more often toward the end. As the pear butter thickens, it becomes more prone to scorching on the bottom of the pot. In the last 20 minutes of cooking, I stir every 3 to 4 minutes, making sure to scrape the bottom and corners of the pot. A silicone spatula is perfect for this—it won’t scratch your pot and it gets into the edges well.
Use ripe pears, but not overripe ones. Pears that are too ripe (soft, brown-spotted, almost mushy) will break down too quickly and can make the butter taste a bit fermented or flat. Pears that are too firm won’t break down enough and will require longer cooking. The sweet spot is when the pear yields gently to pressure at the stem end but still holds its shape when you hold it.
Toast your spices for extra depth. This is a little trick I picked up from making chai. Before adding the spices to the pears, toast them in a dry skillet over medium heat for about 30 seconds, just until they become fragrant. It wakes up their essential oils and adds a warmth that you can’t get from adding them raw. Be careful not to burn them—burnt cinnamon smells like bitter dust.
Work in small batches for better control. This recipe is intentionally small because larger batches take much longer to cook down and are harder to stir without scorching. If you want to double the recipe, use a wider pot rather than a deeper one to maintain good evaporation.
Variations & Adaptations
This recipe is a great base for experimentation. Here are a few variations I’ve tried and loved.
Spiced Pear and Apple Butter: Replace half the pears with peeled, chopped apples (Granny Smith or Honeycrisp work well). The apples add natural pectin, which gives the butter a slightly firmer set. The flavor is more complex—the apple brings a tartness that balances the pear’s sweetness beautifully.
Vanilla Chai Pear Butter: Add 1/2 teaspoon of ground cardamom and a pinch of black pepper along with the other spices. The pepper isn’t enough to taste as heat, but it rounds out the other flavors and adds a subtle warmth. This version is incredible on buttered toast or swirled into oatmeal.
Maple Pear Butter: Replace the brown sugar with 1/3 cup of pure maple syrup. The flavor is lighter, more delicate, and has that unmistakable maple note that pairs perfectly with pears. Note that maple syrup is slightly less sweet than brown sugar, so you may want to add an extra tablespoon if you prefer a sweeter spread.
Low-Sugar Version: Reduce the brown sugar to 1/4 cup and add a tablespoon of honey or maple syrup. The texture will be slightly looser, and the shelf life won’t be as long (the sugar acts as a preservative), but it’s still delicious. Store this version in the refrigerator and use it within 2 weeks.
Slow Cooker Method: If you don’t want to stand over the stove, you can make this in a slow cooker. Combine all ingredients in the slow cooker and cook on low for 6 to 8 hours, or on high for 3 to 4 hours. Puree with an immersion blender, then cook with the lid off on high for another 2 to 3 hours to thicken. The texture won’t be quite as concentrated as the stovetop method, but it’s almost completely hands-off.
I’ve also used this pear butter as a filling for chocolate hazelnut babka rolls—just swirl a few spoonfuls into the dough along with the Nutella. The combination of chocolate and spiced pear is unexpectedly perfect.
Serving & Storage Suggestions
This pear butter is at its best served at room temperature, which lets the spices open up and the texture soften to its most spreadable state. If you’ve stored it in the refrigerator, let it sit on the counter for about 20 minutes before using.
Classic Pairings: Spread it thickly on warm buttered toast, English muffins, or scones. It’s also wonderful on a cheese board—try it alongside a sharp cheddar, a creamy brie, or a tangy goat cheese. The sweetness of the pear butter cuts through the richness of the cheese perfectly.
Breakfast Ideas: Swirl a spoonful into plain Greek yogurt or oatmeal. Dollop it onto pancakes or waffles instead of syrup. Spread it on a croissant with a thin layer of cream cheese for an easy but impressive breakfast.
Dessert Applications: Spoon it over vanilla ice cream, pound cake, or angel food cake. Use it as a filling for thumbprint cookies or linzer cookies. I’ve even used it as a layer in a dark chocolate stout brownie cake—the fruit butter adds a surprising brightness that cuts through the rich chocolate.
Storage: Sealed jars of pear butter can be stored in a cool, dark place (like a pantry or cupboard) for up to 1 year. Once opened, refrigerate the jar and use it within 3 weeks. If you didn’t process the jars in a water bath, store all jars in the refrigerator and use within 3 weeks. You can also freeze the pear butter in small containers or ice cube trays for up to 6 months—thaw individual portions in the refrigerator overnight.
The flavor actually improves after a week or two in the jar. The spices meld together, the sweetness settles, and the texture becomes even more silky. I always try to hide one jar in the back of the pantry for at least a month before opening it. It’s worth the wait.
Nutritional Information & Benefits
This small batch spiced pear butter is a relatively wholesome treat, especially compared to commercial fruit spreads that are often loaded with high-fructose corn syrup and artificial flavors.
Estimated Nutritional Values (per 1 tablespoon serving):
- Calories: 35
- Total Fat: 0g
- Sodium: 8mg
- Total Carbohydrates: 9g
- Dietary Fiber: 1g
- Sugars: 7g
- Protein: 0g
Health Benefits: Pears are a good source of dietary fiber, particularly pectin, which supports digestive health and helps regulate blood sugar levels. They also contain vitamin C and copper, both important for immune function and collagen production. The spices in this recipe—cinnamon, ginger, and cloves—are known for their anti-inflammatory properties and can help with digestion.
Dietary Considerations: This recipe is naturally gluten-free, dairy-free, and vegan. It contains no nuts or soy. The sugar content is moderate, but if you’re following a low-sugar diet, the low-sugar variation above works well—just keep in mind that the texture and shelf life will be slightly different.
Potential Allergens: None of the ingredients in this recipe are common allergens, but always check your spice labels if you have specific sensitivities, as some spice blends can contain trace amounts of other ingredients.
I don’t pretend this is a health food, but I feel better about spreading this on my toast than I do about most store-bought jams. It’s real food, made from real ingredients, and you know exactly what’s in it.
Conclusion
This small batch spiced pear butter is one of those recipes that makes you feel like you’ve accomplished something meaningful without spending your entire day in the kitchen. It’s forgiving, it’s flexible, and it rewards you with jars of something that tastes far more complex than the simple ingredients would suggest.
The first time I opened a jar in February, when the world outside was gray and cold, that hit of cinnamon and pear brought me right back to the sunny afternoon when I’d first tasted the idea. That’s what homemade preserves are supposed to do—they’re little time capsules of flavor, waiting to be opened when you need them most.
I hope you’ll give this recipe a try. Don’t worry if your first batch isn’t perfect—mine wasn’t either. Adjust the spices to your taste, cook it a little longer or a little less, and make it yours. That’s the beauty of small batch cooking. There’s no pressure, just a few pears and a pot and the quiet satisfaction of making something good with your own hands.
I’d love to hear how it turns out for you. Drop a comment below and let me know what you spread it on, or if you came up with a variation I haven’t tried yet. Happy canning!
Frequently Asked Questions
Can I use canned pears instead of fresh?
You can, but the results won’t be quite the same. Canned pears are packed in syrup and have already been cooked, so they break down much faster and the final butter can be overly sweet with a slightly mushy texture. If you’re in a pinch, drain the canned pears well, reduce the added sugar by half, and expect a thinner, less complex flavor.
Why is my pear butter runny?
This usually means it wasn’t cooked down long enough. Fruit butters thicken as they cook because the water evaporates and the natural pectin concentrates. If your pear butter is runny, return it to the pot and simmer it longer, stirring frequently, until it passes the cold plate test. You can also try cooking it without a lid to encourage faster evaporation.
Do I have to peel the pears?
Yes, for this recipe. Pear skins are tough and don’t break down completely during cooking, which would leave your pear butter with an unpleasant texture. The skins also contain tannins that can make the butter taste slightly bitter. Peeling is a little tedious, but it’s worth the effort for a smooth, silky result.
How do I know if my jars sealed properly?
After the jars have cooled for 12 to 24 hours, press the center of each lid. If the lid is concave and doesn’t flex up and down when you press it, the jar is sealed. You can also remove the band and gently lift the jar by the lid—if the lid holds, it’s sealed. If a jar didn’t seal, don’t worry. Just store it in the refrigerator and use it within 3 weeks.
Can I double this recipe?
You can, but I recommend making two separate batches rather than doubling everything in one pot. Larger batches take much longer to cook down and are harder to stir without scorching. If you do double it, use a wider pot (not a deeper one) to maintain good evaporation, and expect the cooking time to increase by about 30 to 45 minutes.
Pin This Recipe!
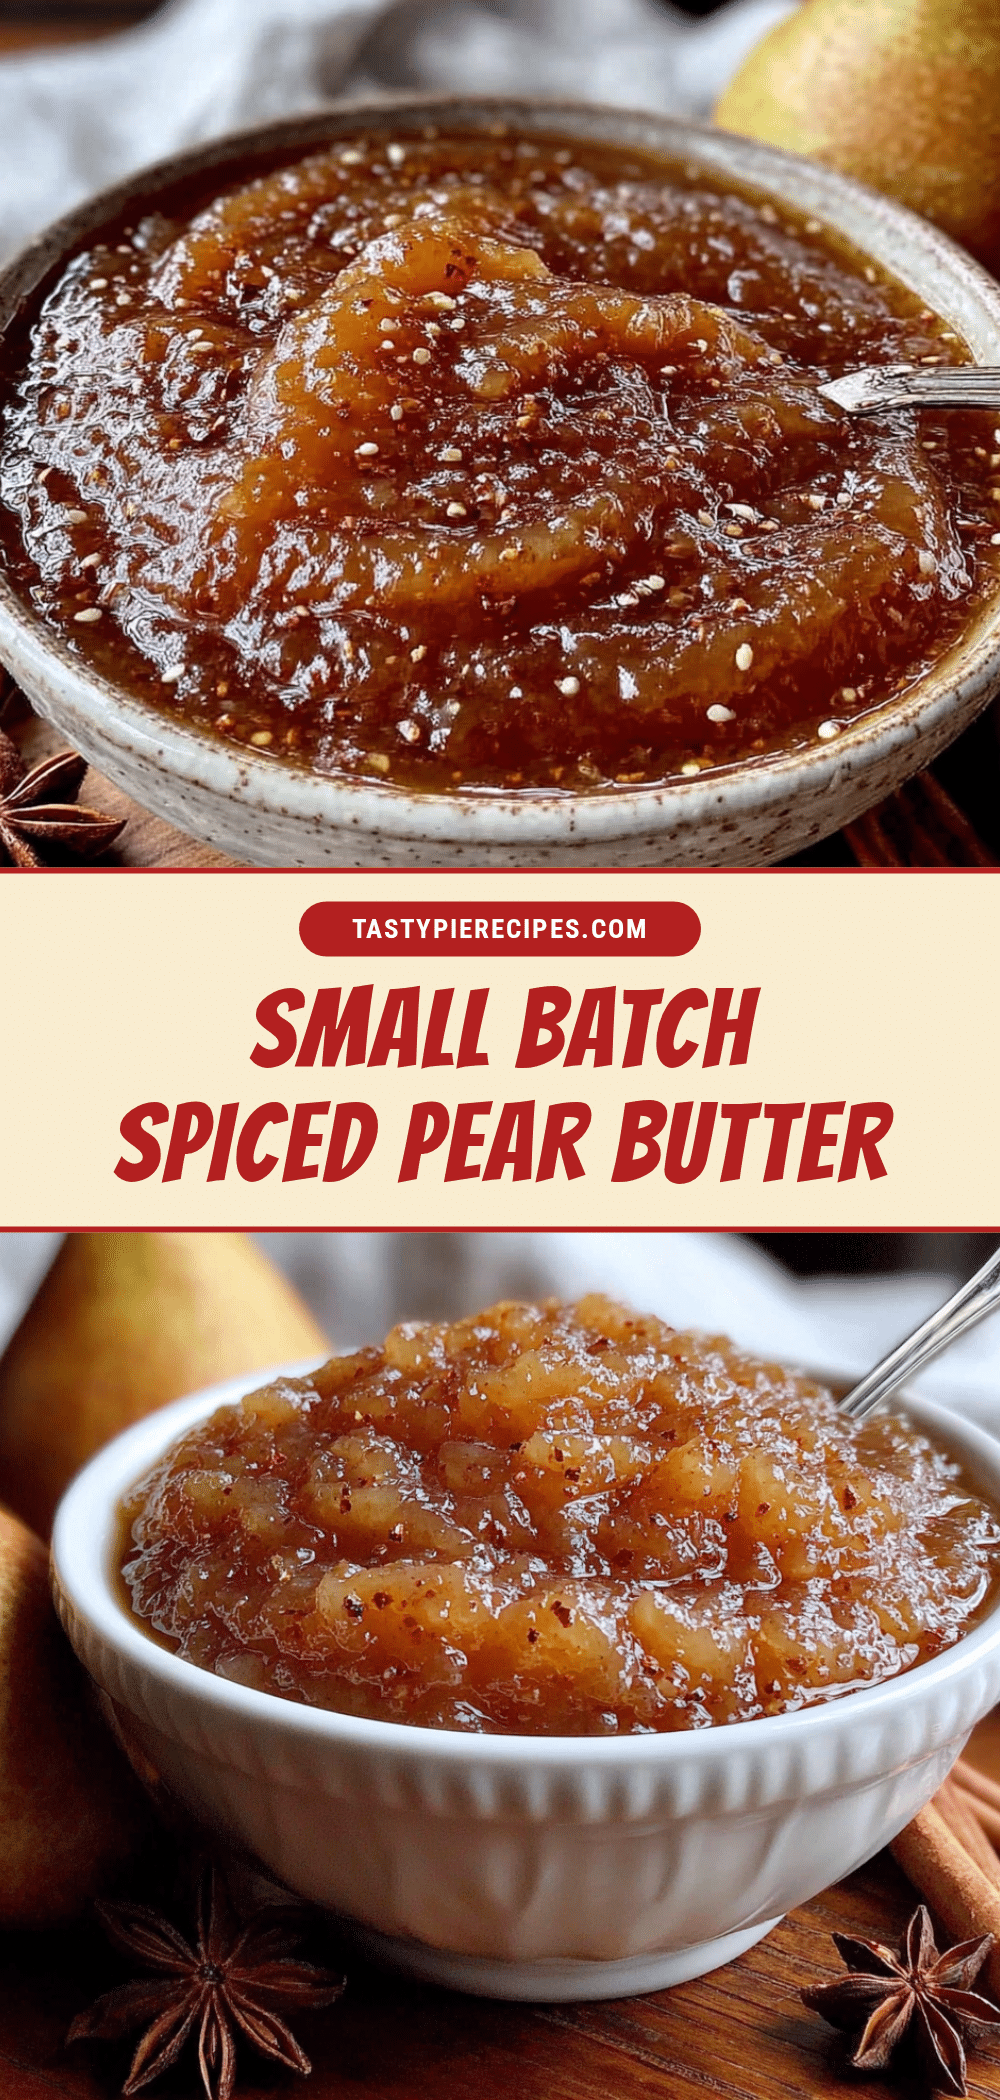
Small Batch Spiced Pear Butter: Easy Homemade Canning Recipe

This small batch spiced pear butter captures the warmth of late autumn in a jar. Made with just 2 pounds of pears and simple pantry spices, it’s a forgiving, flexible recipe that yields a thick, spreadable fruit butter perfect for toast, yogurt, or gifting.
- Prep Time: 20 minutes
- Cook Time: 1 hour 30 minutes
- Total Time: 2 hours 30 minutes
- Yield: 2-3 half-pint jars (about 16-24 servings) 1x
- Category: Preserves
- Cuisine: American
Ingredients
- 2 pounds ripe pears (about 4–5 medium, preferably Bartlett or Bosc)
- 1/2 cup brown sugar, lightly packed (light or dark)
- 2 tablespoons fresh lemon juice
- 1 teaspoon ground cinnamon
- 1/2 teaspoon ground ginger
- 1/4 teaspoon ground cloves
- 1/2 vanilla bean (or 1 teaspoon vanilla extract)
- 1/8 teaspoon fine sea salt
Instructions
- Prepare the pears: Wash, peel, halve, and core the pears. Cut into 1-inch chunks (about 5-6 cups).
- Combine ingredients: Place pear chunks in a heavy-bottomed pot or Dutch oven. Add brown sugar, lemon juice, cinnamon, ginger, cloves, and salt. If using a vanilla bean, split it, scrape seeds into pot, and add the pod. Stir to coat.
- Cook pears: Set pot over medium heat. Bring to a gentle simmer, then reduce heat to medium-low. Cook, stirring occasionally, for 20-25 minutes until pears are soft and falling apart.
- Puree: Remove from heat. Remove vanilla bean pod (rinse and save for another use). Use an immersion blender to puree until smooth. If using a regular blender, let cool 10 minutes, then blend in batches.
- Simmer to thicken: Return pot to low heat. Simmer gently, stirring every 5-10 minutes, for 45-60 minutes until mixture is thick and spreadable (passes the cold plate test).
- Prepare jars: While pear butter cooks, wash jars, lids, and bands in hot soapy water. Sterilize jars in boiling water for 10 minutes. Keep lids in simmering water.
- Fill jars: Ladle hot pear butter into hot jars, leaving 1/4 inch headspace. Remove air bubbles, wipe rims, center lids, and screw bands fingertip-tight.
- Process jars: Lower jars into water bath canner or stockpot with at least 1-2 inches of water above jars. Bring to a rolling boil and process half-pint jars for 10 minutes (adjust for altitude).
- Cool and check seals: Turn off heat, let jars sit in water 5 minutes. Remove and place on towel. Cool undisturbed 12-24 hours. Check seals—lids should be concave and not flex.
Notes
Don’t rush the simmering step—pear butter must be thick to store well. Use the cold plate test: drop a spoonful on a chilled plate; if no liquid ring forms, it’s ready. Stir more frequently toward the end to prevent scorching. Flavor improves after a week in the jar.
Nutrition
- Serving Size: 1 tablespoon
- Calories: 35
- Sugar: 7
- Sodium: 8
- Carbohydrates: 9
- Fiber: 1
Keywords: pear butter, small batch, spiced pear butter, homemade canning, fruit butter, fall recipe, easy preserves